
As was pointed out by a dear friend who visited my blog for Thanksgiving cooking advice, I have no basic 1, 2, 3, on how to cook a turkey! How in the heck did that slip through the cracks? Well, it did, so here goes. Here is what I do to prepare my Thanksgiving turkey, which according to my guests (and their huge second helpings) it is delicious.
**To begin with, you need to know that I have been cooking a turkey for over 25 years now. As such, I have done it every way under the sun: Baked covered and uncovered, Stuffed, Unstuffed, Oil-fryer, Smoked using Butterball brand all the way to Organic Free Range. After many varied results, this is the method that I have settled on since it produces a moist, tender, juicy and extremely flavorFULL turkey, without fail. And the drippings make for an AMAZING gravy base.
***There are a lot of steps, but don’t let that overwhelm you. Hopefully it will be logical and easy; but, be sure to pre-read all the steps before you begin since they are timed to follow each other.
****This recipe is designed to work with a Nesco Oven Roaster (see link below in step 6.) The turkey will turn out great using a traditional oven and cooking times, just be sure to make sure your drippings on the bottom of the pan don’t burn and cover the bird in tin foil should it start to brown too much.
Step 1: Select an Organic, non-injected turkey. It is your choice of free range or not, but with this method, DO NOT use a Butterball or JennieO style turkey. They are pre-injected with solutions to retain moisture in the meat and add seasoning. You are brining your turkey, which will produce the same results without all the icky fake stuff.
Have your butcher help you with the size needed for your group.
Remove the neck bone from the cavity, the wings (see note in Step 3), and under the neck flap is where the gizzards bag is located. Set these aside for your turkey stock.
Step 2: The day BEFORE Thanksgiving – Brine your Turkey (Click HERE for ‘How to Brine your Turkey’)
Step 3: Since you need a day to start brining your turkey the day before, this is a great opportunity to get a head start on your Turkey Stock, (recipe HERE) which will be used both in your dressing and your gravy. Don’t forget to use my Domestic Goddess Tip which makes a generous amount of turkey stock.
Step 4: Thanksgiving Day, pull your turkey out of the brine at least 1-2 hours prior to cooking. If you use a construction cooler like I suggest, this is a breeze. Simply heave the container so the spout overhangs your sink and use the valve to release most of the water. (see the link above) Pull your turkey out, pat it dry and let it sit on the counter to come back to room temperature. While you are doing this, you can prepare your rub and basting liquid. Preheat your roaster to 425 degrees. (see note at Step 6)
RUB: 1/4 cup (1/2 a cube) UNSALTED BUTTER
Herbs de Provence
Pinch of kosher salt (about 1/2 tsp)
2 garlic cloves, minced or put through a press
1 tsp onion powder (not onion salt!)
Soften the butter, add the herbs and cream together.
Basting liquid: 1/2 cup UNSALTED BUTTER.
1 cup good quality Dry White Wine.
1/2 cup Chicken Stock
2 sprigs Sage, fresh, rough chopped
2 sprigs Italian Parsley, fresh, chopped
1 tsp Herbs de Provence
Combine the ingredients together in a large microwave-proof measuring cup (or pan on the stovetop), heat to melt the butter, whisk together, and set aside with your basting brush.
Step 5: Rub your turkey.
With clean hands, gently lift the skin from one side of the breast of the turkey up, using your forefinger and thumb. This will be easiest if you start from the neck end of the bird under the flap, and stick close the the spine. The skin is thickest there and you are less likely to tear it. When you get your finger in under the skin, and on top of the flesh, begin to work your finger down about 2/3rds of the way. You are creating a little pocket where you will insert some of the softened butter. Repeat so that both sides are loosened.
Moving on to the legs, you should be able to create a small pocket by entering through the gap between the breast and the leg near the cavity opening. If your turkeys legs are bound together, this might be difficult. While It’s not necessary to butter the legs, it will add additional seasoning to the leg meat. If you want a nice presentation, feel free to tie the legs together if they are not already. I don’t bother anymore.
Then take equal amounts of the creamed herb butter and put a wad into the opening of the pockets. Push it in, then from the outside of the skin, gently smooth it throughout the pocket. Precision is not necessary here, you are just adding an additional layer of protection against drying out and flavor. The butter will baste the actual meat, not just the skin which traditional methods do.
Pat the skin dry again and season lightly the outside of your turkey with kosher salt and pepper.
**We cook our turkey unstuffed because Gluten Free bread does not hold up will with the excess moisture in the turkey cavity. We use Nettis’ Dressing (click for link to recipe) cooked separately like dressing to keep it from getting soggy. Dressing is what you call it cooked outside the bird. Stuffing is what it is called when it is cooked in the cavity. Not only is this a safer way to cook ‘stuffing’, it shortens the cooking time of the turkey.
Step 6: Place turkey in your preheated cooking vessel.
After many years of oven baking, smoking, grilling, frying, I have settled on baking it in my Nesco Oven Roaster. It should hold up to a 20 pound bird. The fit will be tight with that big of a bird, but since you cut off the wings for the stock, it should fit. Be sure to use the rack that elevates the bird off the roaster bottom. The model I have is an Air Roaster and if the birds’ breast bone sits too high, I simply don’t add the fan attachment. (If you need more meat than a 20 pound bird provides, simply add a turkey breast to the brine and cook it independently in the oven)
**If you are using an oven method, slice a peeled onions crossways in to 5 medium thickness medallions. Lay these on the bottom of your pan. This will mimic a rack and keep the turkey elevated from the bottom of the pan and burning.
Step 7: Cover and allow the turkey to cook for 20 minutes at 425 degrees. Then, after 20 minutes, turn the heat down to 325 degrees, and baste the turkey liberally. Continue to baste the turkey every 20 minutes until done. (Set a timer if you need to remember. I assign turkey watching to my husband. Basting is Big Man’s job on Thanksgiving, and he takes his job very seriously). Cook the turkey for the stated amount of time according to this chart HERE.
The easiest way to ensure it is properly cooked is to use a remote thermometer or insta-read thermometer. (click this LINK for my favorite brand of insta-read)
Many sites will tell you to cook the breast meat to 180 degrees. I use the pound/minutes guide but check it with my thermometer. I confess, I cook mine to 165-170 degrees, since in the resting process, the temperature in a large turkey will continue to rise 5-10 degrees. Since I cook a large 20 pound bird each year, I have found that temperature to be ideal and results in tender, not over-cooked slices. If you are inexperienced in cooking, err on the side of safety and cook the meat to 175. It WILL rise another 5 degrees as long as you keep it in a warm spot of the kitchen. If you don’t have a thermometer, cook according the charts pounds/minute and then prick the thigh meat. If the juices run clear, its done. The thigh meat takes longer than the breast, so this way you are ensured to have fully cooked meat.
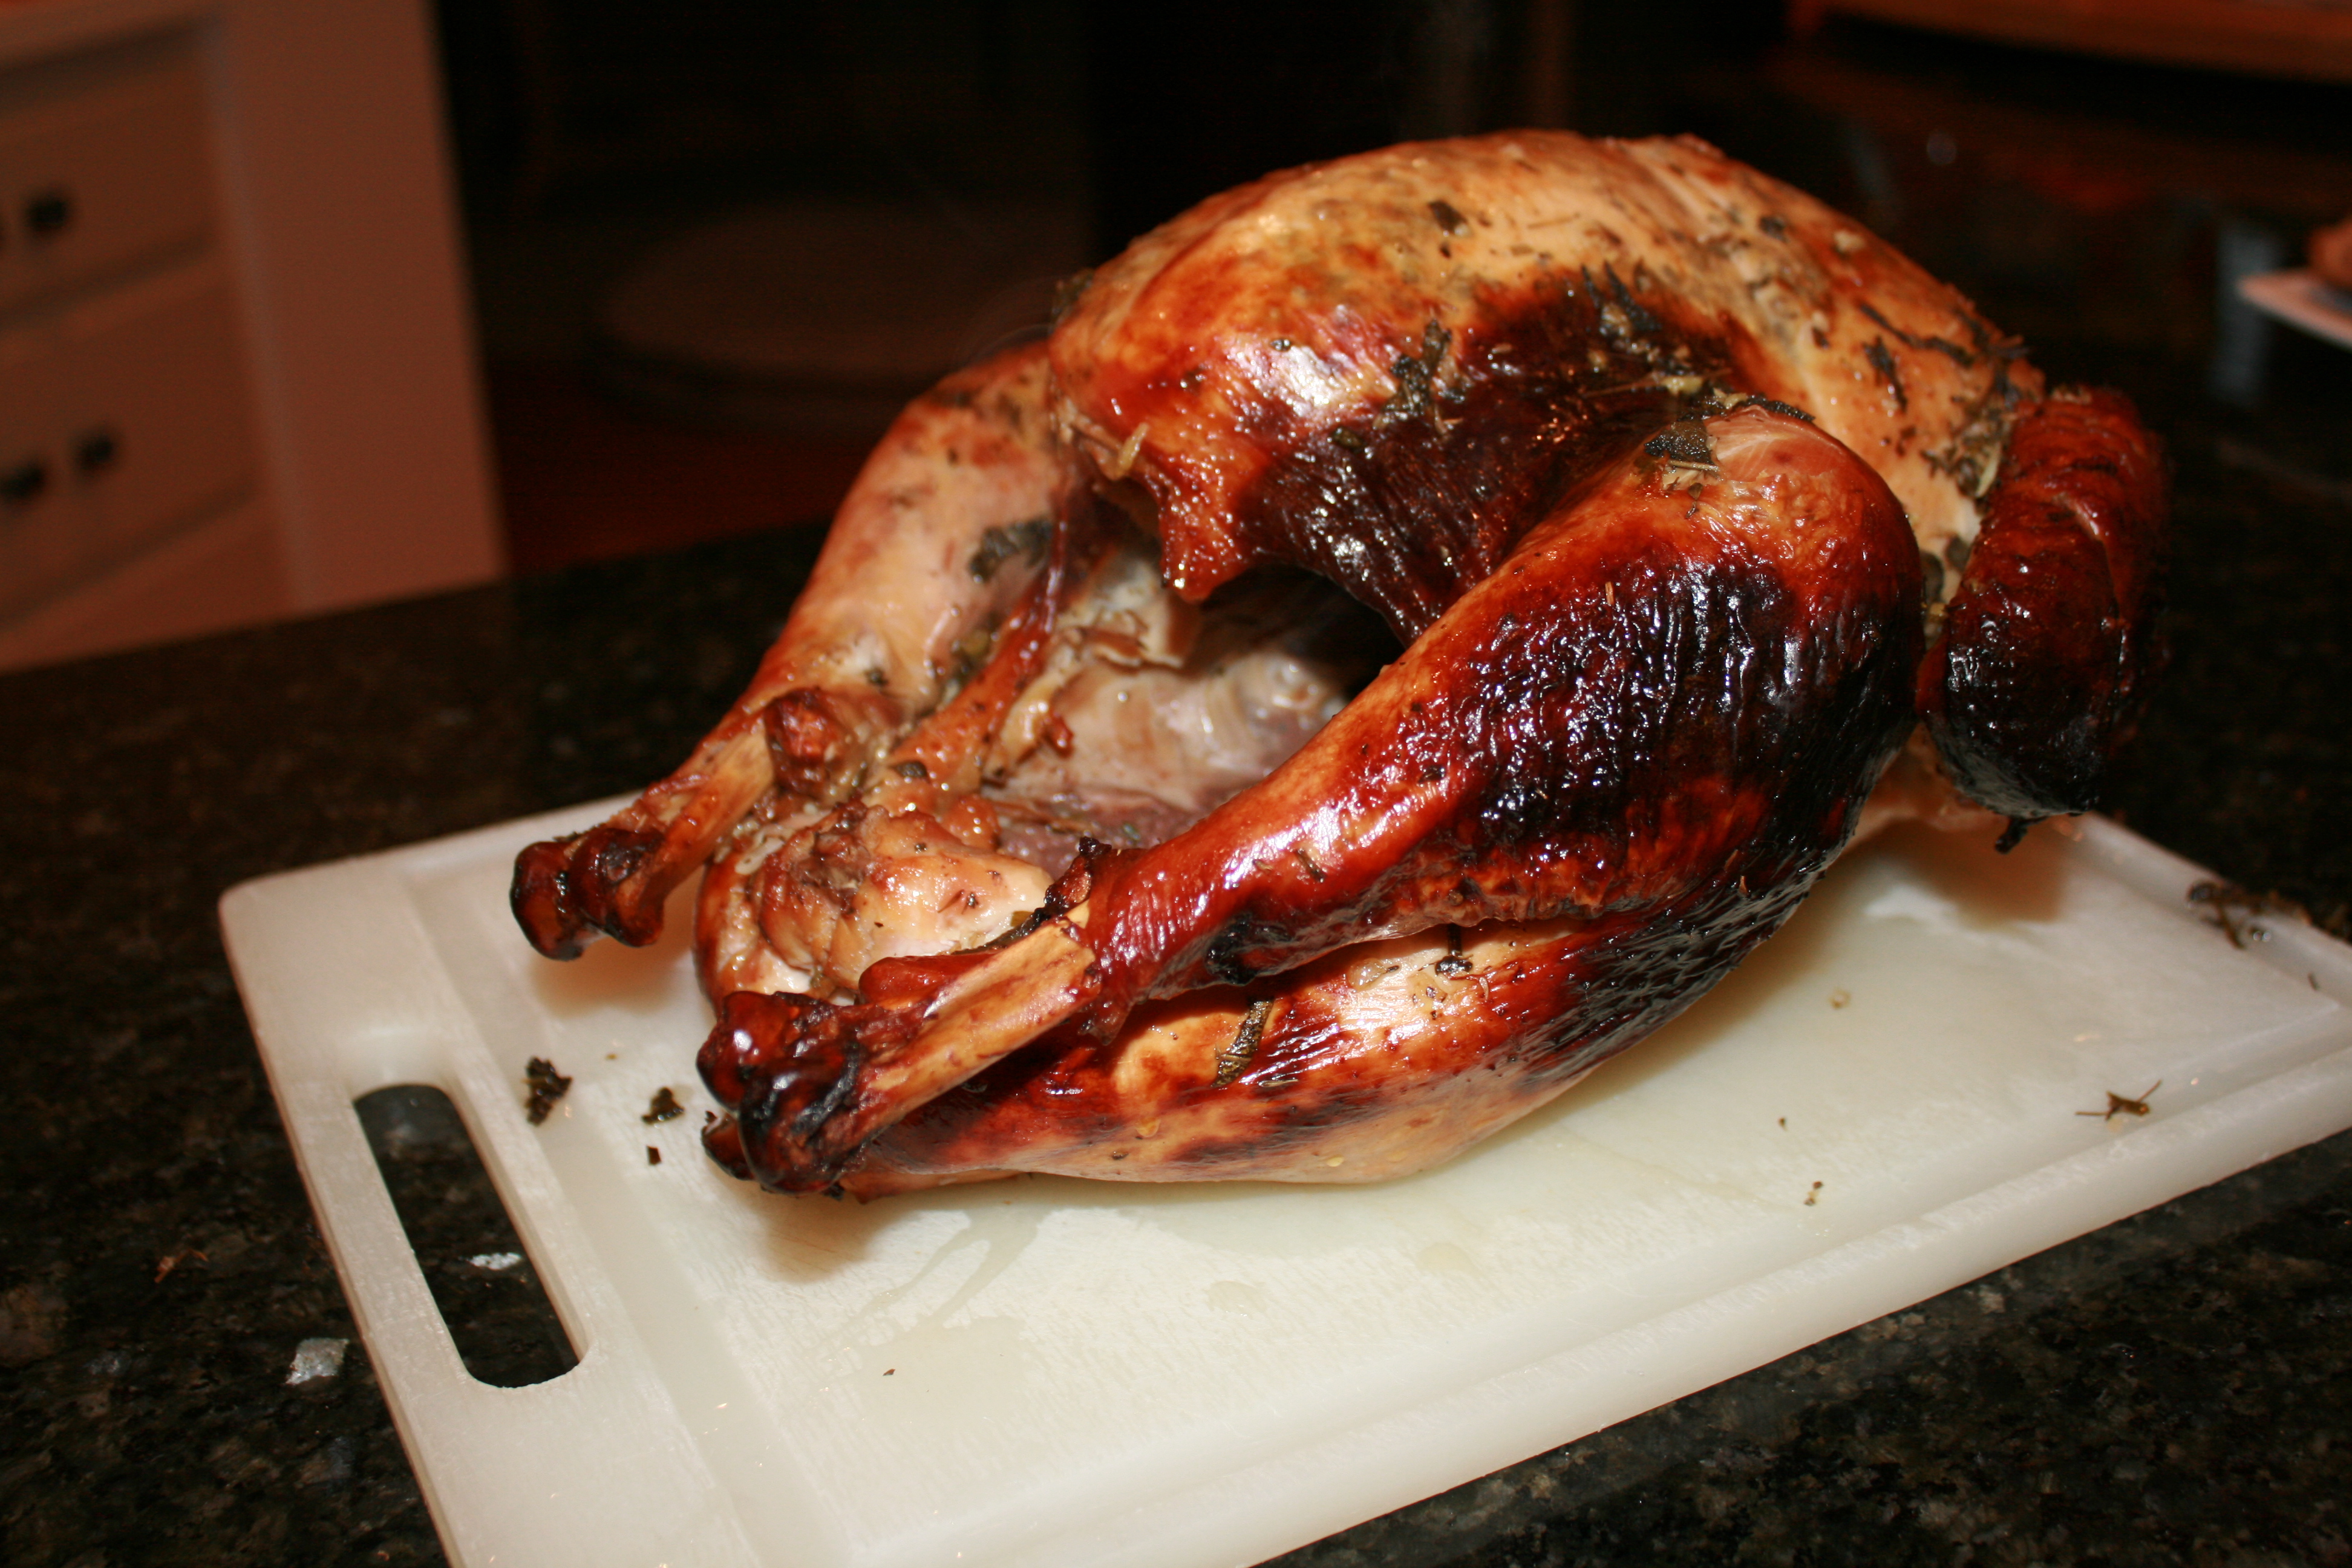
Step 8: Remove turkey from the roaster when done. Now your turkey needs to rest at least a 1/2 hour to 45 minutes, depending on the size of the turkey. Small 12lb turkeys can get by with 20-30 minutes, a large one (18+lb) needs up to 45 minutes to rest. Cover the bird with tin foil and be sure to put it on a platter or cutting board that will catch the juices. Letting the bird rest will allow the juices to return back into the meat, which in turn keeps the meat moist. This is an essential tip to having juicy turkey. Those who dive right into slicing, end up with shoe leather turkey and juices running over your counter.
Step 9: While the turkey is resting, this is your opportunity to make your gravy, and finish up you other dishes. Pour the drippings into a fat separator. If you don’t have a fat separator use a large measuring cup, wait for the fat to rise to the top and skim off, saving enough fat to make your gravy. Since you are collecting the juices from the rested turkey, don’t forget to add those juices to your gravy also.
Step 10: Slice, serve and enjoy!
(Let me know how it turns out for you. If you have any questions, please leave them below. If I left something critical out, I will edit the post)

Pingback: Got Turkey? Brine it! | Rockin the Mom Role