This next spring will be the big 2-5 celebrating hubby’s and my wedded bliss, which means I have been making Thanksgiving for going on 25 years, give or take a year or two away from home. That means, I have tried many brands of turkey and tried many variations of preparation. After some ok, mediocre, or pretty good variations, I have settled on the trick of brining my bird every year, which results in a perfectly seasoned, very tender, juicy and flavorful turkey. I also think I’ve perfected the cooking method, but we’ll leave that for another day.
(see How to Cook a Turkey)
First of all, do not use a pre-seasoned turkey like Butterball or Jennie-O. Those have already been injected with a solution to yield moist & seasoned turkeys. I have done the injection method from scratch, but I find it hit or miss.
I prefer not to ingest some of the additives, and I also like to control what goes in to my food. Brining allows me that control.
For this recipe, I use an all-natural, hormone-free, free range organic turkey, but just natural is perfectly fine. I like to try and support local farmers, so I find stores that carry fresh turkeys grown locally. Most people steer away from natural, free-range turkeys because they can be dry and tough. This method will ensure a tender, moist bird you can be proud to put on the table. An added benefit is the highly seasoned, flavorFULL gravy that results.
(Note: Do not add salt to your gravy until you have tasted it. The drippings will be naturally salty from the brine, so be sure to taste test and season the gravy. I have never had to add salt to my gravy since I started brining.)
Let’s begin.
First of all, pull together your brining solution. I saw this trick on an episode of Alton Browns “Good Eats” and it honestly is the best Thanksgiving tip ever. Use a construction cooler. You know, the orange kind you can buy at the hardware store? I bought mine a few years back and use it every year, sanitizing it after each use. (bleach, soap and hot water) I just mix the brine up directly in the bottom of the cooler and plop the turkey in:
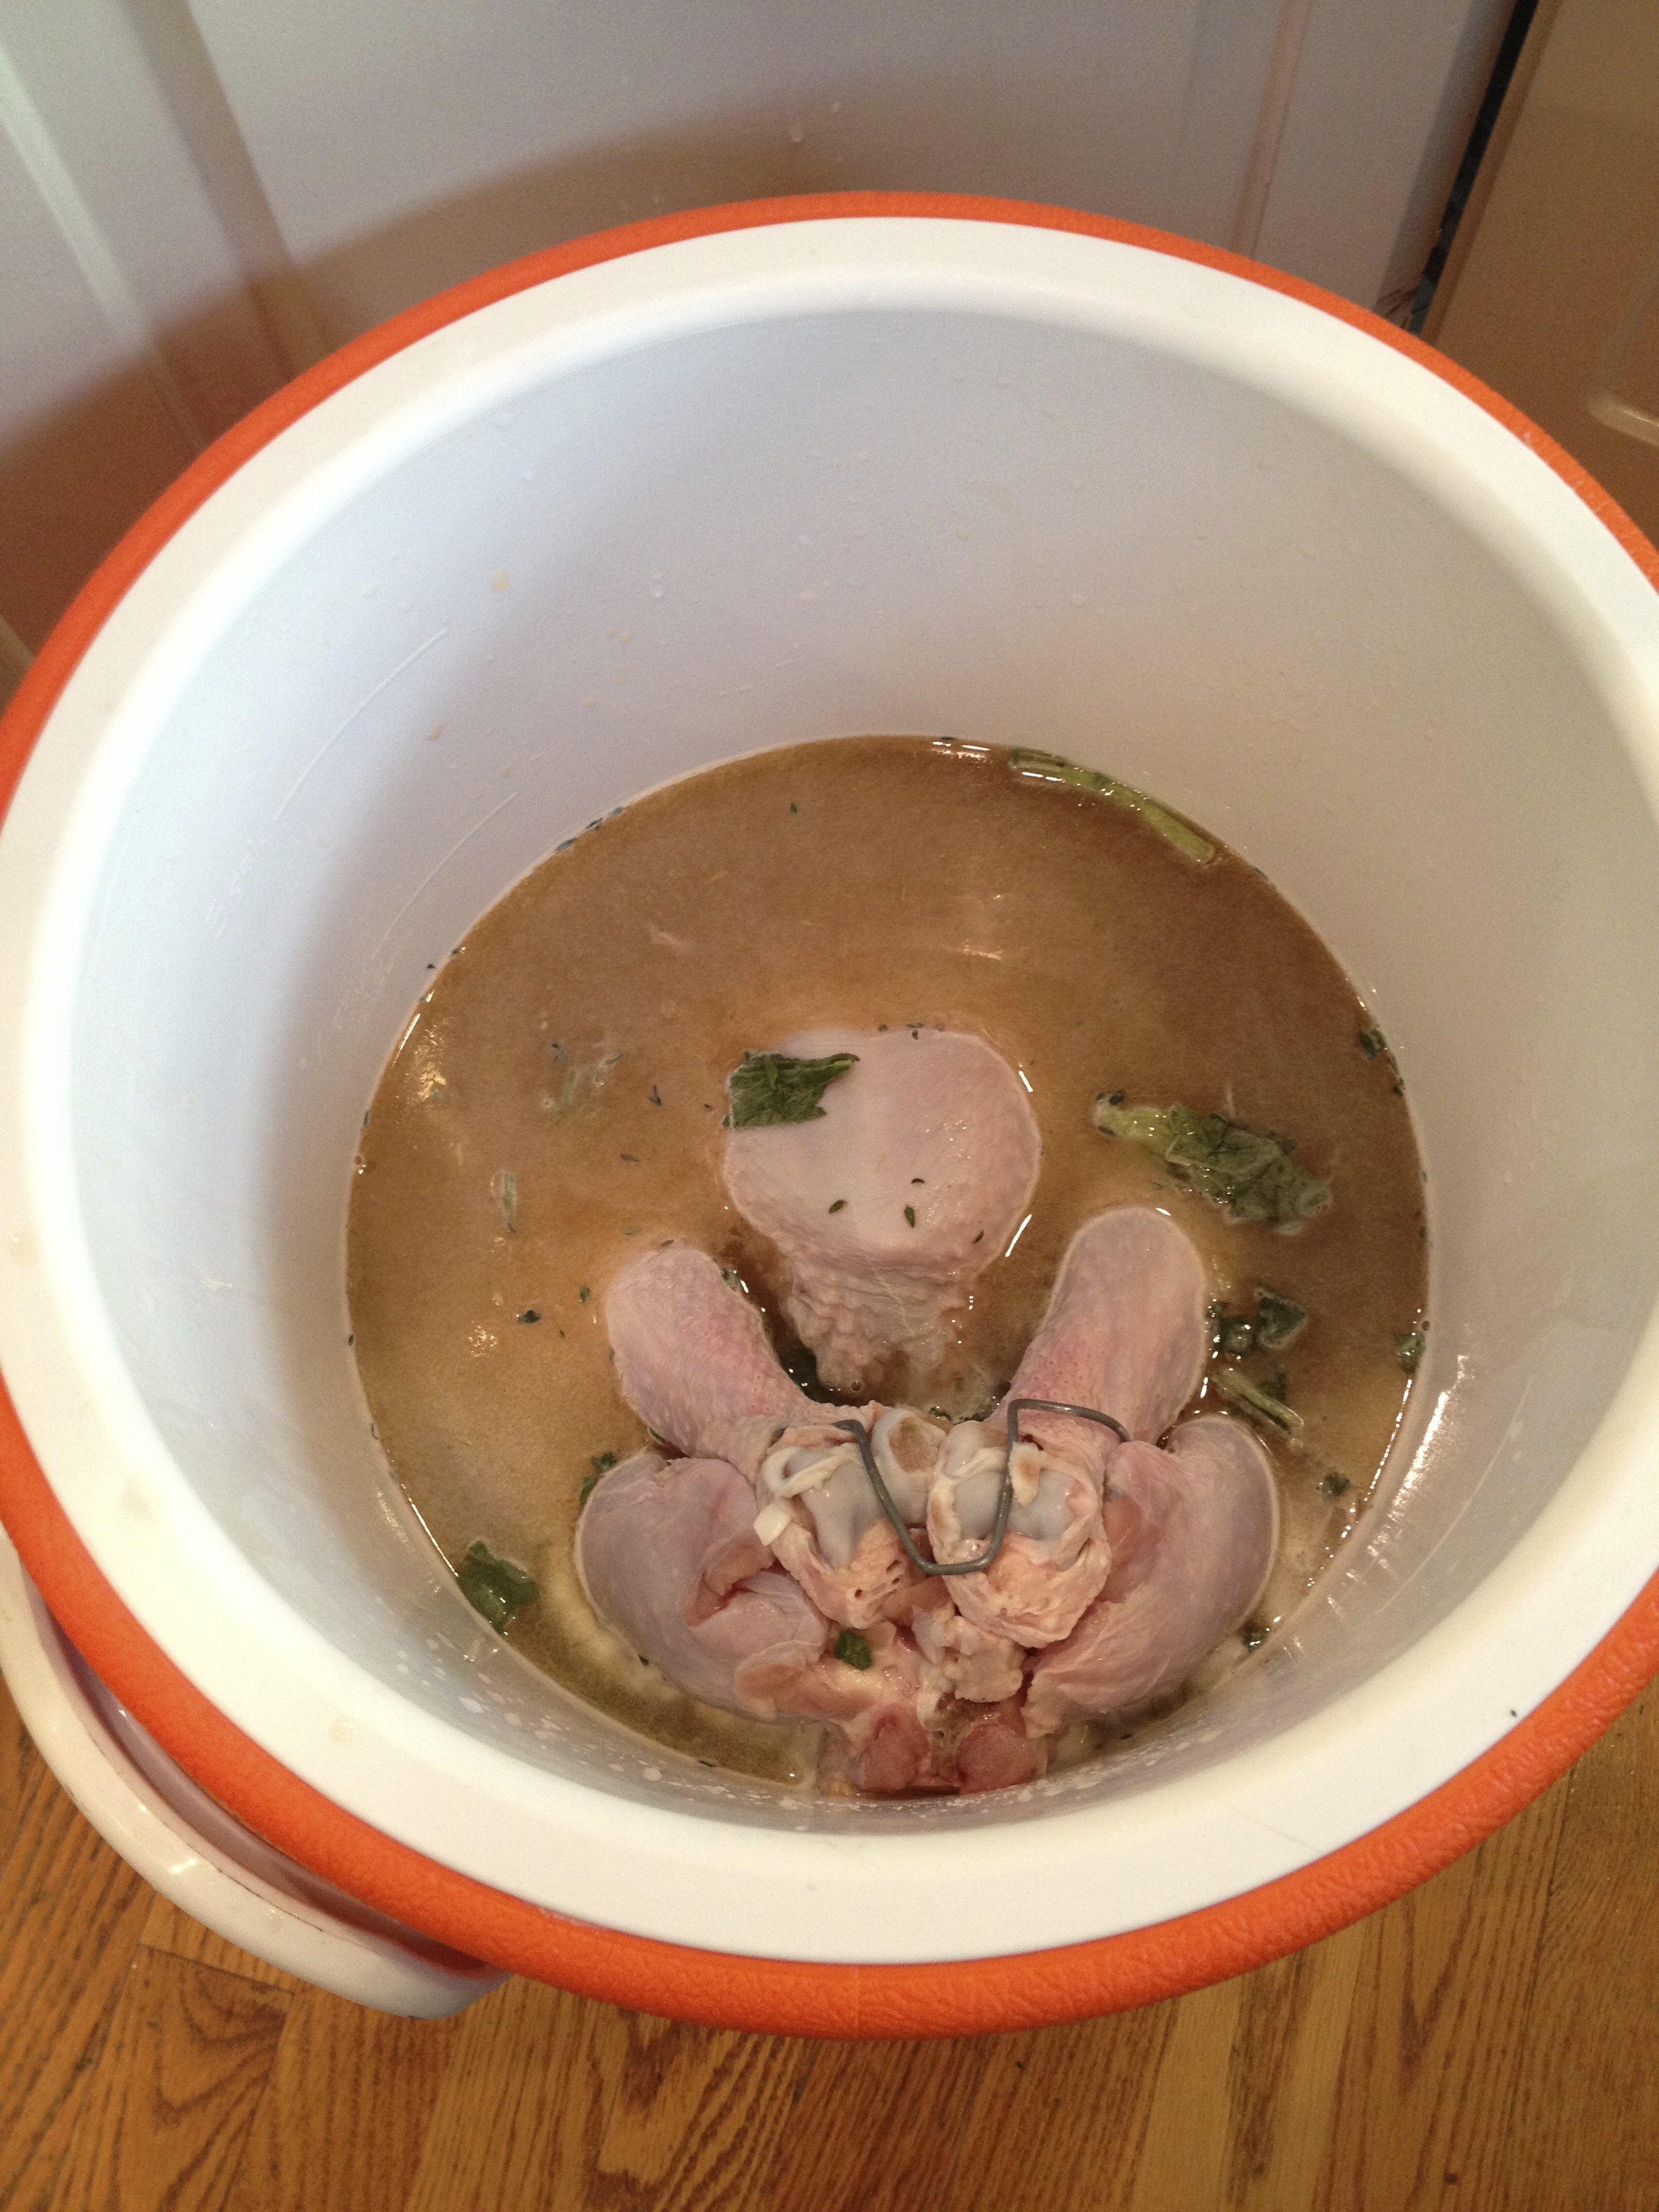
That is one happy turkey!
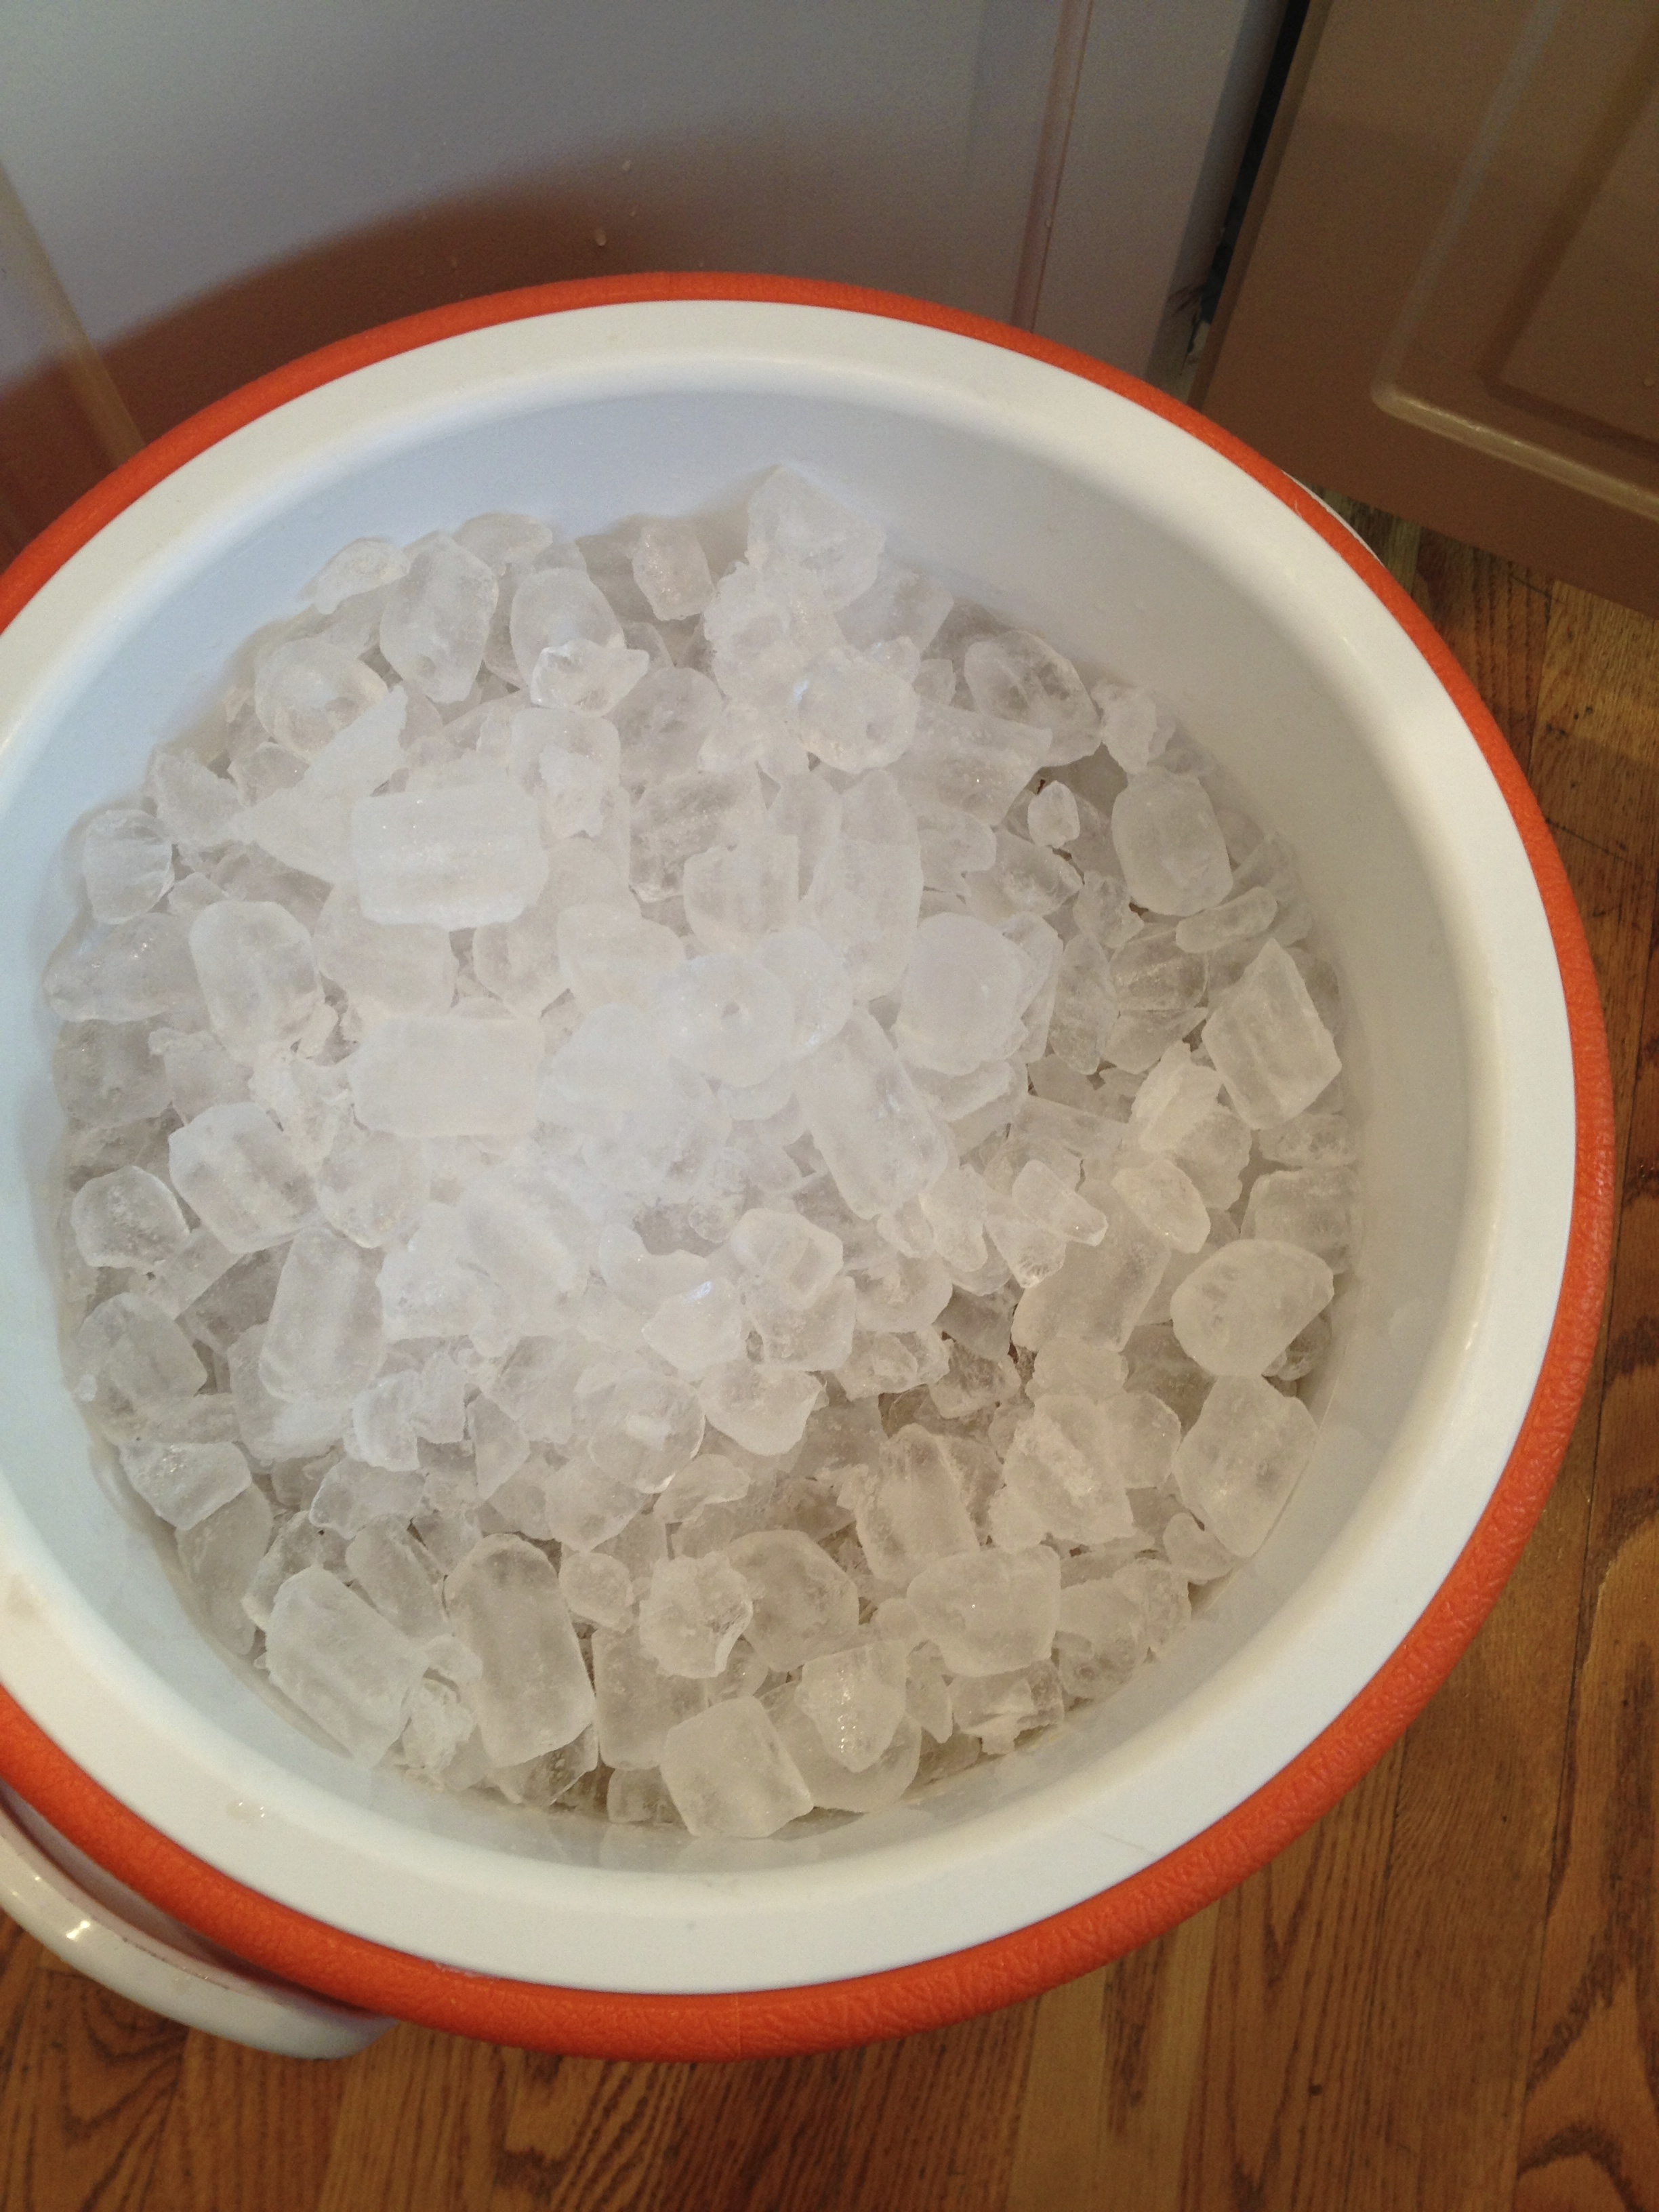
Then follow that with a 7 pound bag of ice. I use bagged ice because it’s easier and I know that the ice is pure and clean tasting, not having any off odors or tastes that love to settle in home ice makers.
Finally, put the lid on tight, and stuff in an out of the way corner. I do this the day before Thanksgiving, usually late afternoon, early evening. The next morning, I pull the turkey out, rinse it off, pat it dry and let it stand covered for an hour before rubbing with herbed butter and baking. You can also use the handy-dandy pour spout and drain the water out directly into your sink! Your bird will sit in the brine for 8-12 hours, so back into your cooking time, allowing for some time for the bird to dry and come to room temp. The largest bird I’ve done this way was 20 pounds. Anything bigger and it won’t fit in the cooler.

Seriously, how easy is that? This method frees up your refrigerator, which is usually full to the brim anyway, and yields a truly yummy turkey and incredible drippings. Give it a try, and tell me how it went!
Honey Turkey Brine
1 gallon Very Hot Water
1 pound Kosher Salt
2 quarts Vegetable Broth
1 pound Honey
1 7-lb bag of ice
1/2 package Fresh Sage, roughly torn (you can use 1 tbsp of dried added to the hot water)
1/2 bunch of Fresh Parsley, roughly torn (do not use dried)
2-3 tbsp Herbs de Provence, added to the hot water to release the flavors.
Combine the hot water (and if using – dried herbs) and salt in the construction cooler. Stir until the salt dissolves. Pour in the vegetable broth and honey. Add half the ice and give a stir.
ALLOW TO COOL!
Place turkey, breast up – feet up – in the cooler. I submerge the bird as best as possible to get the brine in the cavity. Dump the last of the ice over the top. cover and let brine for 8-12 hours.
*Note: You can use a vegetable boullion also like Better than Boullion. The additional salt will not be a problem.