After many attempts, after many variations. After many mixes, flours and recipes, I succeeded on making gluten free pancakes that are tender, flavorful, perfectly browned and cook evenly. It’s rather ironic that this is the result of my ‘winging it’ one morning. My daughter was home from college resting and taking advantage of a quiet house to study. And as many who have kids in college know, they seem to always be hungry! Especially for home cooked food! So, when I suggested pancakes, she lit up like a christmas star. Pancakes are her favorite. I didn’t have a GF mix, and the only GF flour I had on hand was a bag of Cup4Cup gluten free flour I had purchased to try and make my Monkey Bread more tender. This flour mix is very nice, but it is very spendy. That said, it makes fantastic pancakes. My daughter says even better than our local diner makes, and she raves about theirs! I really did ‘wing it’ on this one. I have the basic pancake ratios in my mind, and so I used those to create this basic recipe.
I have to warn you, it is critical to use the products I use in order to achieve the same wonderful results. You can substitute other flours and buttermilk but I cannot guarantee the same tasty results. (This is NOT an advertisement for these products! I just want you to have the same results that I did – delicious results!)
(*see notes below)
1 cup of Cup4Cup Gluten Free Flour
1/2 tsp Baking Soda
1/2 tsp Baking Powder
2 rounded Tbsp Sugar
1/2 tsp Sea Salt.
1- 1.5 cup Kalona SuperNatural Sweet Cream Buttermilk*
1 whole, Grade A Egg
1 tsp Vanilla (I use Penzey’s single strength)**
2 Tbsp melted, Unsalted Butter. ( I use Hope Creamery )***
Because we are dealing with gluten free flours here, no need to worry about ‘toughness’ and gentle mixing. I put my liquids in my Vitamix first (buttermilk, vanilla, egg) added the combined dry ingredients on the top and gave it a whiz. Then I added the melted butter while the machine was running slowly.
If mixing by hand: whisk the dry ingredients together. Then whisk together the buttermilk, egg, melted butter and vanilla. Add the wet ingredients to the dry, and mix thoroughly. You may need more buttermilk. The batter should be thick but pourable.
Grease your griddle with a good quality salted butter, and cook over a medium heat, flipping when the top looks a little dull.
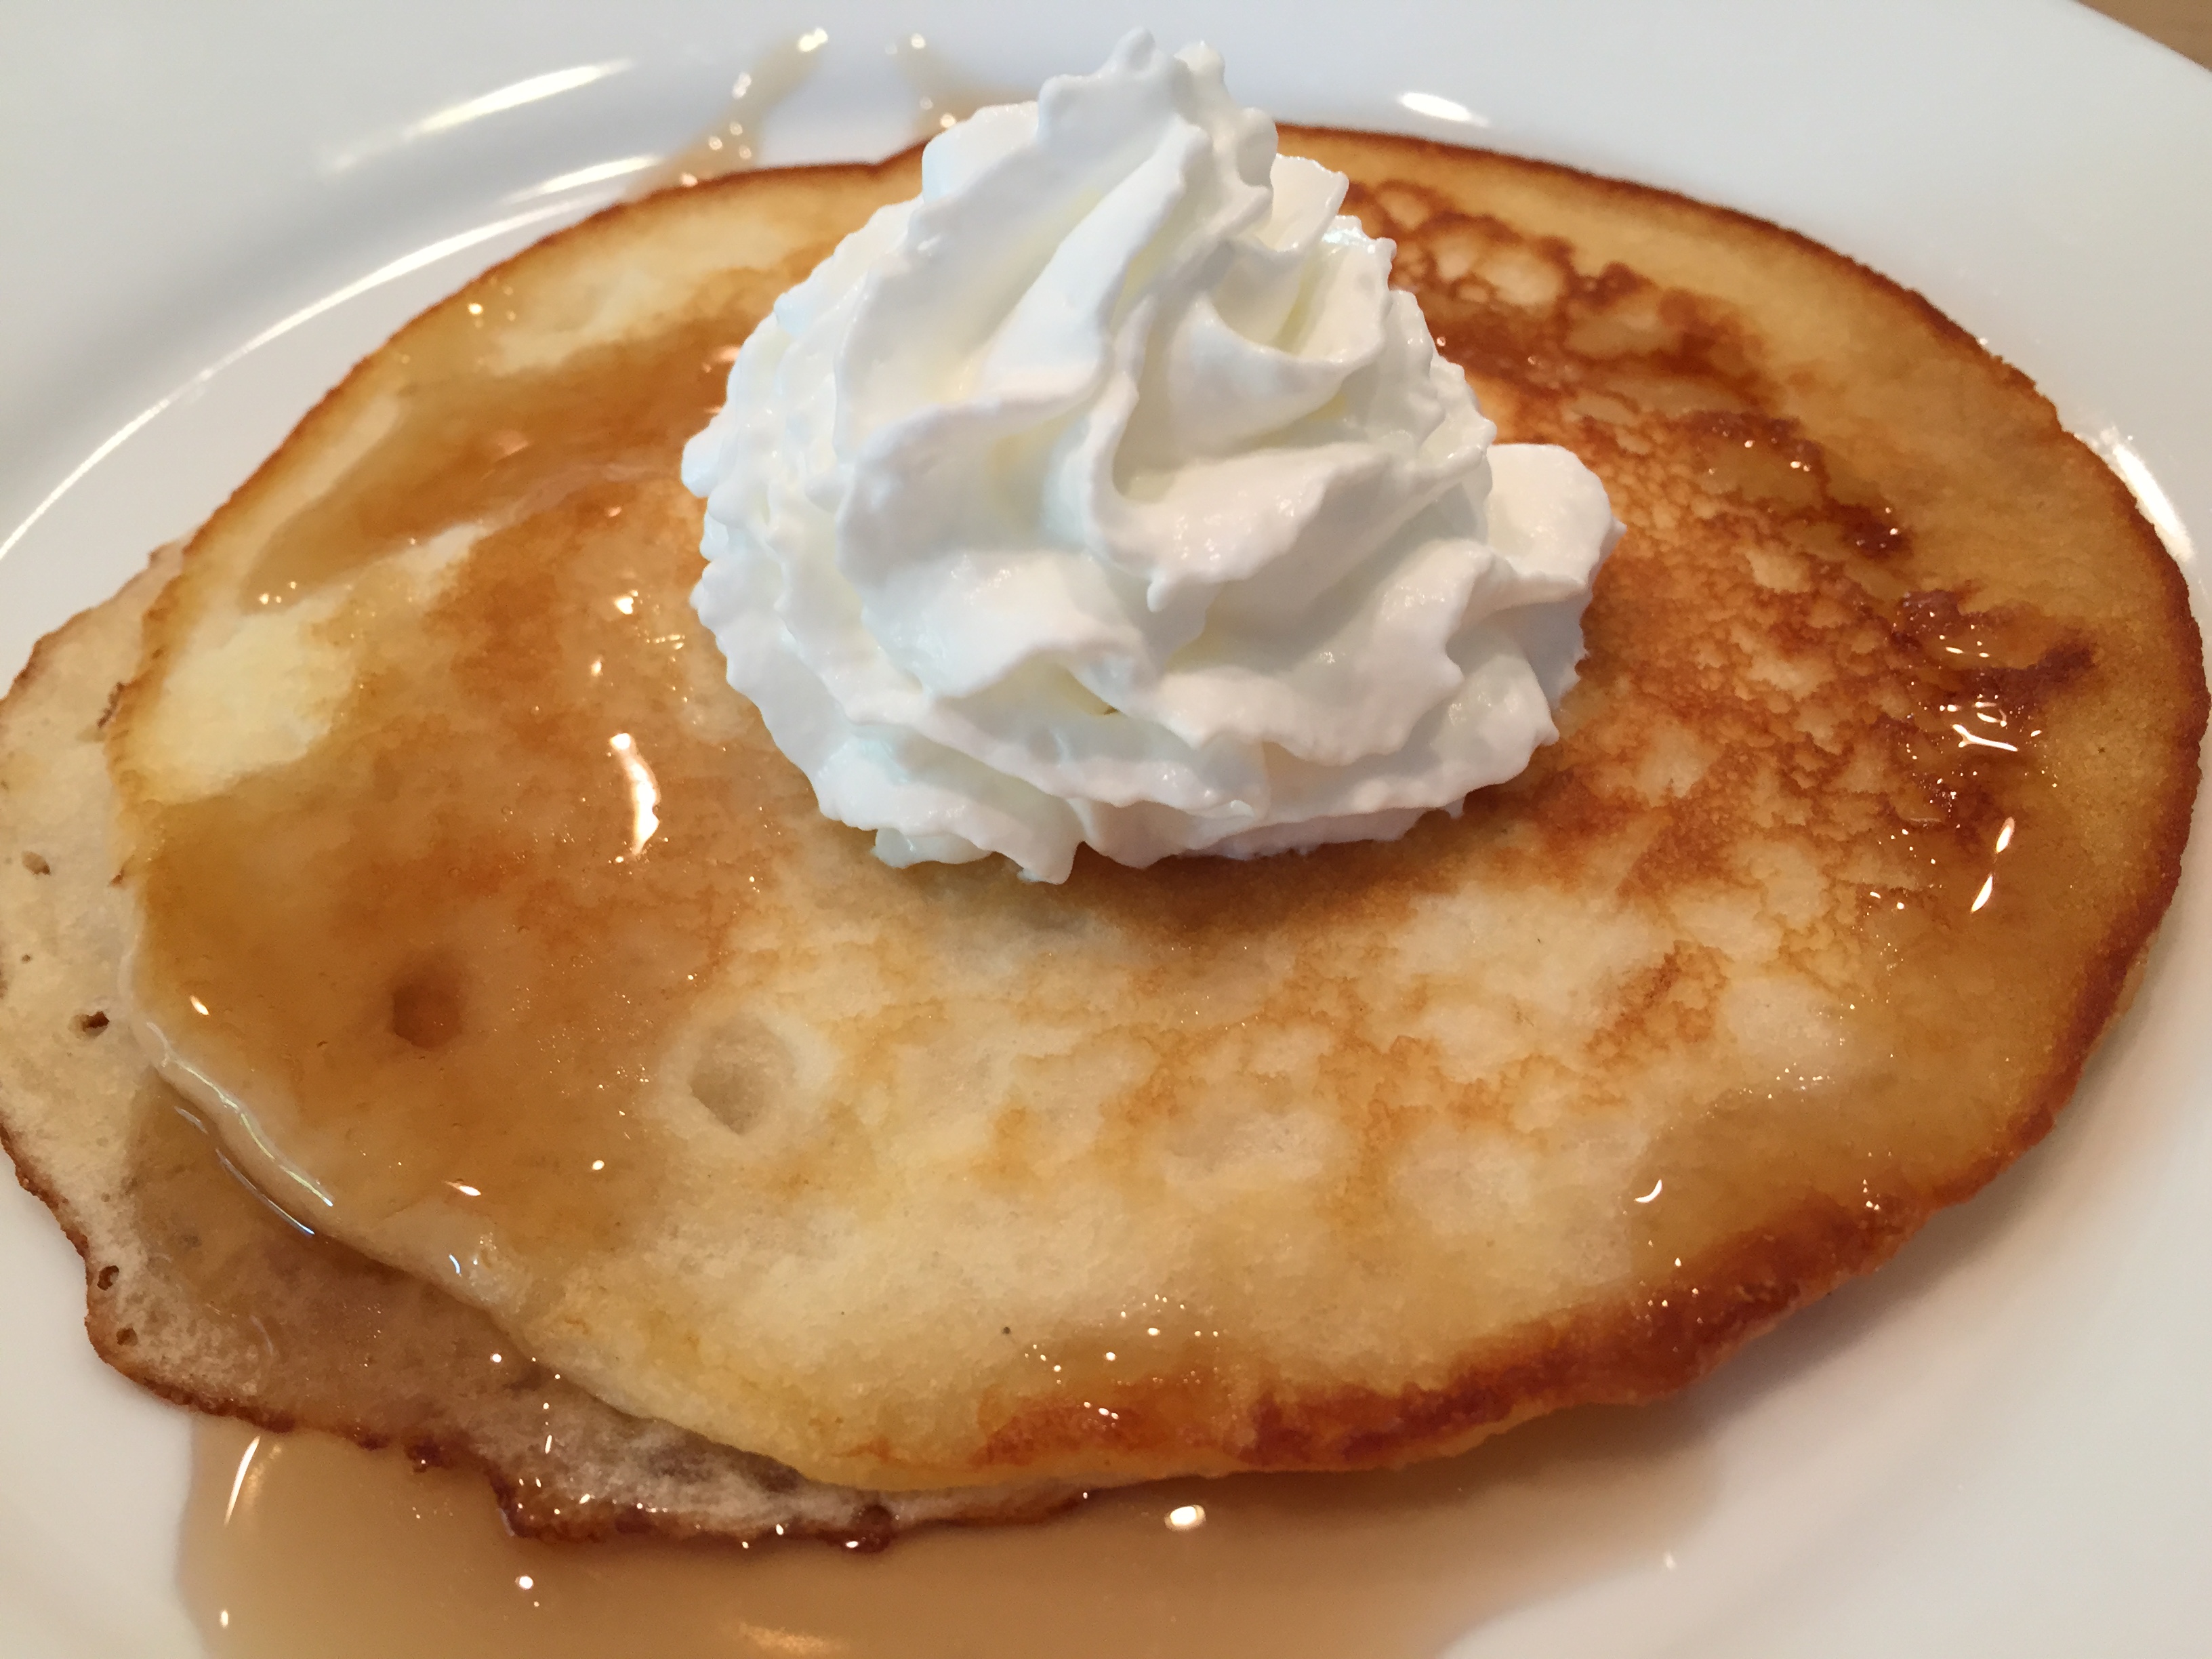
We serve ours with either Log Cabin Syrup (because it contains no High Fructose Corn Syrup), or grade B maple syrup and whipping cream. They are also delicious with a bit of honey and fresh fruit. My daughter ate the leftovers rolled up with peanut butter!
*Notes:
*If your local store doesn’t carry this brand of buttermilk, try to find something from a dairy local to you. Kalona is 2% fat. I would recommend 2% or full fat. A skim would work in a pinch but the results will be different.
**Penzey’s carries both single strength and double strength vanilla. To be honest, you really don’t use 1/2 the amount in the double strength, so you save no money by buying it that way, so use the single strength. Also, the only other vanilla I can recommend is a Madagascar Bourbon Vanilla. I have taste tested Costco mexican vanilla, imitation, bourbon and penzeys vanillas side by side. Let me save you time and money…TRUST ME on this one. There IS a difference. HUGE. DIFFERENCE. When it comes to vanilla, invest in a good one. It lasts forever.
***Regular unsalted butter is fine. I really like the quality of the butter this dairy produces and I love to support local farmers. Unsalted butter is always higher in quality because the added salt hides off flavors in inferior ones. This is one of the reasons I prefer a high quality, grass fed butter.
Last Note: Cup4Cup. This is a blend that was created by the pastry chef for Thomas Keller. Up until now, I’ve always preferred Pamela’s Artisan Flour. I usually always have it on hand, for when the girls pop in. But, I ran out, and I had this one on hand because at Christmas, I was trying to improve on my Monkey Bread. (see link above). I have since used it a couple of times and been impressed with the quality. However, it’s expensive. So, I would save using this flour for times when the flour is the star of the recipe. Like my pancakes.
I hope you enjoy, and if you have any questions, leave them below in the comments!