Gluten Free Monkey Bread

IMG_1535

With our little family being on our own for so many years, we developed Christmas traditions to fill the void that would normally be filled by the bustle of  family gatherings. Our traditions are activity based, and certain foods we enjoy every year. When the children were little, Christmas Eve consisted of Ham, scalloped potatoes and a green veggie, all foods easily popped in the oven to bake while we were at church. After dinner, we made traditional Christmas Eve phone calls to out of state Grandparents and relatives. The girls opened the gifts relatives had sent while on the phone, so that the relatives were able to share in the joy despite the distance. Once all the calls were made and well wishes given, the girls opened their annual Christmas PJ’s. While the girls changed, I would make a batch of homemade hot cocoa to be poured into Santa mugs, while dad warmed up the car. Once ready, we piled into the car and drove around the neighborhoods, enjoying the Christmas light displays. This was immediately followed by checking Norad’s Santa Tracker, setting out Santa’s cookies, and finally little ones tucked into bed.

Christmas morning was a continuation of traditions. Trying to beat the girls awake, I would stumble down blurry-eyed to get breakfast/brunch going. In between mixing and baking time, with coffee in hand, presents were opened. Breakfast was served. Messes cleaned up. Then we host an Open House for our local friends. While our friends come and go, spreading and sharing cheer, Big Man tends the Roast Beast.

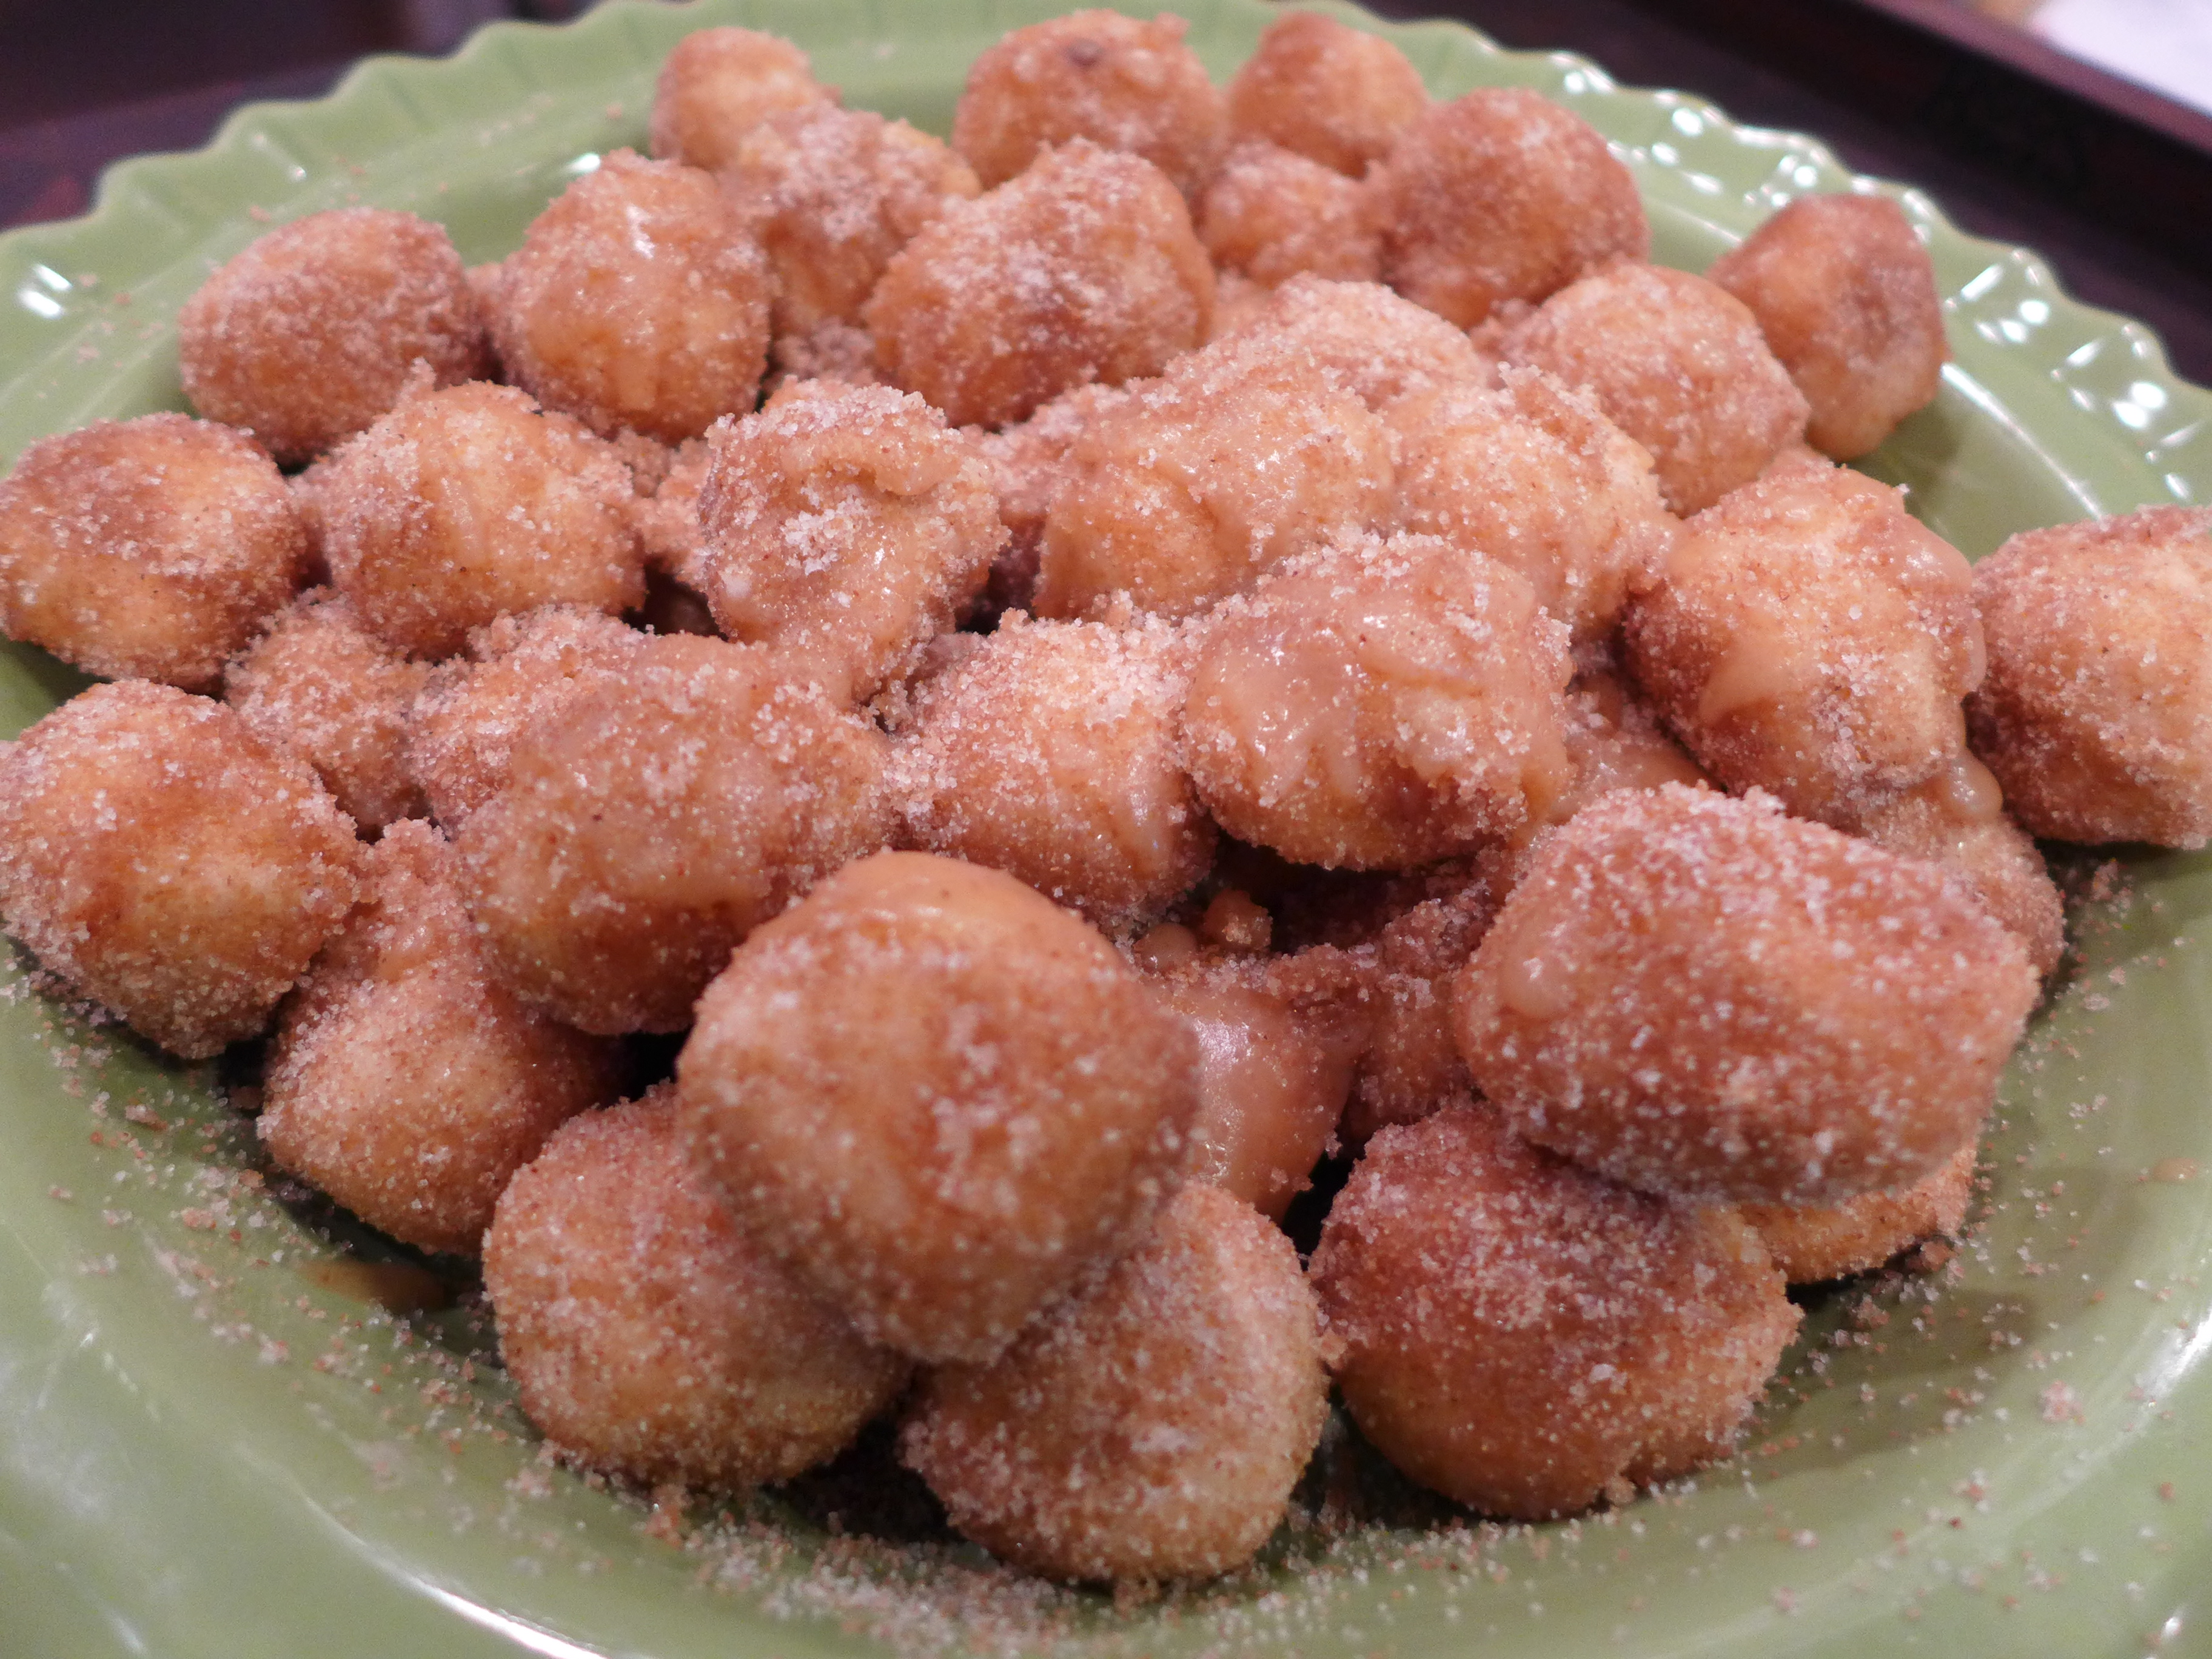
For many years I made the same Christmas Brunch starting with a yummy Apple-Ginger Strudel Bundt cake, Quiche Lorraine (made with leftover ham from Christmas Eve), fresh Fruit Salad and Steamed Asparagus. However, with the diagnosis of gluten intolerance in the girls, I decided to change things up with a Gluten Free Monkey Bread. Monkey Bread on Christmas morning has become a welcome new tradition. Nothing says warm, cozy, yumminess than bread dredged and baked in buttery cinnamon sweetness. Along with this, I serve a crustless quiche and simple fruit salad. It’s a great way to start the day. Give it a try and tell me what you think.

Gluten Free Monkey Bread

1.5 cups Brown Rice Flour
2 cups Tapioca Starch
1/2 cup Sorghum Flour
1 tbsp Xanthan Gum
1/2 tsp Salt
1 tbsp Sugar
1 tbsp Baking Powder
4 oz (1 cube) Unsalted Butter, Frozen
1 cup Water + 1 cup Whole Milk or Almond Milk. (You may not need it all- read Step 3)
1 large Egg

Dough Dredge

1 cup Sugar
1 cup Brown Sugar
4 oz Butter, melted. (1 stick-use regular salted butter- you may need more. better more than not enough!)
2 tsp Vanilla

Optional: Chopped Pecans

Preheat Oven to 350 degrees
Lightly butter a 9 inch baking dish – such as a 9 in pie plate or 2 in deep casserole dish. I prefer round, but you can use a 9×9. (The photo above is made in a Bundt pan. While prettier for display, I have achieved better baking results with a pie dish, the dough cooks more evenly.)

To make the Dough:

1. Combine the flours, baking powder, salt, sugar, and xanthem gum in a large bowl.
2. Using a box grater, grate the frozen butter into the flour. If possible, use the smallest holes. Toss the dry ingredients as you go, coating the butter and mixing it well into the flours.
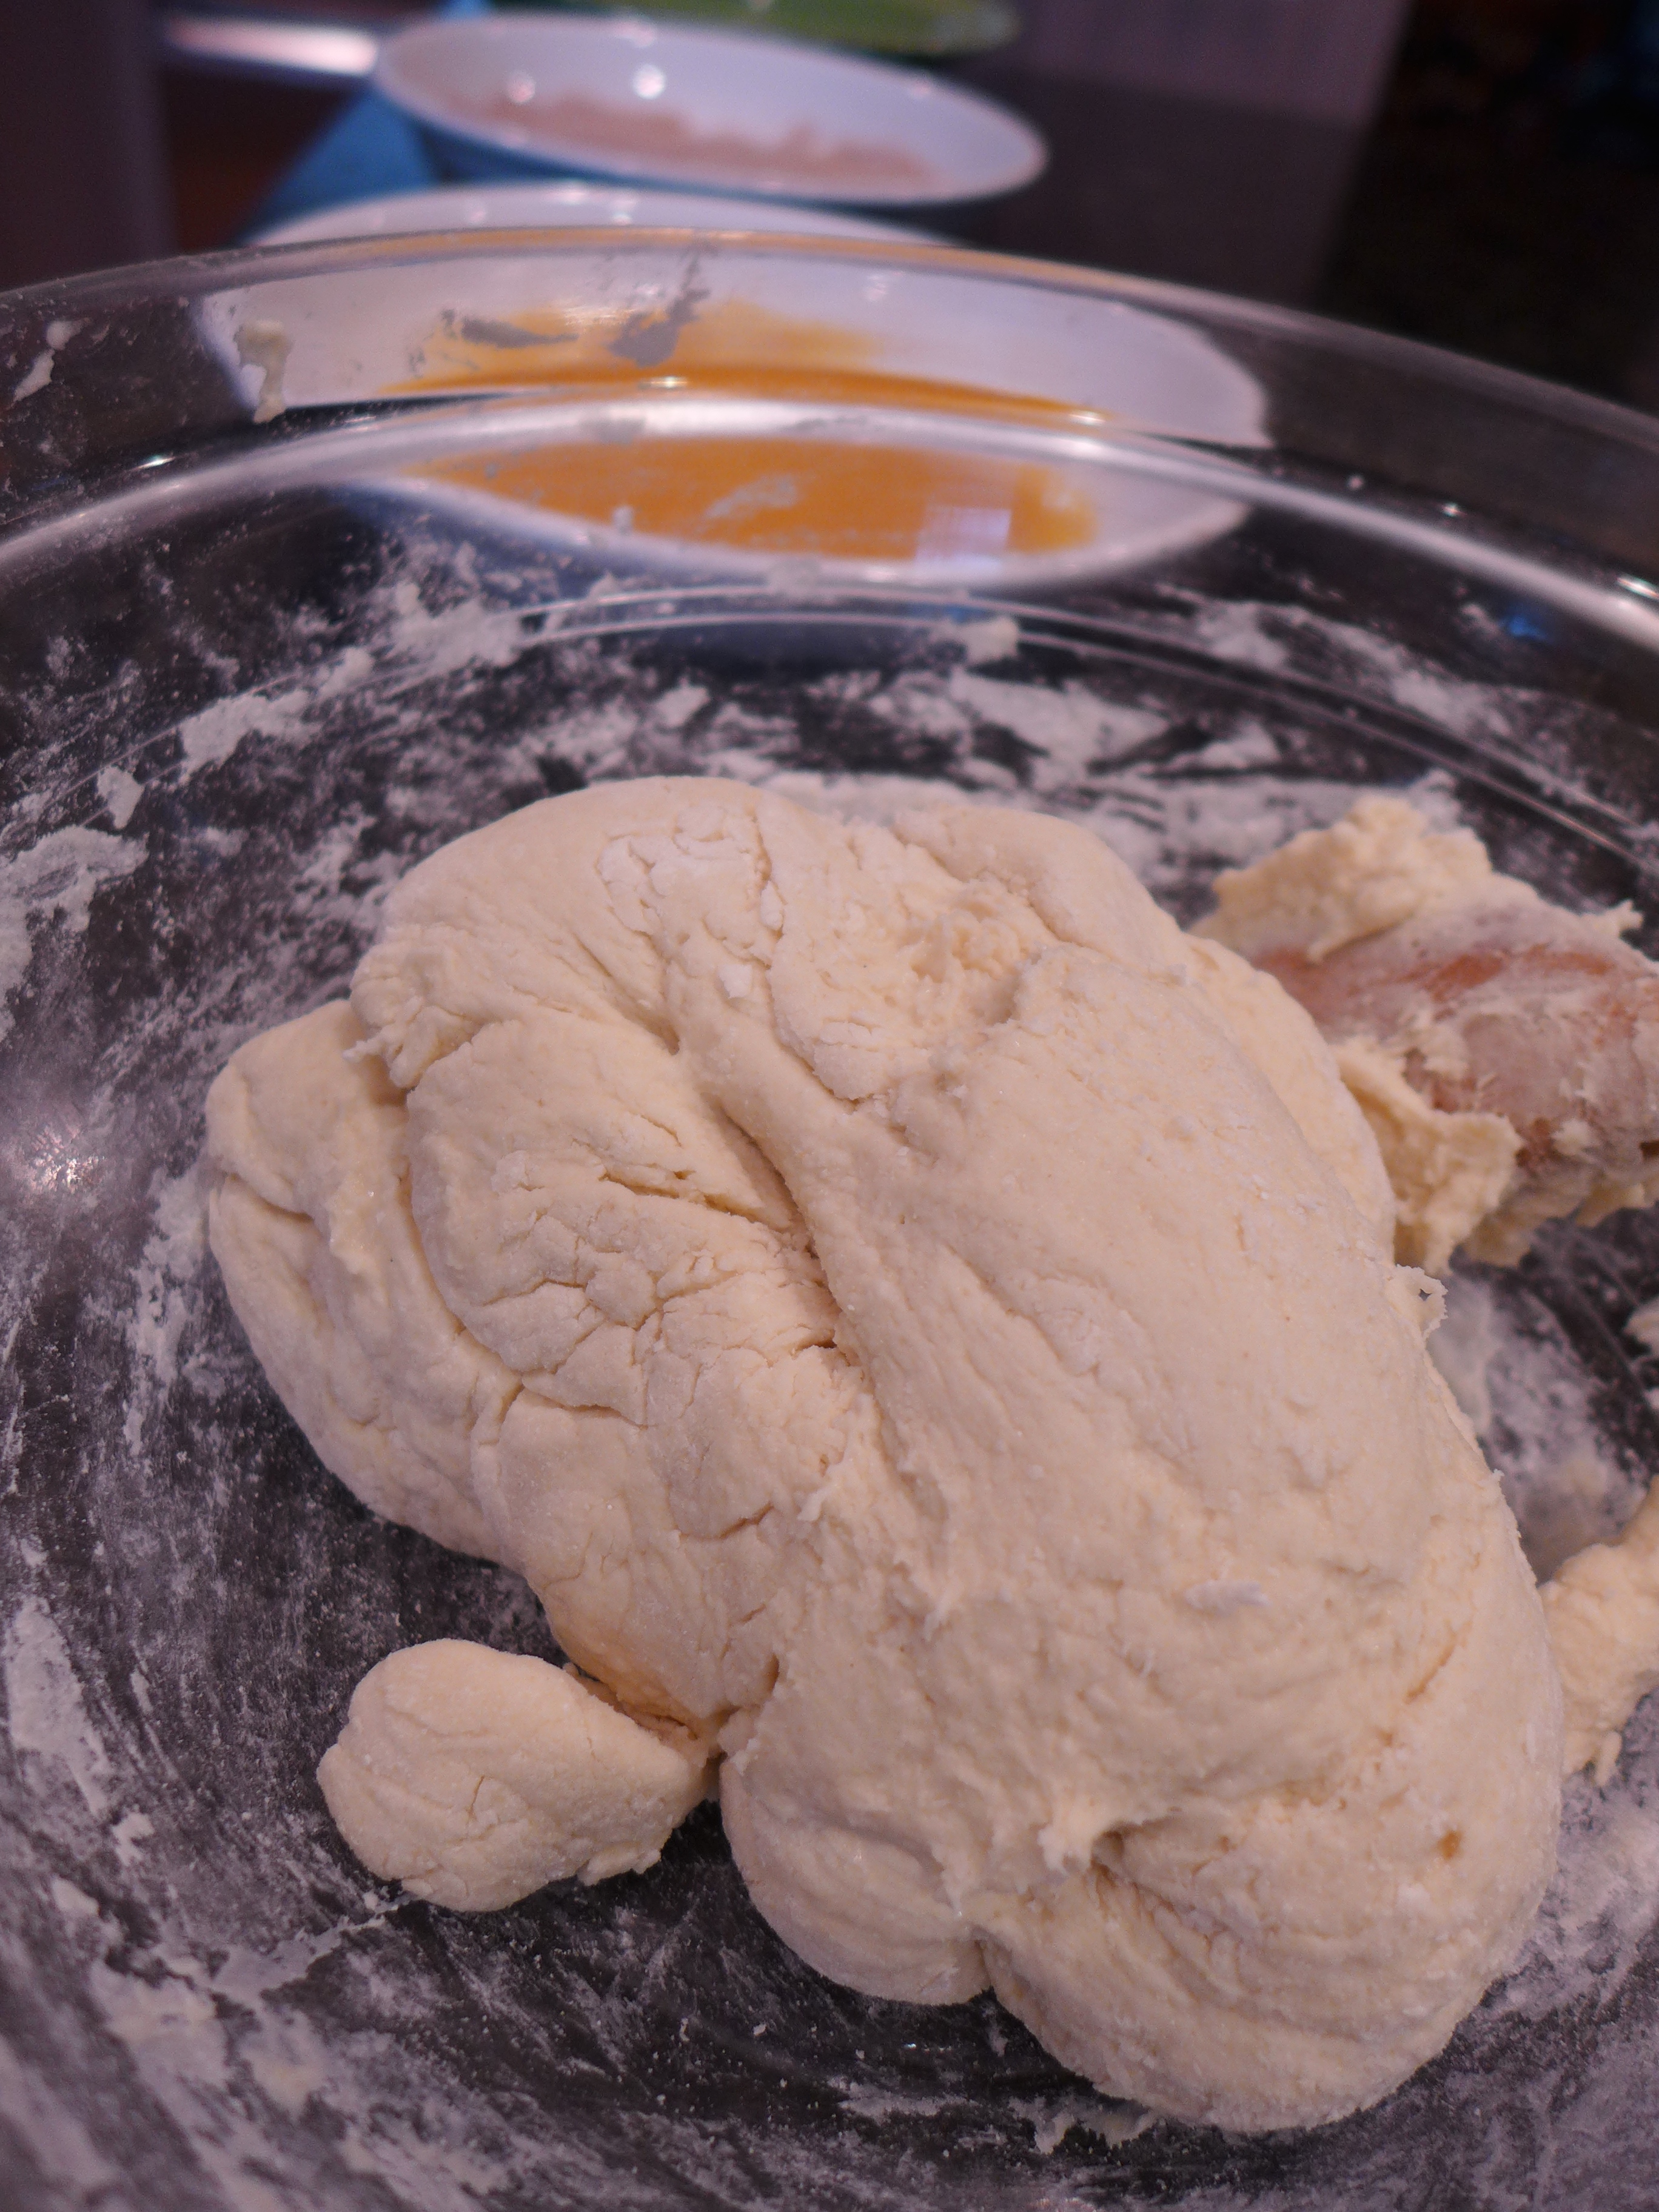
3. Mix the egg into 1.5 cups of the liquid, and add to the flour. Continue to add additional water until you get a dough that is soft, but firm enough to hold the shape of a ball. If your flours are dry, you might need more water. You want it to be the texture of a sweet bread dough. It needs to be firm enough to hold its shape, but moist enough to not turn out dry. It’s better to err on the side of moist.

P1010459

To Assemble:

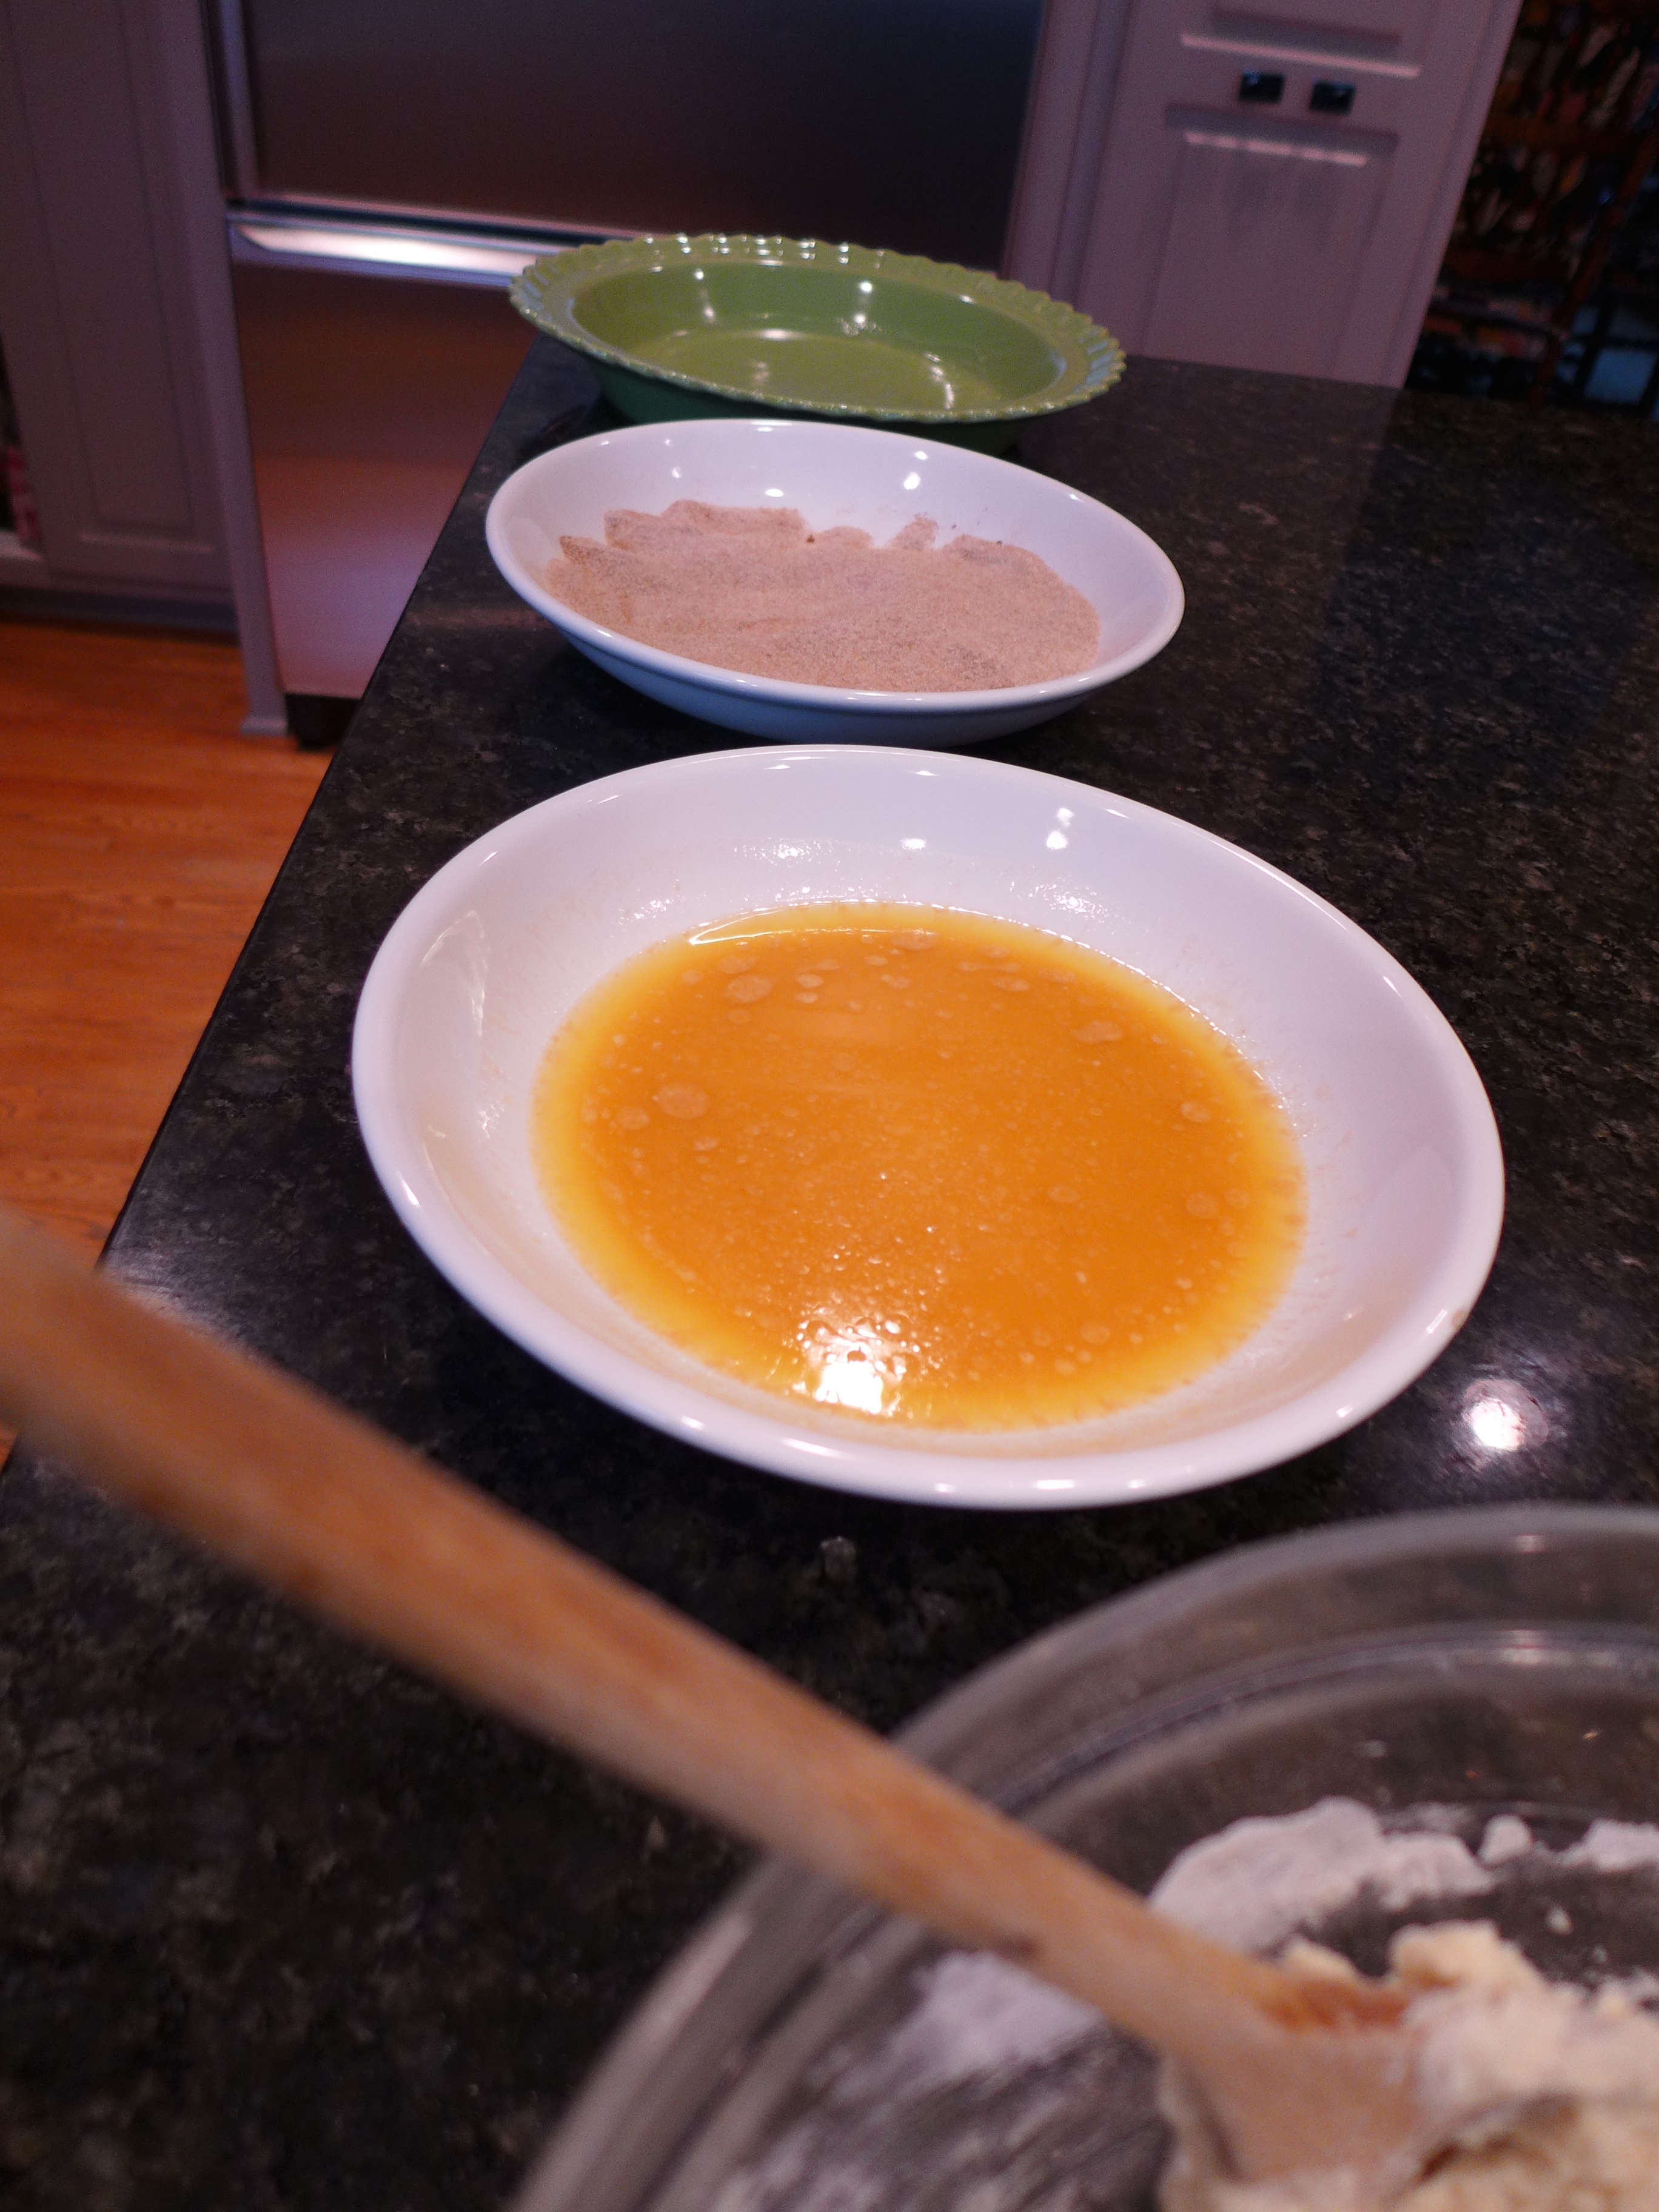
1. Mix the white and brown sugars together with the cinnamon and put in a shallow bowl or pan.
2. Melt the butter, add the vanilla and put in a shallow bowl or pan.
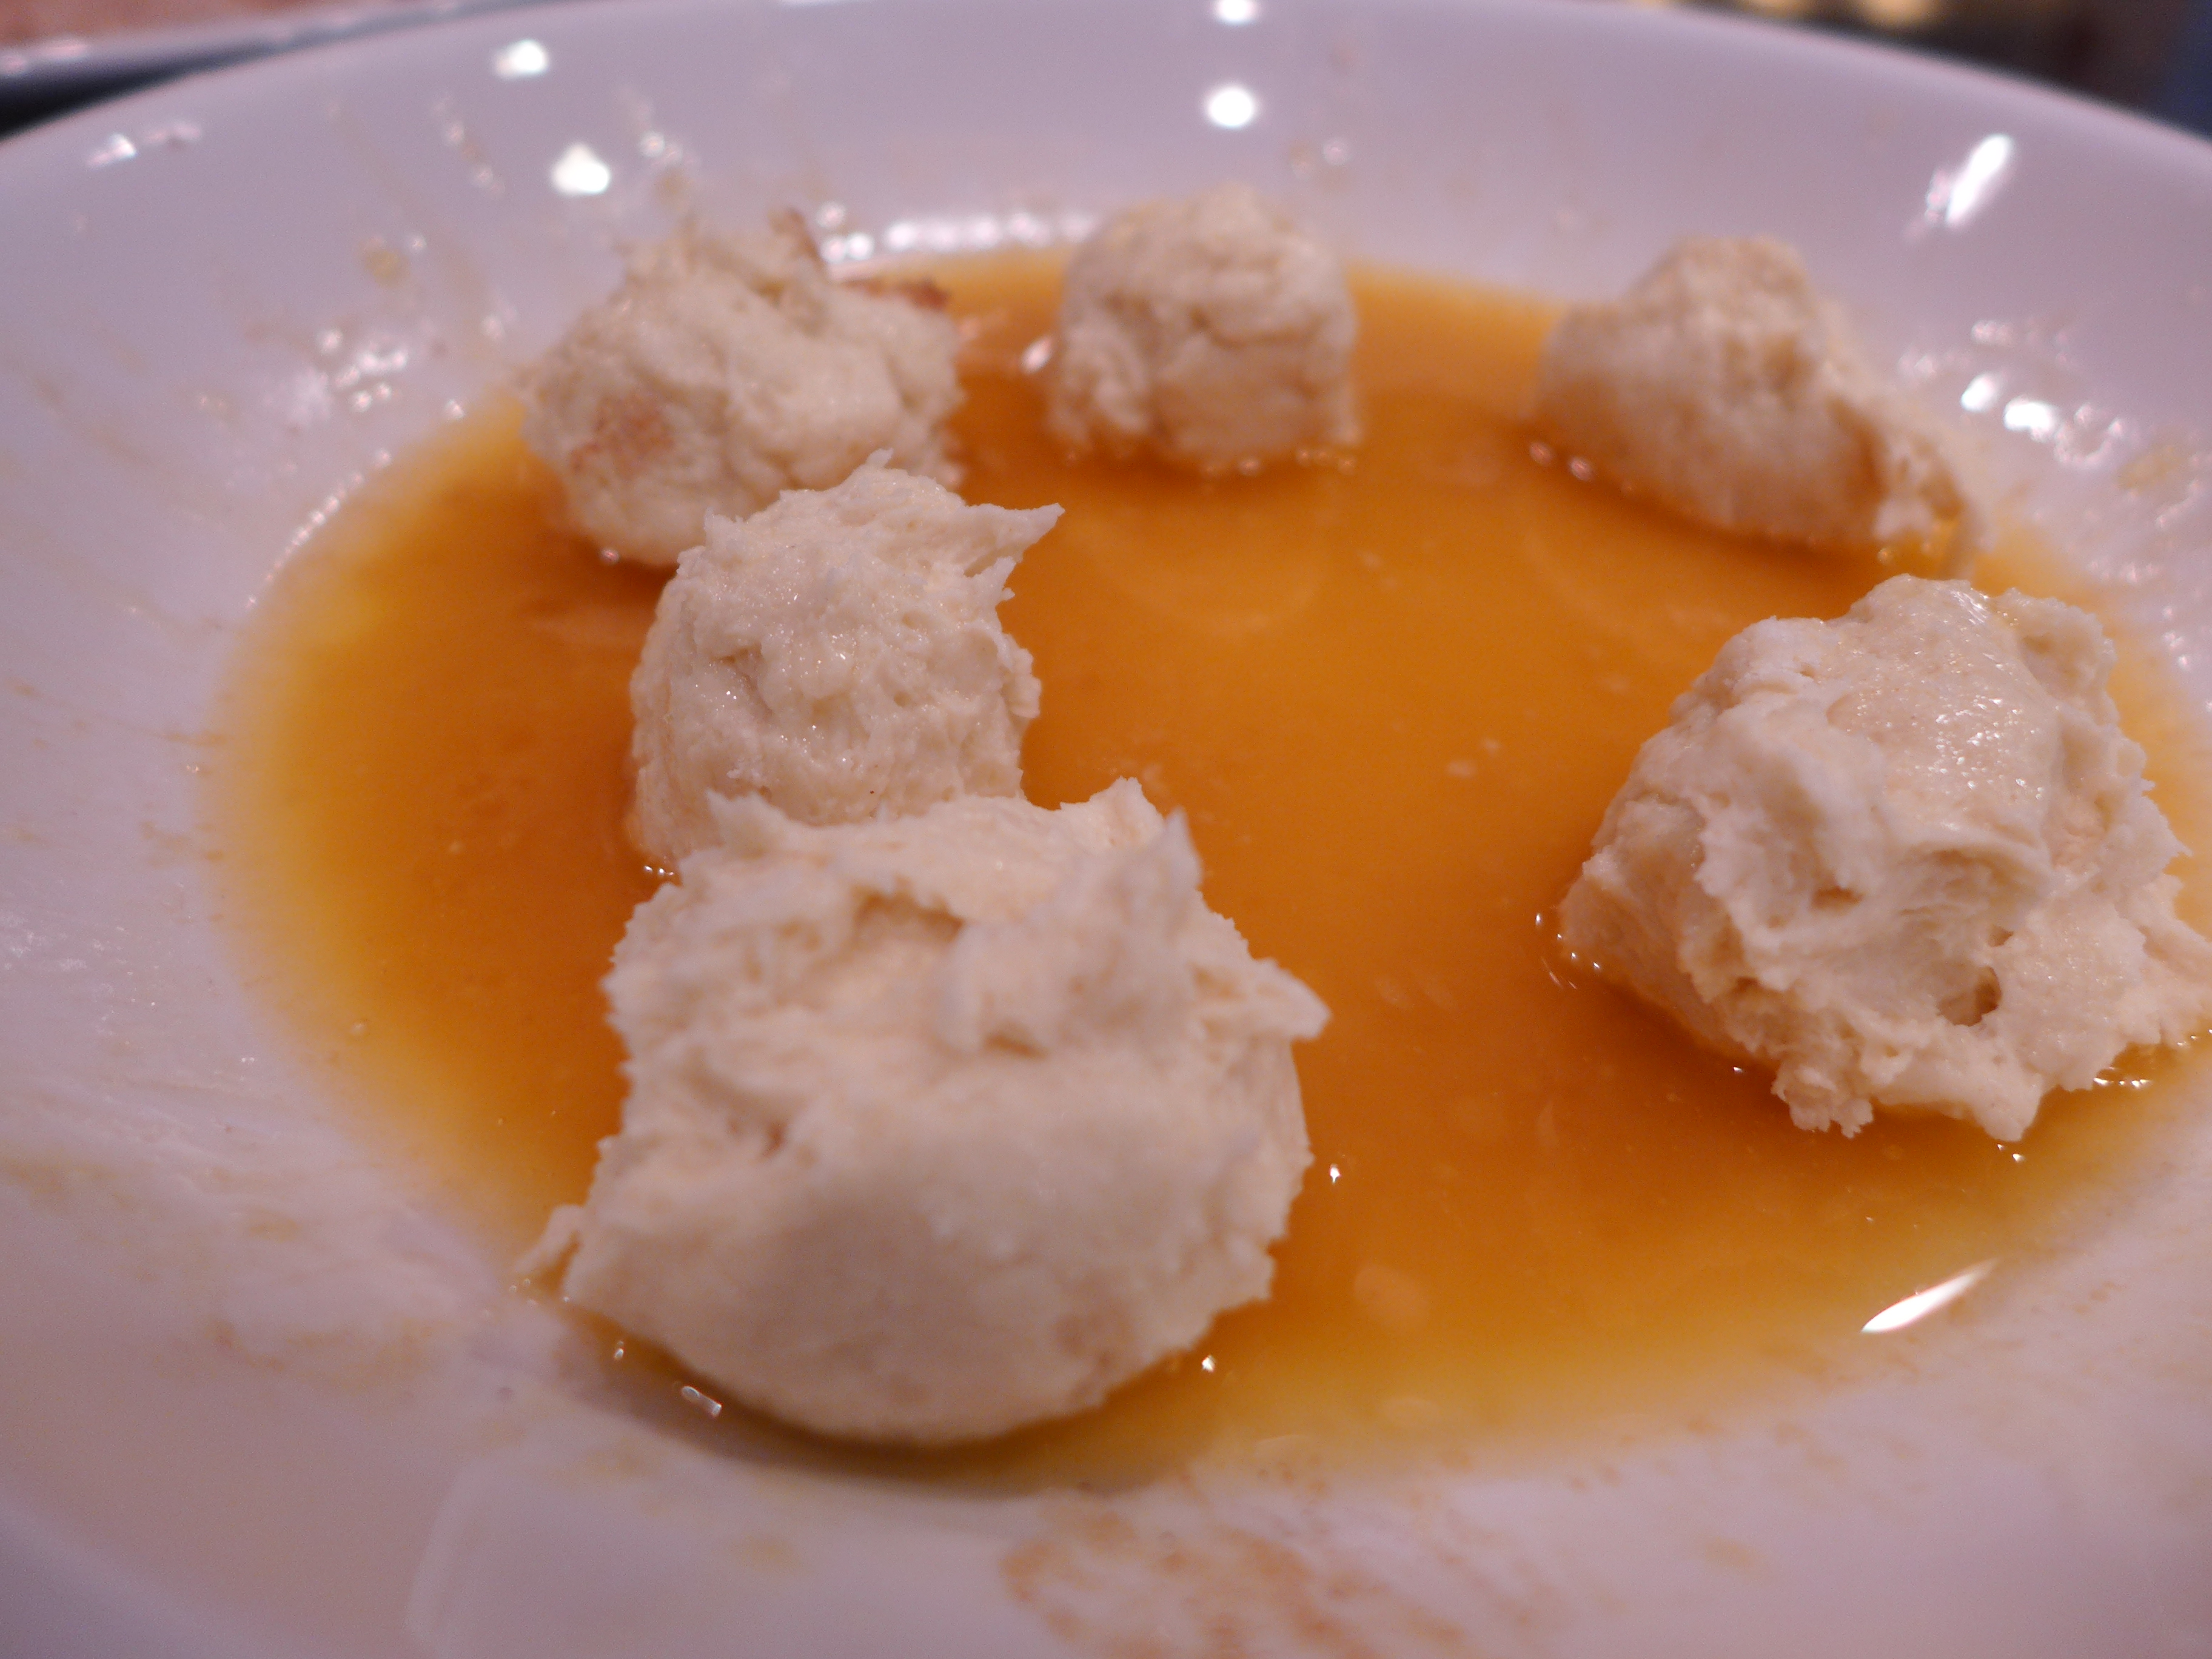
3. Roll the dough into balls that are about 1.5 inches in diameter. The balls should be smaller than the length of your thumb. My technique is this: With my right hand, I use my fingertips to grab a small ball of dough. I use that hand to drop into the butter. I then flip the ball, and on the palm of my left hand, shape it into a ball. Then, still with my right hand, I drop the ball into the sugar. Using my left hand I toss the balls in the sugar and lay in the pan. This will prevent ‘club hand’, as they put it in the cooking realm.

P1010458
4. Dredge the rolls in the Vanilla/Butter mixture, then roll in the Cinnamon-Sugar mixture. Scatter the balls evenly in the pan, laying them so the the next layer fits into the empty spaces of the first. They should be nestled like loosely linked puzzle pieces. If you run out of sugar or butter, just make some more and continue.

P1010461

5. If there is any leftover sugar, butter, or if using pecans, sprinkle over the top.

P1010476
6. Place on a rack in the center of your oven and bake at 350 degrees for 20-30 minutes. You will need to check it at 20 mins, but it might take up to 30 minutes to be fully cooked. You do not want it doughy.
7. Let rest for about 5 minutes, then turn over on to a serving platter.

Note: If you decide to give this a try, please leave me feedback in the comments. I am going to bake a trial run this year modifying the recipe with Pamelas Artisan Flour, the same one I use successful for my GF Scones. If it improves the taste/texture, I’ll be sure to modify this post.


How to Cook a Turkey

IMG_9943

As was pointed out by a dear friend who visited my blog for Thanksgiving cooking advice, I have no basic 1, 2, 3, on how to cook a turkey! How in the heck did that slip through the cracks? Well, it did, so here goes. Here is what I do to prepare my Thanksgiving turkey, which according to my guests (and their huge second helpings) it is delicious.

**To begin with, you need to know that I have been cooking a turkey for over 25 years now. As such, I have done it every way under the sun: Baked covered and uncovered, Stuffed, Unstuffed, Oil-fryer, Smoked using Butterball brand all the way to Organic Free Range. After many varied results, this is the method that I have settled on since it produces a moist, tender, juicy and extremely flavorFULL turkey, without fail. And the drippings make for an AMAZING gravy base.
***There are a lot of steps, but don’t let that overwhelm you. Hopefully it will be logical and easy; but, be sure to pre-read all the steps before you begin since they are timed to follow each other.
****This recipe is designed to work with a Nesco Oven Roaster (see link below in step 6.) The turkey will turn out great using a traditional oven and cooking times, just be sure to make sure your drippings on the bottom of the pan don’t burn and cover the bird in tin foil should it start to brown too much.


Step 1: Select an Organic, non-injected turkey. It is your choice of free range or not, but with this method, DO NOT use a Butterball or JennieO style turkey. They are pre-injected with solutions to retain moisture in the meat and add seasoning. You are brining your turkey, which will produce the same results without all the icky fake stuff.
Have your butcher help you with the size needed for your group.
Remove the neck bone from the cavity, the wings (see note in Step 3), and under the neck flap is where the gizzards bag is located. Set these aside for your turkey stock.

Step 2: The day BEFORE Thanksgiving – Brine your Turkey (Click HERE for ‘How to Brine your Turkey’)

Step 3: Since you need a day to start brining your turkey the day before, this is a great opportunity to get a head start on your Turkey Stock, (recipe HERE) which will be used both in your dressing and your gravy. Don’t forget to use my Domestic Goddess Tip which makes a generous amount of turkey stock.

Step 4: Thanksgiving Day, pull your turkey out of the brine at least 1-2 hours prior to cooking. If you use a construction cooler like I suggest, this is a breeze. Simply heave the container so the spout overhangs your sink and use the valve to release most of the water. (see the link above) Pull your turkey out, pat it dry and let it sit on the counter to come back to room temperature. While you are doing this, you can prepare your rub and basting liquid. Preheat your roaster to 425 degrees. (see note at Step 6)

RUB: 1/4 cup (1/2 a cube) UNSALTED BUTTER
Herbs de Provence
Pinch of kosher salt (about 1/2 tsp)
2 garlic cloves, minced or put through a press
1 tsp onion powder (not onion salt!)
Soften the butter, add the herbs and cream together.

Basting liquid: 1/2 cup UNSALTED BUTTER.
1 cup good quality Dry White Wine.
1/2 cup Chicken Stock
2 sprigs Sage, fresh, rough chopped
2 sprigs Italian Parsley, fresh, chopped
1 tsp Herbs de Provence
Combine the ingredients together in a large microwave-proof measuring cup (or pan on the stovetop), heat to melt the butter, whisk together, and set aside with your basting brush.

Step 5: Rub your turkey.
With clean hands, gently lift the skin from one side of the breast of the turkey up, using your forefinger and thumb. This will be easiest if you start from the neck end of the bird under the flap, and stick close the the spine. The skin is thickest there and you are less likely to tear it. When you get your finger in under the skin, and on top of the flesh, begin to work your finger down about 2/3rds of the way. You are creating a little pocket where you will insert some of the softened butter. Repeat so that both sides are loosened.
Moving on to the legs, you should be able to create a small pocket by entering through the gap between the breast and the leg near the cavity opening. If your turkeys legs are bound together, this might be difficult. While It’s not necessary to butter the legs, it will add additional seasoning to the leg meat. If you want a nice presentation, feel free to tie the legs together if they are not already. I don’t bother anymore.
Then take equal amounts of the creamed herb butter and put a wad into the opening of the pockets. Push it in, then from the outside of the skin, gently smooth it throughout the pocket. Precision is not necessary here, you are just adding an additional layer of protection against drying out and flavor. The butter will baste the actual meat, not just the skin which traditional methods do.
Pat the skin dry again and season lightly the outside of your turkey with kosher salt and pepper.
**We cook our turkey unstuffed because Gluten Free bread does not hold up will with the excess moisture in the turkey cavity. We use Nettis’ Dressing (click for link to recipe) cooked separately like dressing to keep it from getting soggy. Dressing is what you call it cooked outside the bird. Stuffing is what it is called when it is cooked in the cavity. Not only is this a safer way to cook ‘stuffing’, it shortens the cooking time of the turkey.

Step 6: Place turkey in your preheated cooking vessel.
After many years of oven baking, smoking, grilling, frying, I have settled on baking it in my Nesco Oven Roaster. It should hold up to a 20 pound bird. The fit will be tight with that big of a bird, but since you cut off the wings for the stock, it should fit. Be sure to use the rack that elevates the bird off the roaster bottom. The model I have is an Air Roaster and if the birds’ breast bone sits too high, I simply don’t add the fan attachment. (If you need more meat than a 20 pound bird provides, simply add a turkey breast to the brine and cook it independently in the oven)
**If you are using an oven method, slice a peeled onions crossways in to 5 medium thickness medallions. Lay these on the bottom of your pan. This will mimic a rack and keep the turkey elevated from the bottom of the pan and burning.

Step 7: Cover and allow the turkey to cook for 20 minutes at 425 degrees. Then, after 20 minutes, turn the heat down to 325 degrees, and baste the turkey liberally. Continue to baste the turkey every 20 minutes until done. (Set a timer if you need to remember. I assign turkey watching to my husband. Basting is Big Man’s job on Thanksgiving, and he takes his job very seriously). Cook the turkey for the stated amount of time according to this chart HERE.
The easiest way to ensure it is properly cooked is to use a remote thermometer or insta-read thermometer. (click this LINK for my favorite brand of insta-read)
Many sites will tell you to cook the breast meat to 180 degrees. I use the pound/minutes guide but check it with my thermometer. I confess, I cook mine to 165-170 degrees, since in the resting process, the temperature in a large turkey will continue to rise 5-10 degrees. Since I cook a large 20 pound bird each year, I have found that temperature to be ideal and results in tender, not over-cooked slices. If you are inexperienced in cooking, err on the side of safety and cook the meat to 175. It WILL rise another 5 degrees as long as you keep it in a warm spot of the kitchen. If you don’t have a thermometer, cook according the charts pounds/minute and then prick the thigh meat. If the juices run clear, its done. The thigh meat takes longer than the breast, so this way you are ensured to have fully cooked meat.

Step 8: Remove turkey from the roaster when done. Now your turkey needs to rest at least a 1/2 hour to 45 minutes, depending on the size of the turkey. Small 12lb turkeys can get by with 20-30 minutes, a large one (18+lb) needs up to 45 minutes to rest. Cover the bird with tin foil and be sure to put it on a platter or cutting board that will catch the juices. Letting the bird rest will allow the juices to return back into the meat, which in turn keeps the meat moist. This is an essential tip to having juicy turkey. Those who dive right into slicing, end up with shoe leather turkey and juices running over your counter.

Step 9: While the turkey is resting, this is your opportunity to make your gravy, and finish up you other dishes. Pour the drippings into a fat separator. If you don’t have a fat separator use a large measuring cup, wait for the fat to rise to the top and skim off, saving enough fat to make your gravy. Since you are collecting the juices from the rested turkey, don’t forget to add those juices to your gravy also.

Step 10: Slice, serve and enjoy!

(Let me know how it turns out for you. If you have any questions, please leave them below. If I left something critical out, I will edit the post)


Amazing & Amazingly Simple Fall Appetizer

Looking for an entertaining appetizer that will disappear and have your guests or host scraping the bowl for? Well, this one is to die for.

While roaming the aisle of my local grocery (yes, I roam when I have the time) I spied these new chips from the company Food Should Taste Good Harvest Pumpkin. We started buying this brand because the line delicious and gluten free. Recently they have really branched out and experimented with some fun new flavor combinations. The pumpkin one really peaked my interest to use as a signature fall appetizer.

I opened the bag and tasted a chip, wondering was it sweet? Savory? Or both?

Both. The chips have pumpkin and sweet spices like cinnamon, nutmeg, clove and allspice, but they are not sweet. There is just a touch of sugar in them but are dusted with sea salt and that balances the flavor.

I then headed over to the cheese department and my favorite cheese expert was there. We have spent countless hours together creating dishes that pair well with cheeses. We contemplated what would pair best with these chips as a dip and together came up with this combination. I have served it twice since then and both times, with all ages, it was extremely well received.

If you cannot find a whipped goat cheese, simply find the creamiest brand you can find, add a bit of cream and either whisk or use a hand blender to mix. (Do not use Feta, use Chèvre) You will be adding the chutney to taste, just be sure to not add too much. There should be a balance of sweet/tangy and savory. For the container shown in the photo, I added about 2 heaping tablespoons of chutney. Mix the two together and serve with the chips on the side.

This appetizer will be out for Thanksgiving in my house. I hope you enjoy it too.
Please, let me know what you think!

1 container whipped Chèvre Cheese
2-3 heaping Tablespoons Apple-Cranberry Chutney
Food Should Taste Good Pumpkin Tortilla Chips

IMG_0017