(Updated 8/2015)
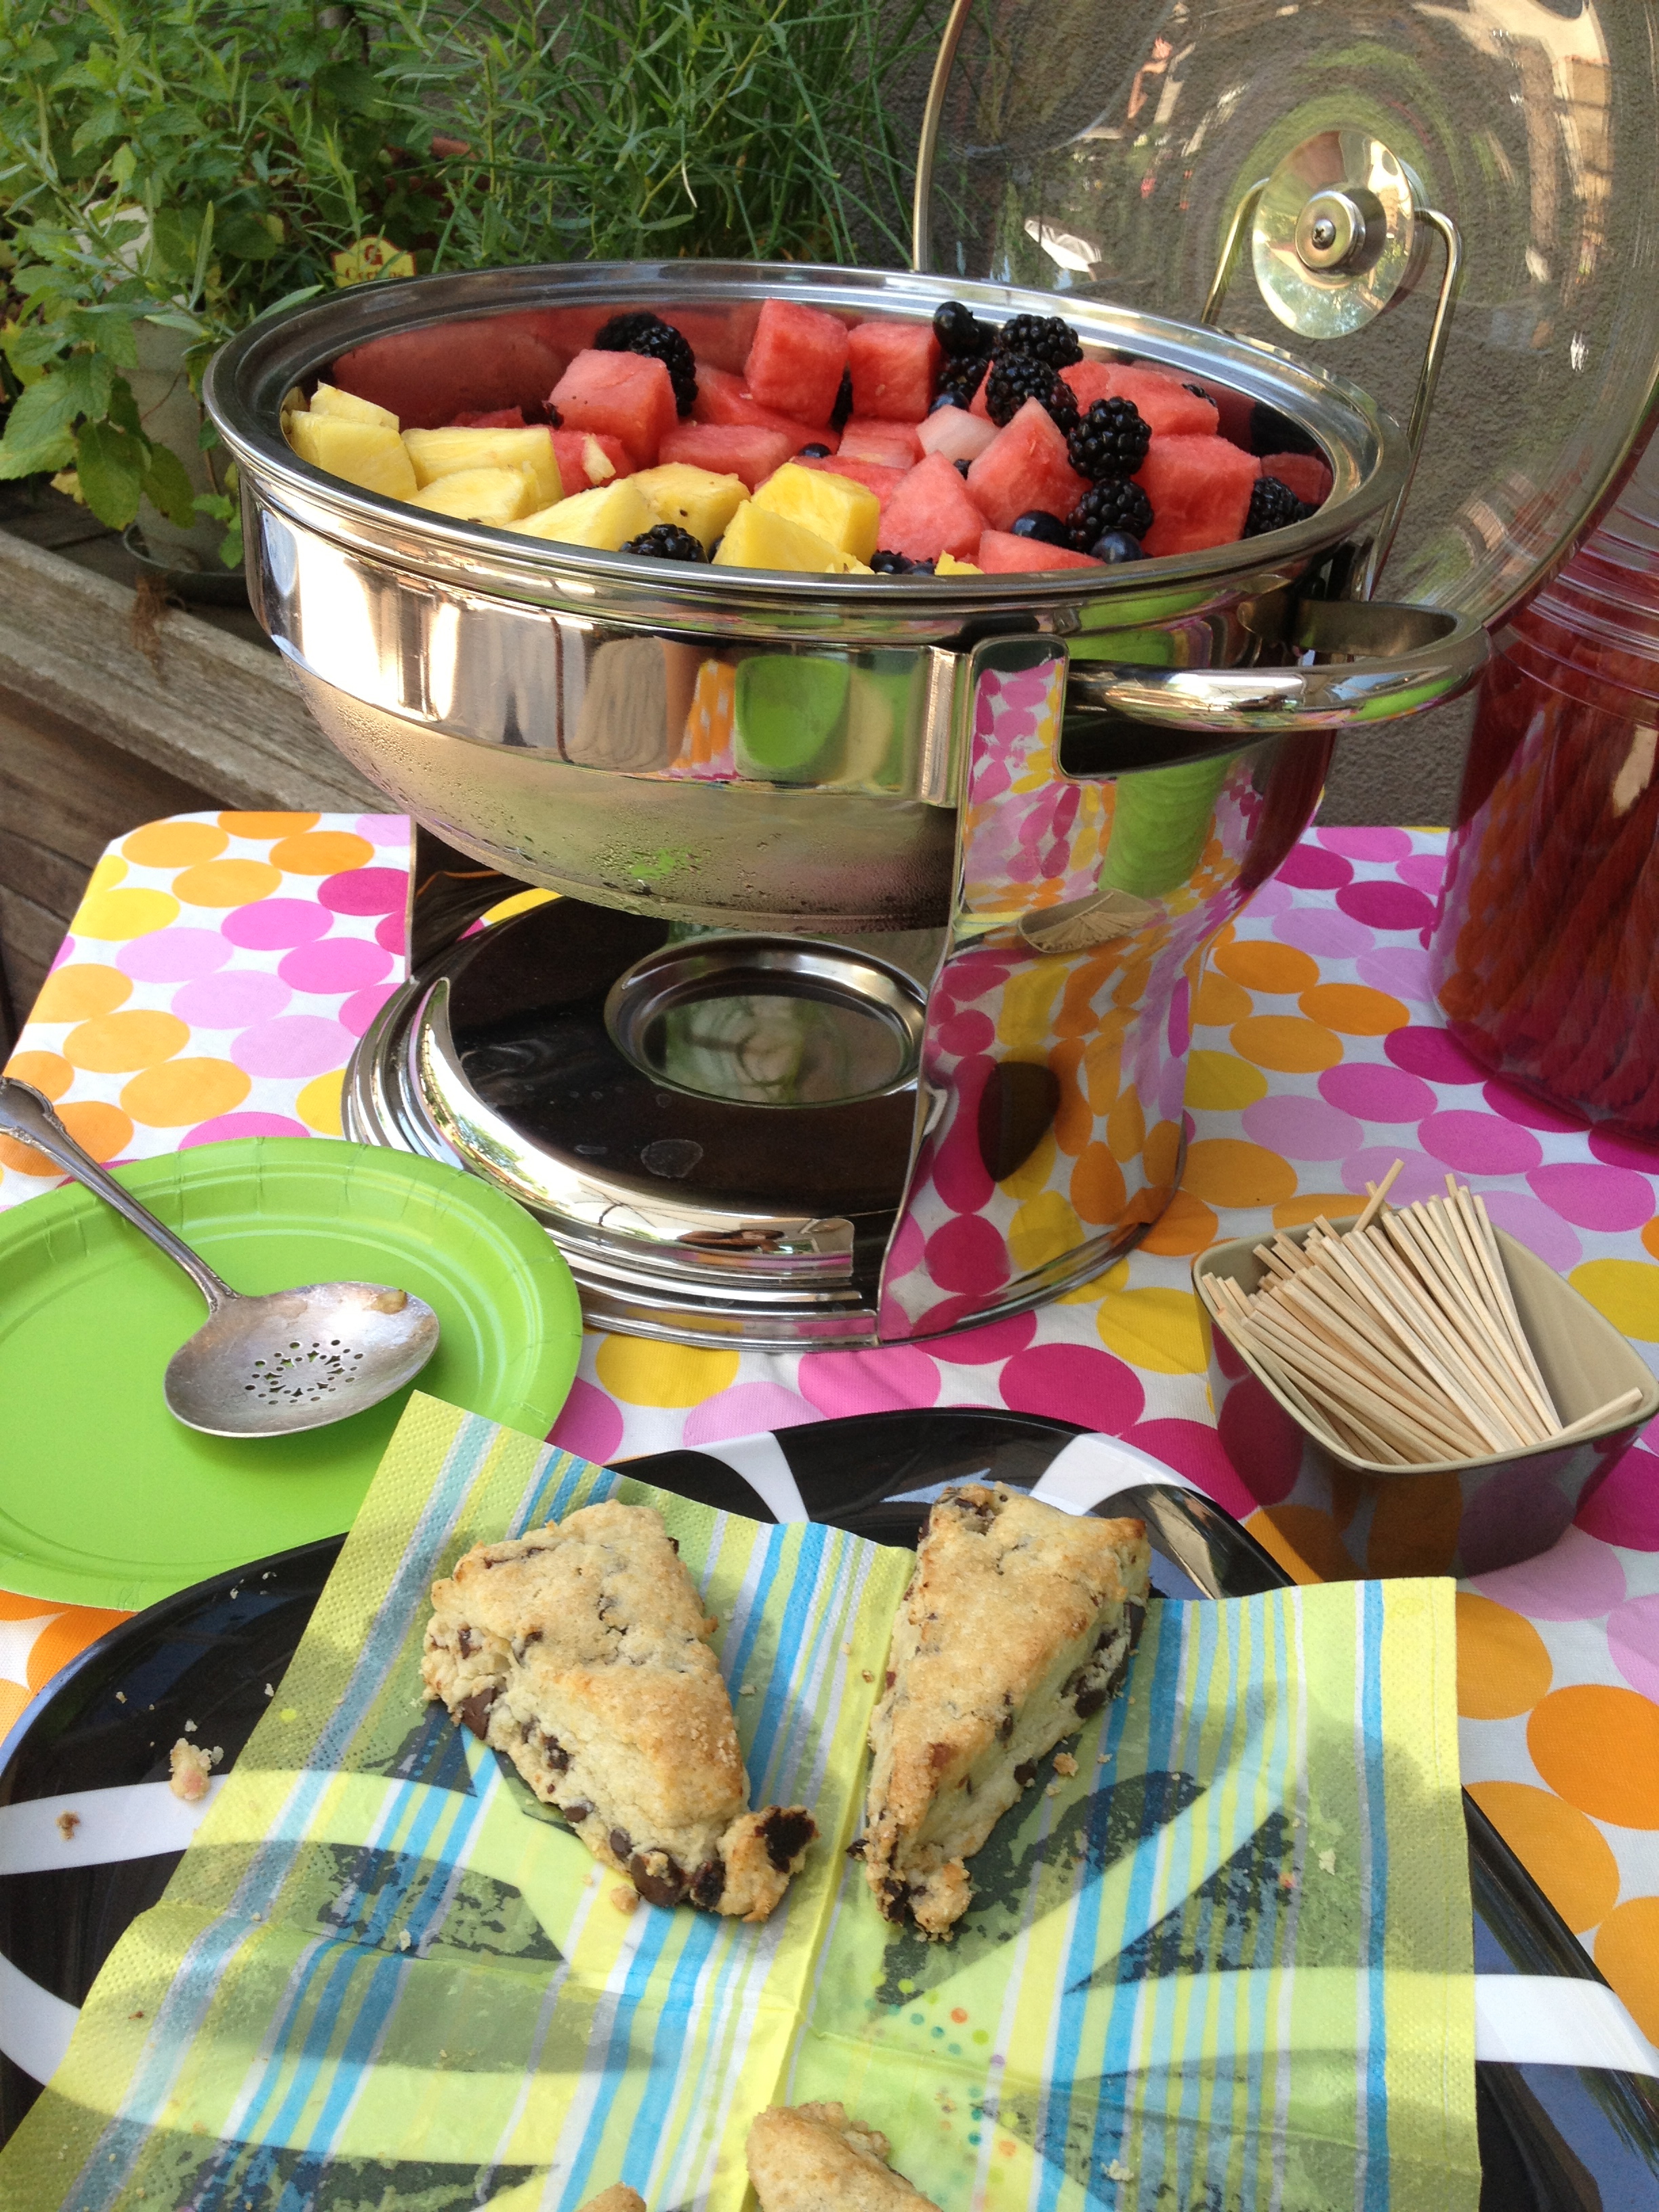
It occurred to me from looking at my last post, I have never actually shared with you my perfected scones! (palm to forehead!)
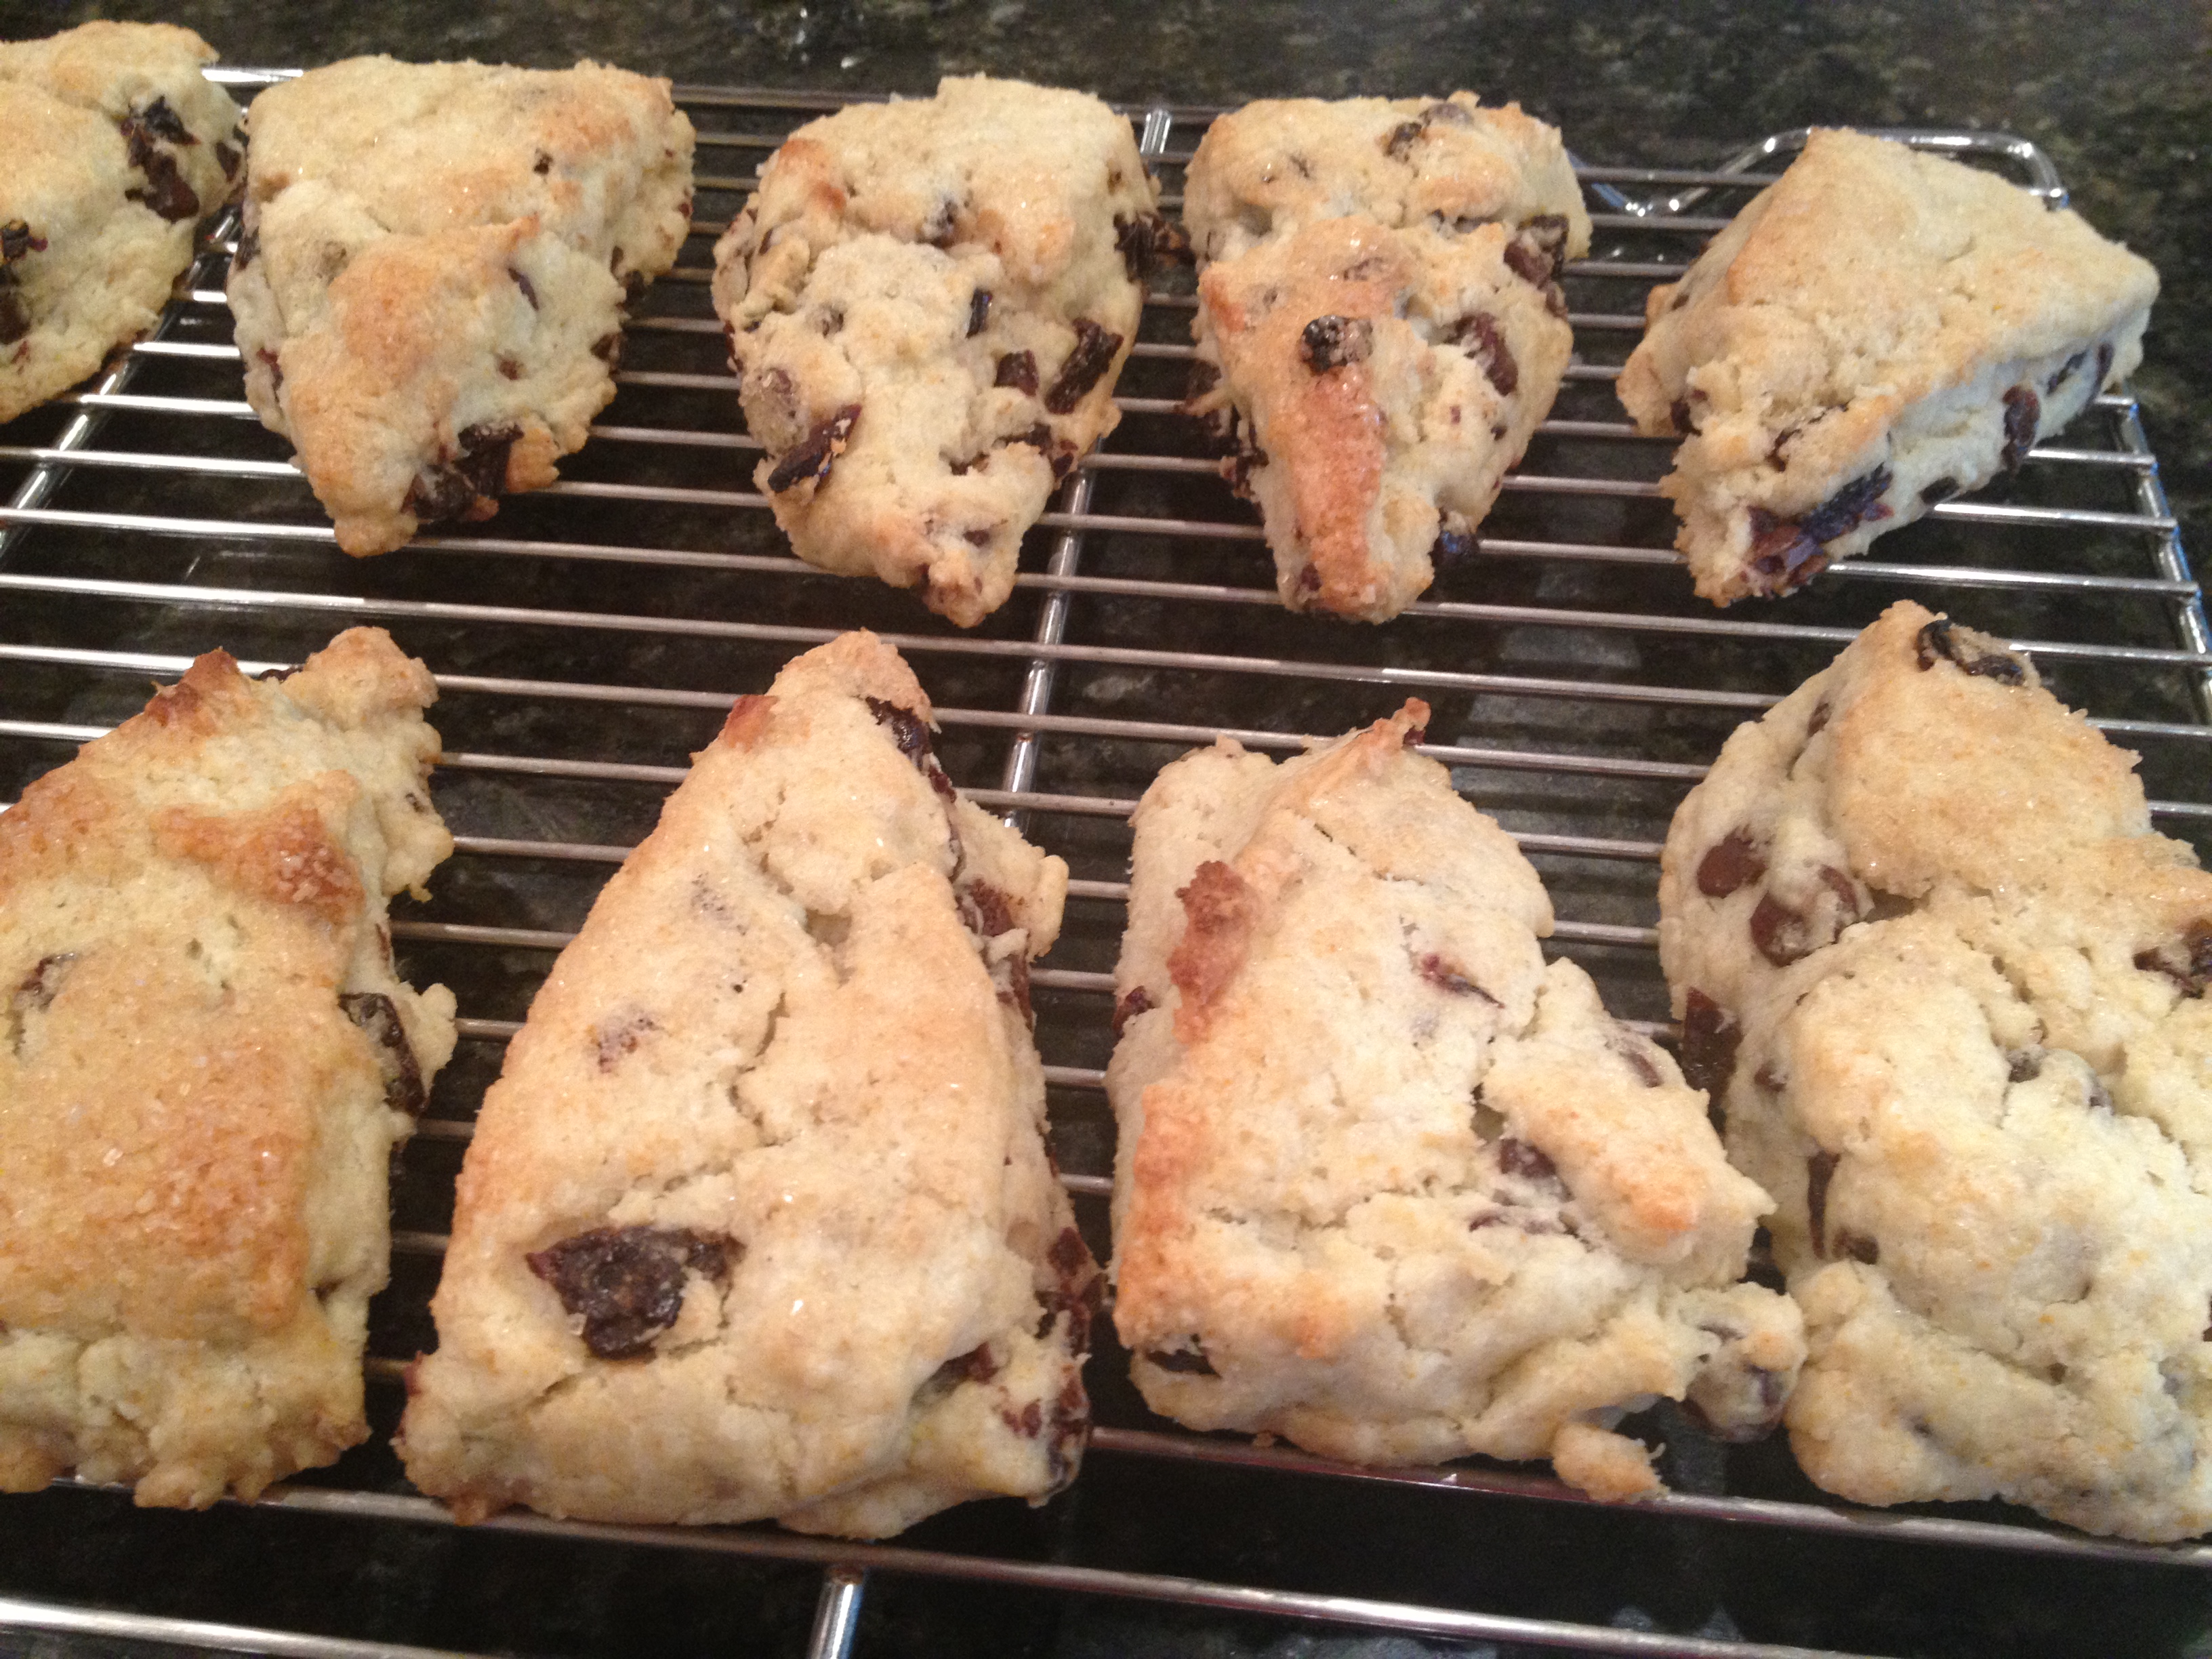
My sincerest apologies! They are just so good, it’s a crime not to share. So here you are, my Famous Cream Scones. (well, they are famous in my circle of friends!)
Note #1. I used Pamela’s Artisan Flour in my original version. Since 2013, when I posted this, I have substituted 1/2 the flour mix for almond flour. It produces a much more tender, and yes delicate, scone but the flavor is divine. When I started out baking GF, Pamelas was the best version of flour I could find. Since then, I’ve branched out and become much more adventuresome. With this recipe, just try to find some blend that isn’t too gritty. (If you are GF, you know what I mean)
Note #2. You MUST use the right technique with the butter. You do NOT cut the butter in with this recipe. You ‘flake’ it in. First, cut your butter in to cubes, be sure it is COLD. If you have hot hands, run under cold water to cool. Add the butter cubes to the flour mixture and using your thumbs and first two fingers ‘smear’ it though you’re fingers creating ‘flakes’ of butter. If your kitchen is hot (summertime is not the best time to make these) freeze your flour first and work very quickly, re-chilling the flour/butter mixture before adding the liquid if needed. By creating these little flakes of butter, you achieve a similar effect that it does in puffed pastry. That will yield a tender and moist, yet light and flaky scone. *2015 note: Gluten Free is much more forgiving than wheat flour. The chilling precautions are essential to a good wheat flour scone. For gluten free, just be sure you are creating flakes of butter, not mushy, gooey wads. Chill it again if you need to, to achieve this goal.
Note #3. You can change the flavor of these any way you wish. At the end I give you some of my favorite combinations of add-ins.
Preheat oven to 425 degrees. Line baking sheet pans with a Silpat or Parchment paper. (I prefer a silpat style mat)
2 cups Pamelas Artisan Flour
3 tbsp sugar
1 tbsp Baking Powder
1/2 tsp salt (sea salt preferably)
7 tbsp (or about 6oz) Unsalted Butter (use best quality you can find)
3/4-1 cup Heavy Cream (extra for brushing the tops)
**add in’s of your choice
Turbinado or Demerara Sugar for topping the scones
Mix dry ingredients in a bowl. Using the technique described in note #2, flake in the butter. Using a fork, add the cream and gently fluff and toss the mess until it comes together. Depending upon the dryness of the flour, you may need the whole cup of cream. My trick is to add close to 1 cup, toss it with a fork, and if it doesn’t all come together, drizzle a bit more cream. Keep the mixing to a minimum. You want to retain the integrity of those butter flakes.
Take the whole bowl, along with any bits, and upend it on a clean, smooth surface. (I prefer marble or granite which you can pre-chill in hot weather by laying a bag of ice on top) Gently knead once or twice to incorporate all the bits and pat out. DO NOT OVERWORK. Yes, this is gluten free flour, so no danger of creating toughness, but you can melt the butter-a big no no! The dough should be moist enough to hold together, but not soggy. Pat the wad out into a disc, about 8 inches across. (bigger circle = thinner scones = shorter cooking time) Smear a little cream on the top and sprinkle with course Demerara or Turbinado sugar. Cut in to wedges with a sharp knife. For big traditional scones, cut in to 8. For smaller ‘tea sized’ scones, cut in to 12. A sharp knife works best, but a bench scraper also works if you are worried about dulling your knives on the marble. Carefully loosen from the marble, using your knife laid flat, and gently place on lined baking sheet and bake approx 10-15 minutes. If sliced into 12, check them at 8 minutes. The outside will look browned, and when you gently press the tops, they will give a little, but not be gooey. It will depend upon your oven and how big you cut them. If you are unsure, take one out and break it open. It will look moist, not gooey or raw, but cooked. Do not over bake!
**Add-Ins:
(These are my favorite combinations of add-ins and how I add them)
1/2cup dried blueberries (yes dried. fresh just smoosh, ooze, and have too much moisture) added to the flour/butter mix + 1/4 tsp lemon oil and/or 1 tsp lemon zest added to the cream
1/2 cup chopped dried cherries + 1/2 cup high quality bittersweet chocolate chunks added to the dry mix
1/2 cup dried apricots + 1 tsp cardamon added to dry mix; 1/4-1/2 tsp almond extract added to cream
1 cup fresh raspberries (very gently added to dry ingredients. be very VERY gentle when mixing and patting out. Yes, they will get smooshed, but the taste will be fantastic. Also, these take a bit more time to bake due to the extra moisture) + 1/2 cup white chocolate chip + 1/2cup macadamia nuts
These seriously are good enough to serve to a queen. Or family. Or picky relatives.
When my friends are sick, this is what they request I bring.
They really are THAT good.