Domestic Goddess Tip: Peeling Garlic

IMG_5353

Peeling garlic can be tedious and messy. One day, while contemplating the daunting task of peeling two heads of garlic for a recipe that needed 40 whole cloves, I recalled a commercial for a garlic peeler I had seen on TV. They were peddling a tube made of rubber that you put the garlic into, roll, and voila! Out came the peeled garlic cloves all pretty and naked!
Well, I’m not a fan of gadgets and I’m kind of a kitchen minimalist. I’m not a big fan of single task tools, (unless I use them quite regularly) which is why I have never thought to buy one.

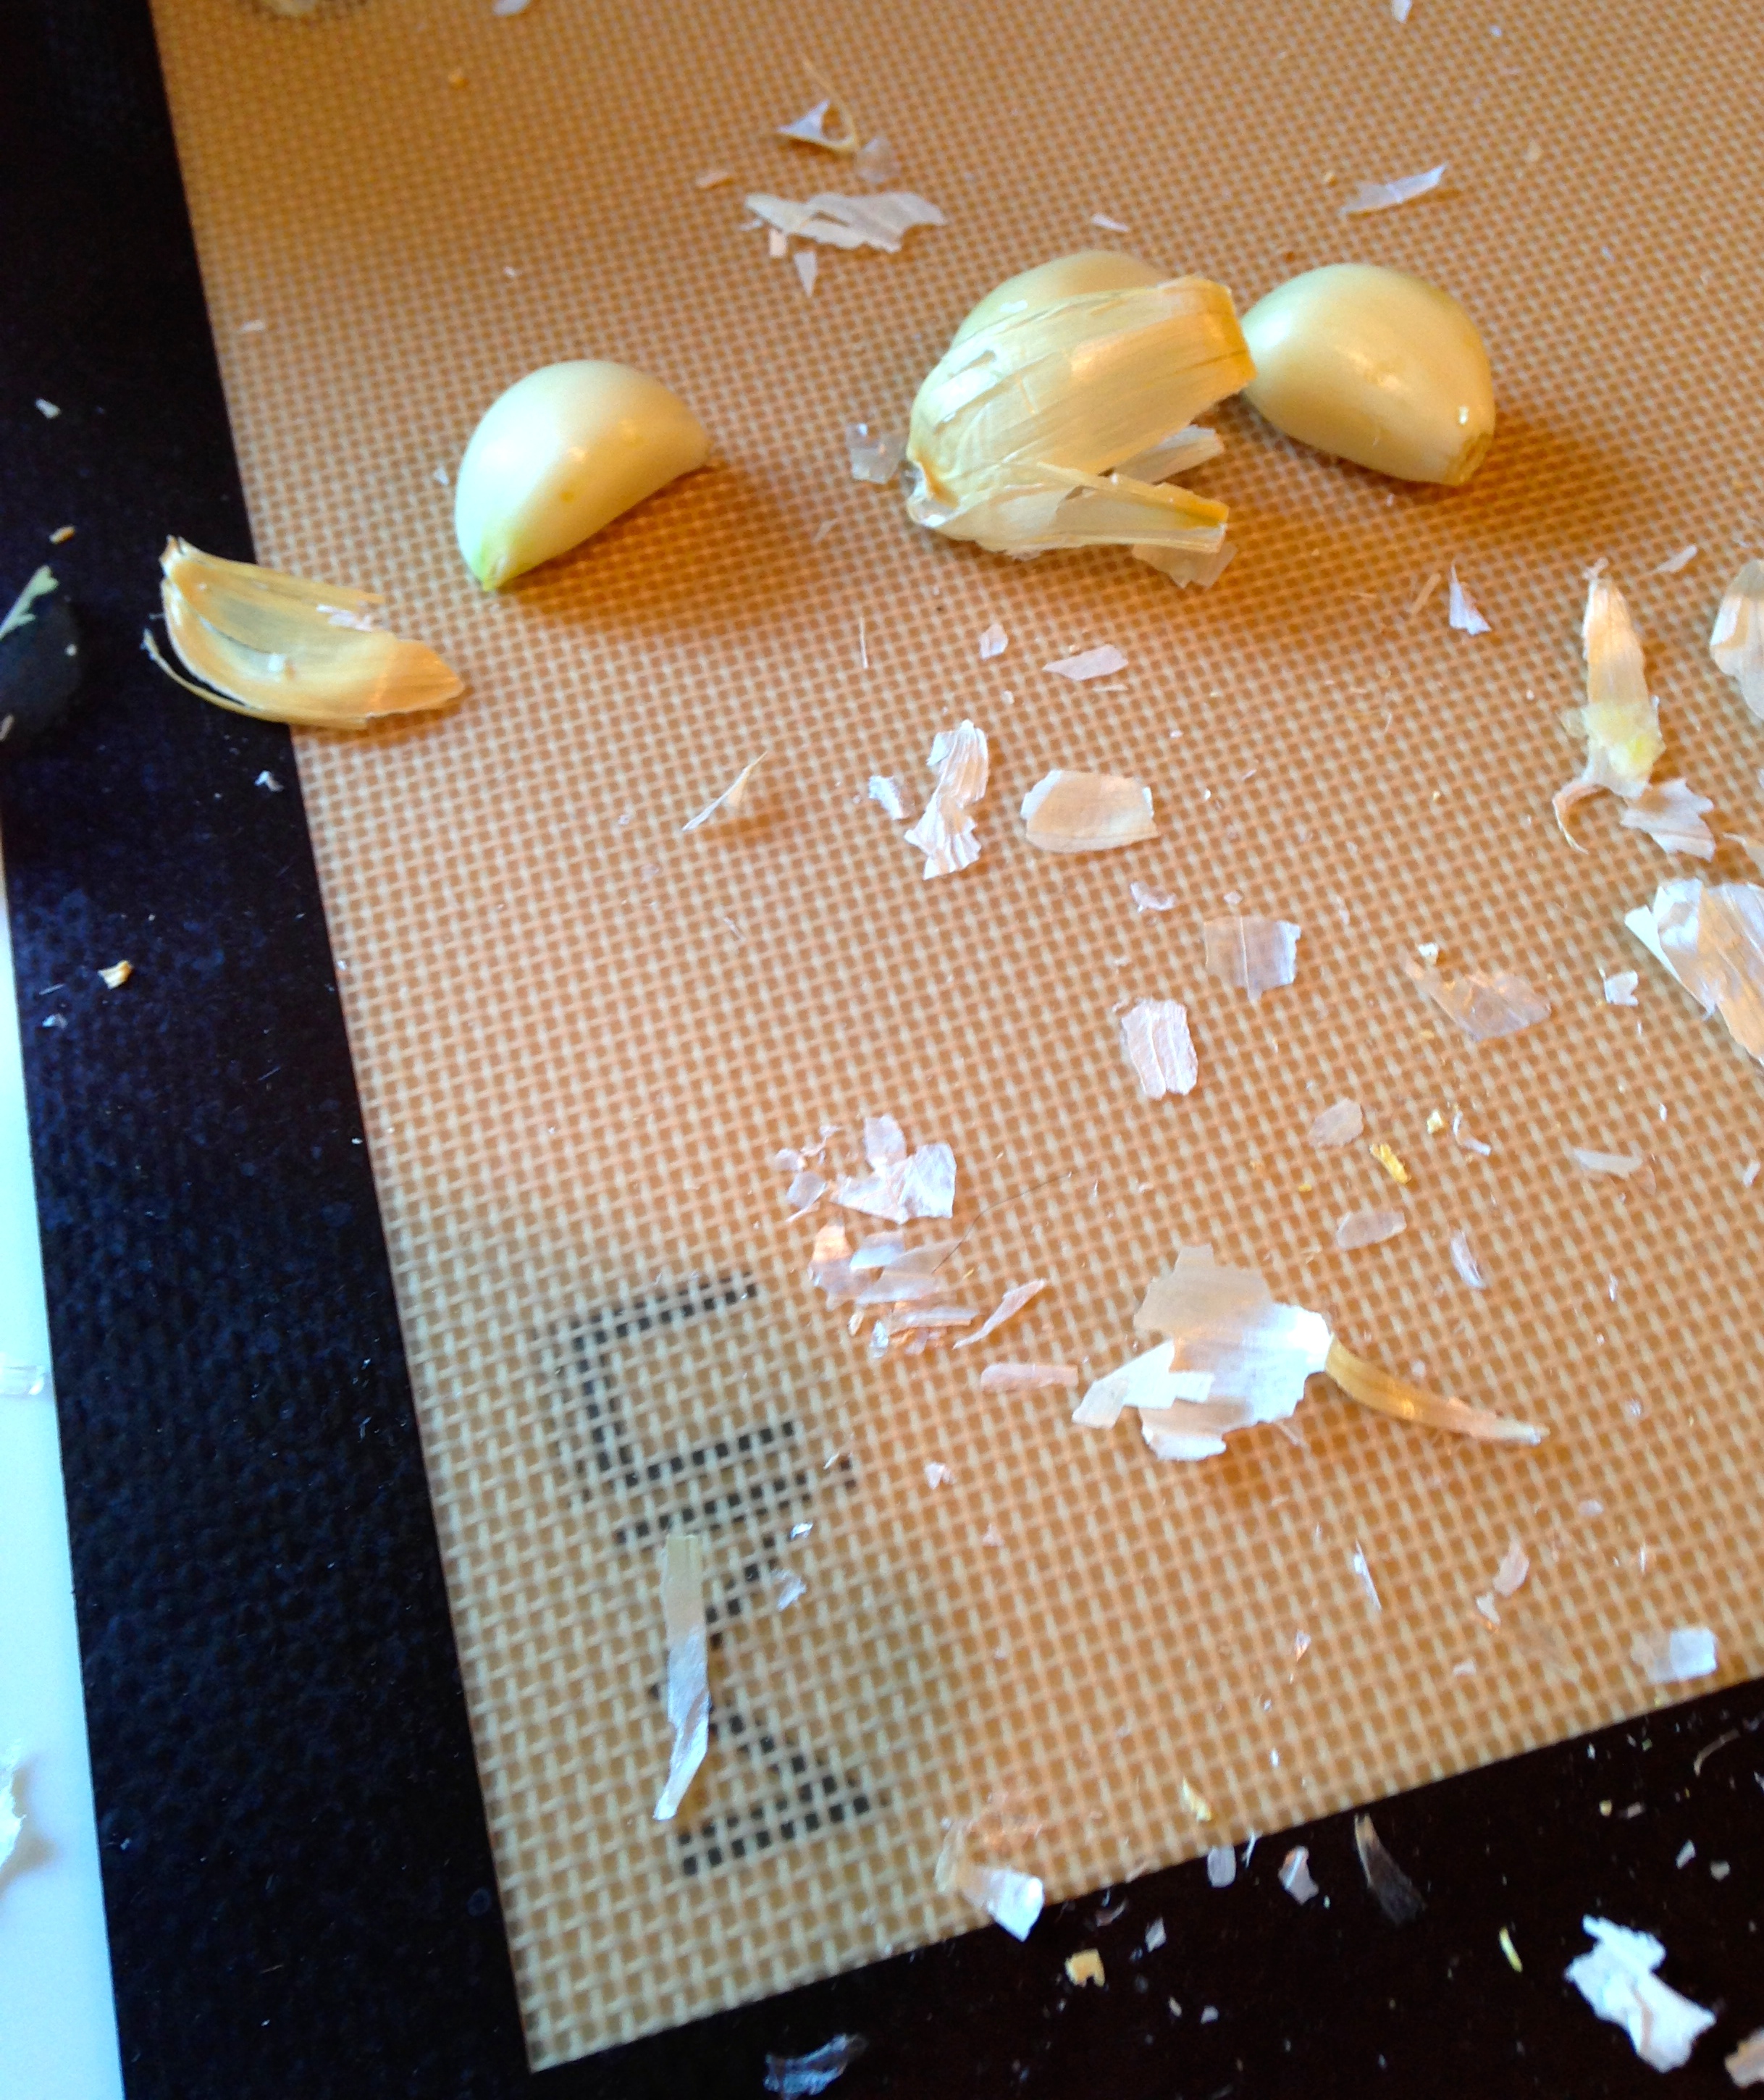
It dawned on me however, that the rubber gizmo was made from material no different than my Silpat mat. I grabbed my baking mat (You can find off brand non-stick baking mats but the original is called a Silpat) and gave it a whirl:

Simply lay the cloves in a line parallel to the edge, and then ‘roll’ them gently, pushing down slightly while you roll. Use the palm of your hand to roll and keep the pressure firm but light as you feel the cloves turn under your hand.

I found I could process quite a few at a time if I kept them about the same size. I would remove the ones that were peeled and if needed, rub a couple more times to remove the stubborn skins.

This may sound almost simplistic, but trust me, it works. It saved me a good chunk of time and more than a few pennies for a product that I would have to store and only use once in awhile. And clean up is a breeze! Simply wipe down your mat with a damp cloth and let dry. If the garlic was juicy and you pressed too hard, you might need a bit of soap, but still…what a breeze!

I use this method for large quantities of garlic. You can use it for one or two cloves, also. I have an amazing garlic press which I use for one or two cloves which ‘minces’ the garlic and leaves the skin behind. Not the same result as whole cloves, but a tool I found worth the investment for minced garlic. That tip might be for another post.

Or maybe I should start a product review category?

Your thoughts?


Gluten Free Butterscotch Pumpkin Bread

P1010311

Fall finally gave way to the nudges of winter here in the arctic tundra. What better way to embrace the long, dreary winters here than to whip up a batch of tasty, moist, full of warming spices, gluten free quick bread? With my girls coming and going between college and work, its always nice to have a loaf on hand for them to a slice, grab and go. With the turning of the weather, I really wanted to be inspired by the fall/winter spices and comforting moisture of pumpkin. I modified a tried and true banana bread recipe given to me by my daughters Godmother, Auntie Barbara, who received it from her grandmother.

When my kids were born, we lived in a small neighborhood just on the outskirts of Portland. It was an older neighborhood with a wonderful mixture of small, entry level sized homes as well as some a bit larger and more established. We happened to one of the first families to move in as the neighborhood began to turn over. As a stay at home mom, I was blessed to have so many wonderful, loving retirees who absolutely doted on my children. That is how we met ‘Auntie’ Barbara and ‘Uncle’ Bruce. They took us under their wing, supported us, loved us and mentored us. They accepted the responsiblity to become my children’s GodParents. Every time I make this banana bread (which has been passed on to my own daughters) I reminisce over our shared times together. I think that is why I love to cook so much. I associate so many wonderful memories with food shared, the telling of the history behind precious recipes passed down, along with celebrations and holidays enjoyed. This recipe has sentimental meaning to me and my family. I hope that by making it, it will create wonderful memories of your own.

Gluten Free Pumpkin Bread
(this recipe is so simple, don’t over think it!)

1/2 cup Butter (unsalted) melted
1 cup Sugar
1 cup Pumpkin (plain pumpkin, NOT pie mix)

2 Eggs slightly beaten

2 cups Gluten Free Flour (i recommend Pamelas Artisan Flour)
1/2 tsp Salt
1 tsp Baking Soda
Spices : 1.5 tsp Cinnamon; 1/2 tsp Nutmeg; 1/4 tsp Allspice; 1 tsp Ginger; optional:1/4 tsp clove

1/2 cup Hot Water

Handful of Butterscotch Chips. (Hershey’s is Gluten Free. Nestles is NOT!)

Preheat the over to 350 degrees if using a metal bread loaf pan, or 325 for glass. Grease the pan with cooking spray or butter.

Mix melted butter together with the sugar, stir in the pumpkin with a wooden spoon. Lightly beat your eggs, then add in to the pumpkin mixture and stir to combine.

Mix dry ingredients together alternately with the hot water. Stir just to combine. Pour into prepared bread loaf pan and sprinkle the top with butterscotch chips.

Bake 1 hour 15 minutes. Check at 1 hour and continue to bake until a toothpick comes out clean in the center. A few moist bits may cling but it should not be raw.

****In the original recipe, replace 3 mashed bananas for the pumpkin and eliminate the spices. Optional add-in are your favorite nuts.
*******The original recipe does not call for vanilla but you can add 1 tsp if desired.


Mini goes to LaCrosse Wisconsin!

IMG_5829


(Mini stopping to enjoy one of the Locks on the Mississippi River)

Mini Says: “I love Bicycle rides. My family loves me because not only am I cute but I’m practical too!”

One of the passions BigMan and I developed this summer was bicycle riding. Initially I picked it up to add to my fitness regime since it’s such a wonderful calorie burn and it gives me the freedom to eat the way I want to be able to eat, instead of eating like a rabbit counting calories. As the summer wore on and we got in better shape, increasing our distance, we decided to take a ‘Mini’ vacation to LaCrosse Wisconsin to ride the very first bike trail in America. Sparta, which hosted a train rail line back in the day, converted that rail line into a bike path when it was mothballed and a new line put in. Now, if you ride from the trail head in LaCrosse to Sparta, you can log 21+miles. From Sparta, you can continue up another 10+ miles to Tunnel #1, which is not only 1 of 3 wonderfully hand carved tunnels, but also a winter bat sanctuary.

Hubby and I ticked off over 40 miles Day 1 by riding from LaCrosse to Sparta and back again. Burning over 3,000 calories, we were able to fully enjoy amazing food and fun beverages in downtown LaCrosse. Then Day 2, Mini hauled the bikes to Sparta. We unloaded them, and started the 3% grade climb up to tunnel 1. Since it was sunday and we still had a drive back home, we only went as far as tunnel 1 before we headed back down.

The trail is all packed limestone. So, if it’s sunny and dry, its a breeze and we could cruise an easy 16 mph on the flats. We discovered however, that after a rain shower overnight, the trail is slow where it was damp. Be sure to have at least hybrid tires on your bicycle or it could be a rough go.

If you are near LaCrosse WI and have your bike on your roof….I highly recommend the ride. The ride sports some amazing views and downtown LaCrosse is quaint, full of friendly people and a great place to grab a post ride bite!

We fully enjoyed ourselves having a healthy vacation….

And Mini loved being admired, as usual!

(Mini getting ready to take a nap, at the bike path trail head in LaCrosse)

IMG_5819


(Limestone bike path from LaCrosse to Sparta)

IMG_5821


(Vistors Center in Sparta. Head left and its ALL uphill!)


IMG_5837


(Tunnel #1. About 10 miles from Sparta. The doors were installed to close in winter to protect the bats)

IMG_5838


(The Tunnel is long, dark and drippy. Bring a STRONG flashlight if you want to go on to Tunnels #2 & 3)

IMG_5841