
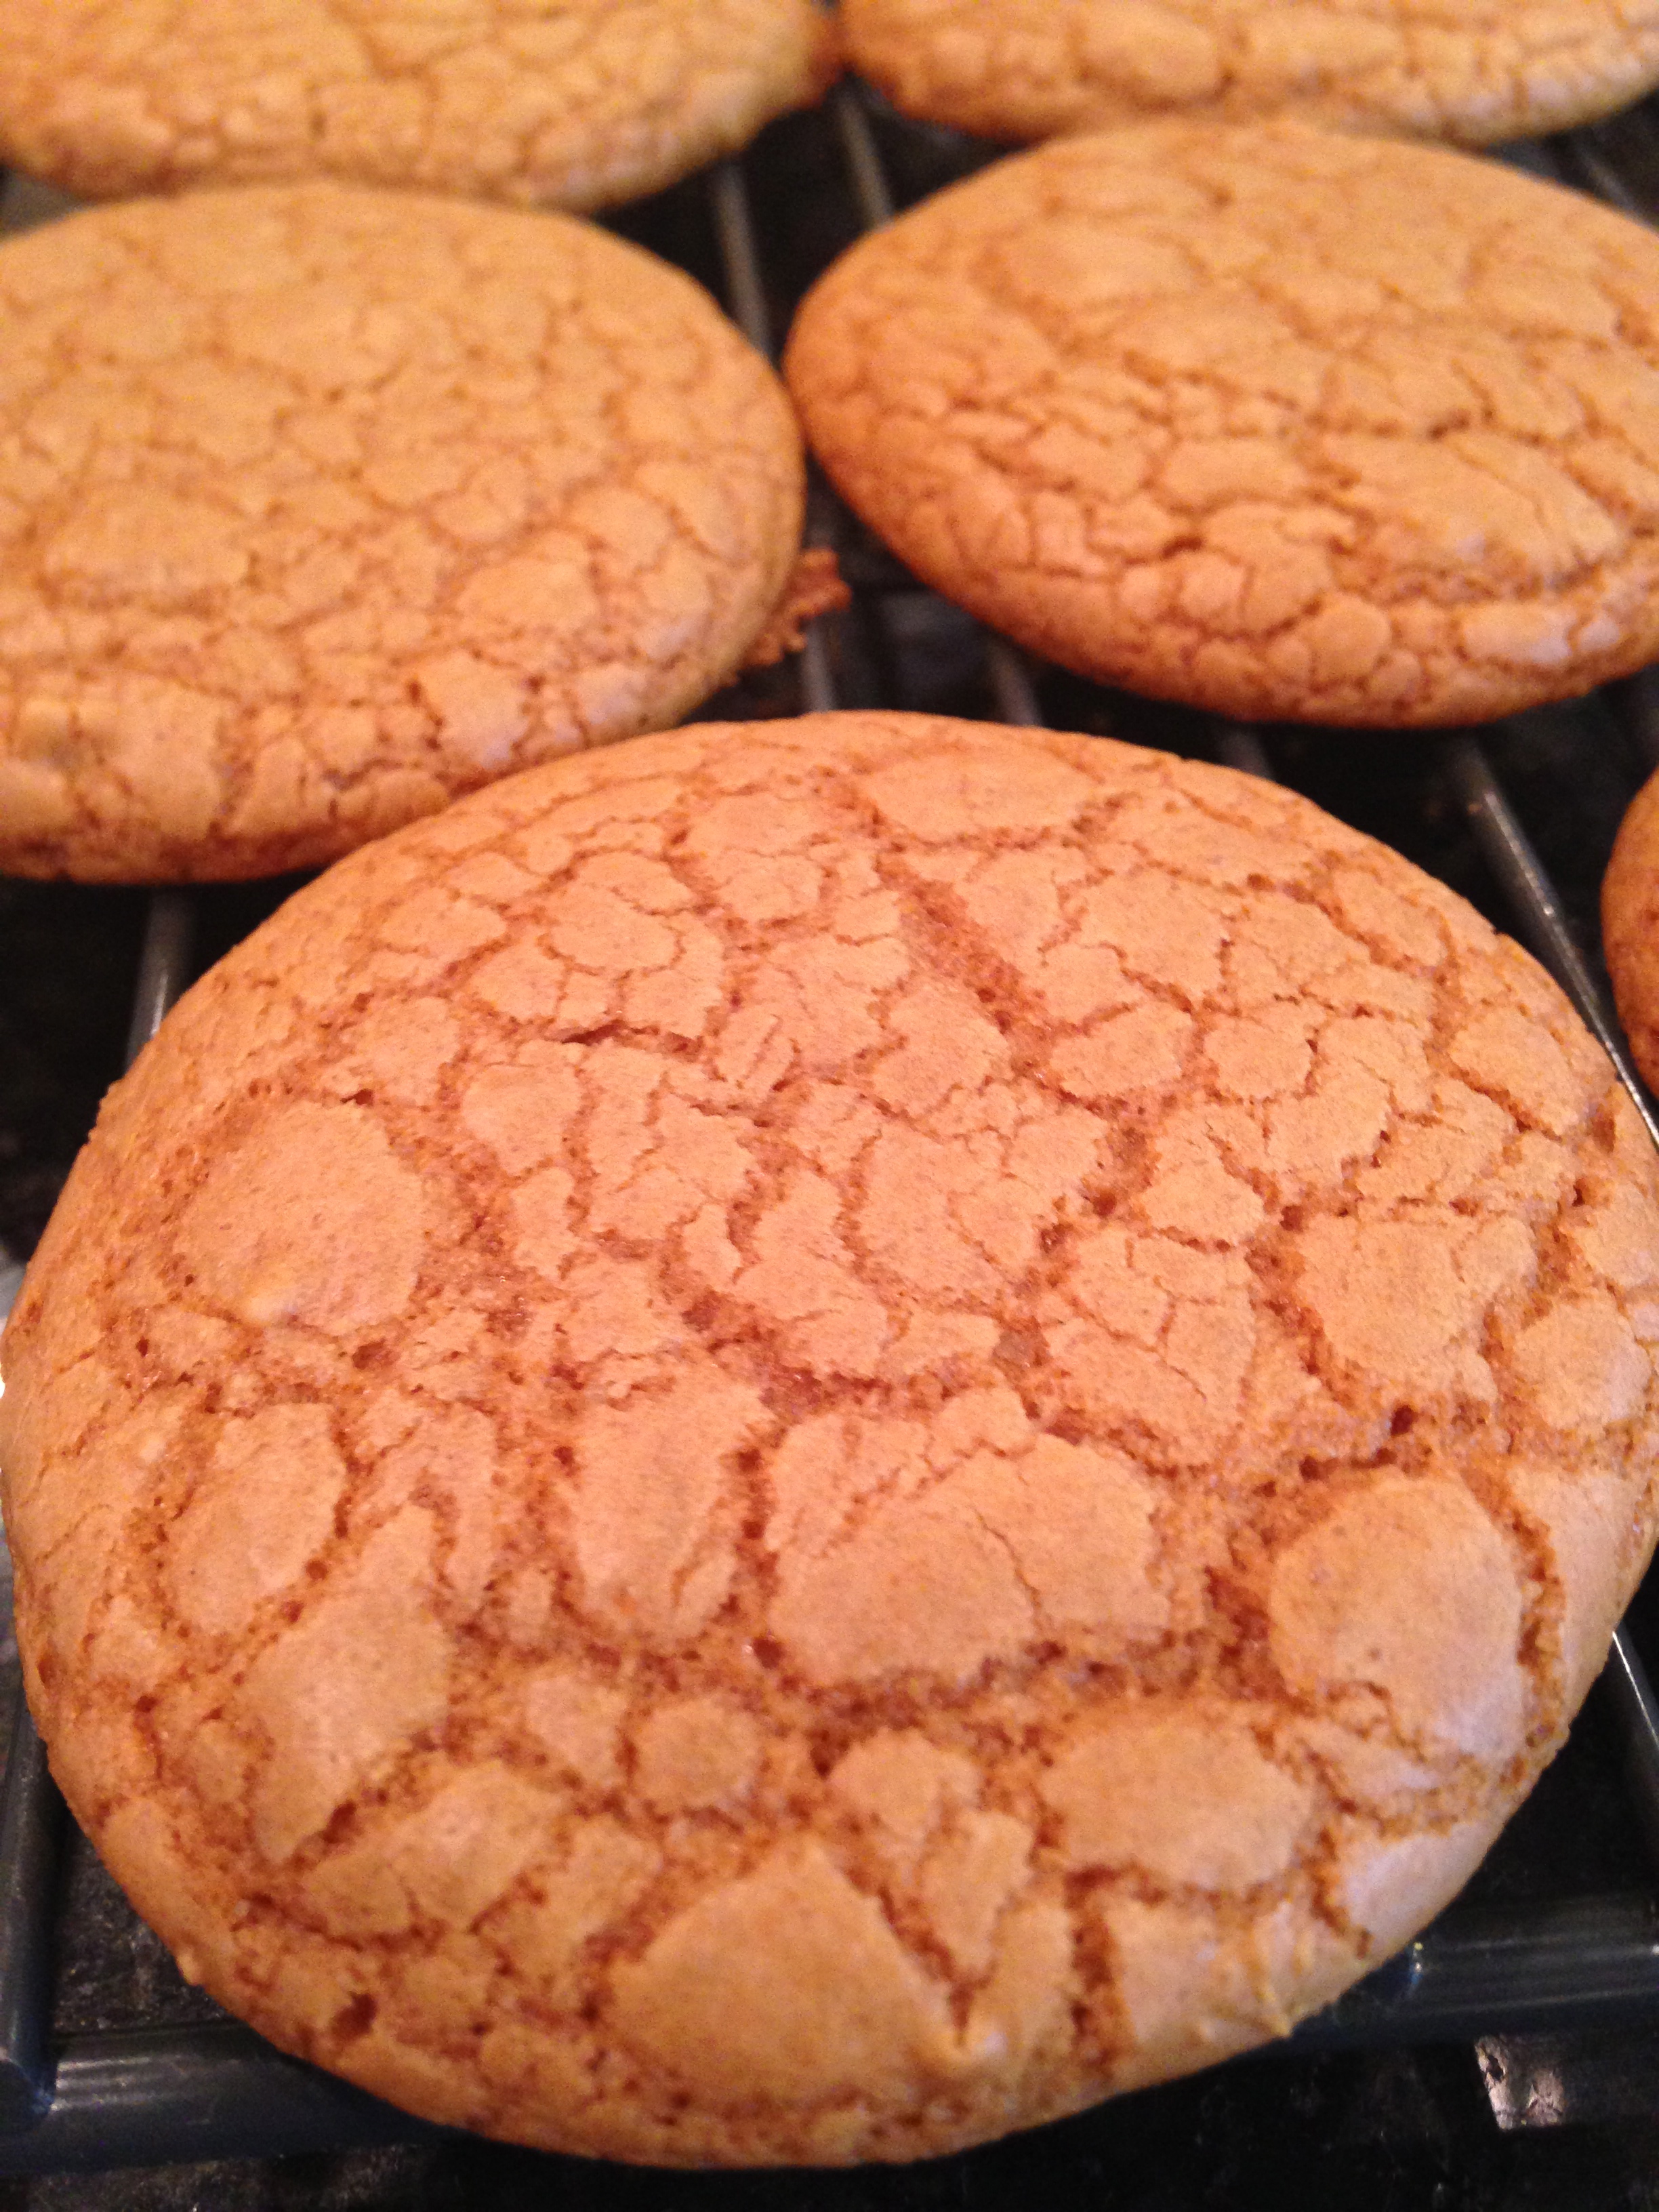
Look pretty tasty?
Well, they tasted mighty tasty also! One of my younger friends from church had a sweet baby girl who joins her other two, all born in three years, so you can imagine there are moments when a gift of treats is appreciated in the hustle and bustle of her home. I promised her my ‘famous scones‘, blueberry lemon, but in addition I wanted to be able to send along a second little gluten free sweet treat her little ones would enjoy. I was eyeing my worn copy of Maida Heatter’s Book of Great Cookies and flipping through this recipe caught my eye to try gluten free. So I baked these up and I am impressed! Right out of the oven they were warm, chewy, having a lovely spice to them. The mace adds a slight hint of citrus which is not only delicious, but unexpected. Your friends will be puzzled, trying to figure out that ‘mystery ingredient’. After cooling and storing away in ziploc bags, they became more like a ginger snap. These would make for a wonderful base for a pie, much like you would do for graham cracker or chocolate wafers, or crumbled on yogurt or ice cream. They are particularly nice because they are so incredibly easy to prepare, would be a lovely addition to a holiday cookie exchange, be welcome as a gift of comfort, or simply a quick and easy treat for yourself or your family.
Butterscotch Molasses Cookies
1 1/4 stick unsalted butter
1 cup light brown sugar, packed
1/4 cup molasses (see note)
2 1/2 cup all-purpose gluten free flour (I used Pamelas Artisan; you may use regular wheat flour)
1 tsp baking soda
1/4 tsp mace
1/4 tsp salt
1 egg
1/2 tsp vanilla
Note: for easy measuring and pouring, spray your measuring cup with pam prior to adding molasses. It will pour right out!)
Preheat the oven to 375, and use either a silpat or non-stick parchment to line your baking sheets.
Melt the butter in a 3 qt pan, using a non-stick makes for easy cleanup. On medium heat, add the brown sugar and molasses and cook, stirring often, until the sugar melts. Bring to a boil, then remove from the heat and let cool. (putting the pot on a piece of granite or marble will bring the temp down faster)
Combine the dry ingredients and whisk to fluff and combine thoroughly.
Whisk together the egg and vanilla.
When the sugar/butter are cool enough to touch, add a drizzle of the sugar mixture to the egg and mix as you add. (this will ‘temper’ the egg, to prevent scrambling if the mixture is still too hot) Add another dollop, whisking as you add. Then you can add this egg mixture back to the pot and mix to combine.
Add the dry ingredients and mix thoroughly, a sturdy wooden spoon works well here.
Using a teaspoon, drop in to dollops on your prepared baking sheets, leaving about 2 inches for spread. (You can gauge how much they spread after you first batch and then adjust the number you can fit on a sheet.) Bake for 8-10 minutes, rotating the pan half way through baking. If you have 2 sheets in your oven, rotate front to back as well as top to bottom. These cookies are better undercooked, rather than overcooked. Overcooked won’t ruin them, they are delicious dipped in your coffee, but they will be crisp. Undercooking keeps them a bit chewy after a day.
When done, let sit on the sheet for a minute to set, then with a spatula that is as wide as the cookie, remove to a cooling rack. There will be a bit of stickiness on the bottom of the cookie, don’t panic. Just clean the spatula in-between cookies, but as they cool, they will release faster.
*if you have any questions, please post in the comments below and I will get back to you as soon as possible!
