
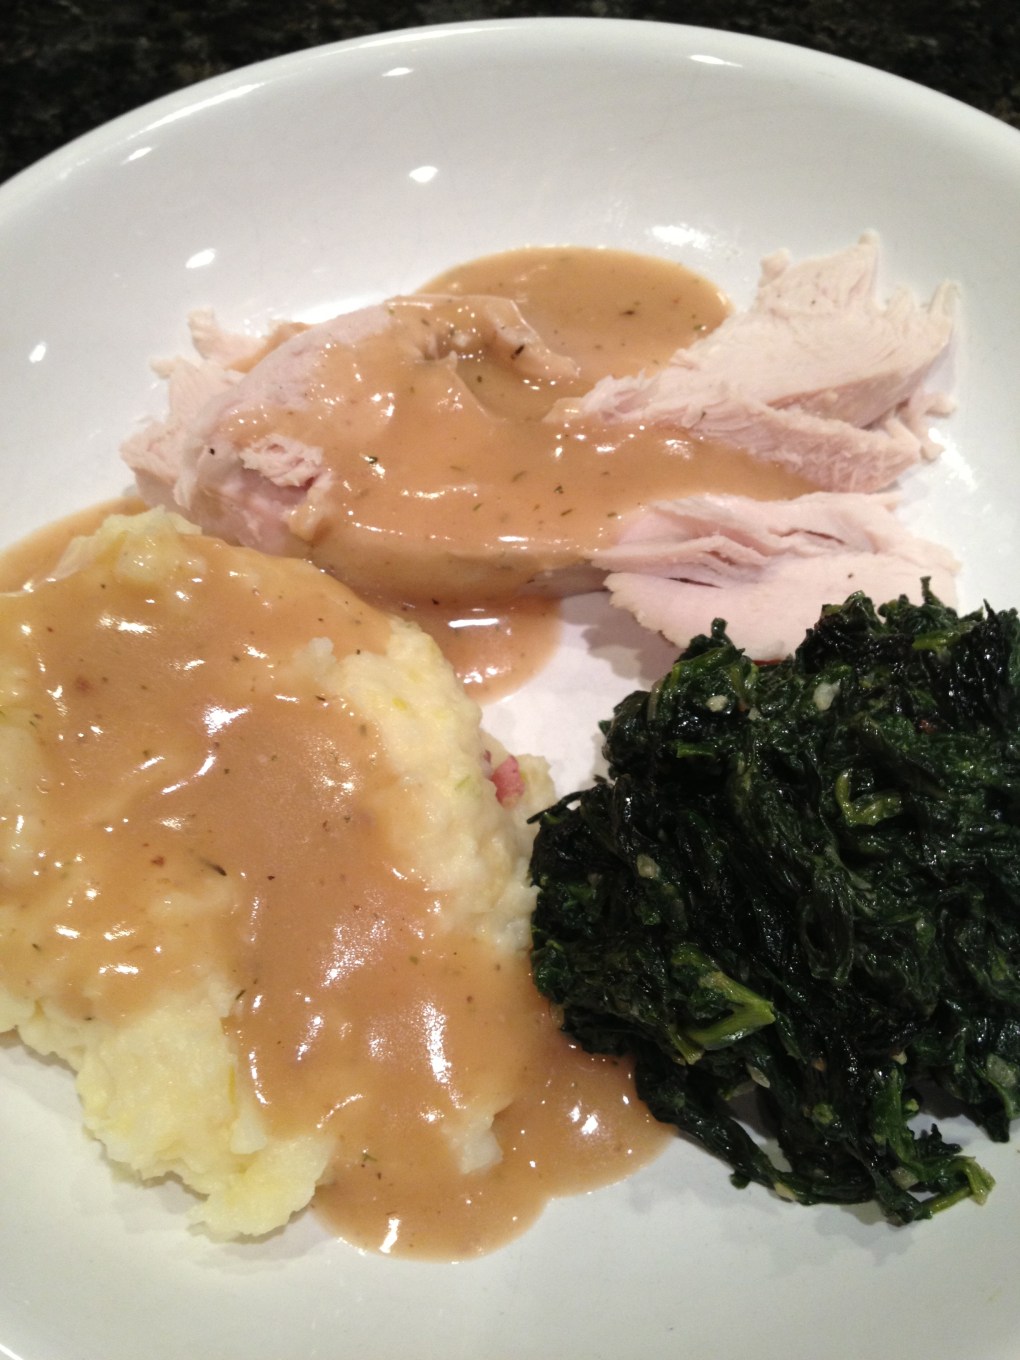
Since I posted the photo of my Leftovers Soup, I thought it fitting to show the turkey meal from which it started. While I’m at it, I thought I’d share a couple of cooking ideas and tips I’ve learned along the way.
I favor organically grown, free-range, non-injected birds. I know they are a bit more in cost, but I can be sure there are no added hormones or pesticides to mess with my still maturing/developing daughters bodies and ensure the animals were raised and slaughtered ethically and humanely. As mentioned in a previous post ‘Todd & A Well Stocked Freezer‘, I get most of my meat from the local farmer who takes it to the local butcher. However, I don’t yet have a source for my poultry, so I look for the best I can find at my grocer.
When you bring home your bird, remove the neck bone from the cavity and the innards from the neck flap. (if you have them) Then gently slide your fingers under the skin of the breast, loosening it on both ends. Try not to rip or tear the skin. Then, take kosher salt, and lightly rub on the breast meat in between the flesh and the skin. This will give your fingers a good workout and yes, it will be a bit chilly. But take heart, while your digits shiver, your turkey meat will come out seasoned, tender and juicy. I can’t give you an exact amount of salt to use, just make sure you’re not slathering it on. You will want it LIGHTLY dispersed. Then give the skin and thighs a good liberal rubbing of the salt, place on a dish or platter and wrap in saran wrap. I put a clean kitchen wash cloth under the bird to absorb any juices that it might give off. You can also use a few paper towels, but I find those can get kind of slimy.
Then put in the fridge and let sit for a couple of days. This is ‘dry’ brining. It’s results are similar to wet brining- juicy flavorful and tender meat – but this method allows the skin to cook up and not be all flabby soggy.
After a couple of days, the process should be complete and you can cook that baby up. I use an air roaster oven because it frees up my regular oven for yummy dishes like this creamed spinach. I got the idea from Emeril over at the Food Network, but modified it a bit by adding parmesan and baking it after cooking on the stove top. It was just scrumptious.
While the turkey was cooking I boiled a combination of jersey sweet potatoes with red potatoes, along with a thinly sliced leek. Try this sometime: cook the onion with the potatoes, then drain and mash together, its delicious! You can ‘scent’ your liquid with herbs, garlic, shallots or leeks. For example, rosemary scented mashed potatoes is a delicious pairing with lamb.
To make the gravy, simply pour all the drippings from your turkey (i baste my bird with white wine, butter and sage, it adds a lot of flavor to the gravy) in to a fat separator, pour a few tablespoons of the rendered fat in to a saucepan. Add equal amounts of gluten free flour and cook it a bit to get the starchy taste out of the flour. I figure I need about 1tbsp of fat and flour for each cup of gravy. Then add back those yummy drippings along with enough chicken stock to make a gravy. If you have time, it’s nice to make a turkey stock from the neck & gizzards, but chicken stock works as well. The wonderful thing about brining your bird is that the drippings are naturally seasoned. You will need very little salt, if any. Adjust the seasoning, if need be. I added a healthy sprinkle of Penzeys “Mural of Flavor” to mine.
Also, another trick is to pour the gravy back in to the roasting pan, (or make it in the pan) and really scrape up to include those bits called ‘fond’. It will add depth to your gravy, or any pan sauce you make.
Dry Brining is excellent to use for any thick cuts of meat such as roasts. I used this technique on my Christmas Prime Rib Roast.
So say goodbye to blah and bland meat. Give this simple and yet effective technique a try. I think you’ll be very pleased when your family and friends say YUMMMMM.
