This was the stuffing recipe handed down to me from my mother, who has since passed away. For many years, I stuffed the turkey with the very same version, only it was normal bread croutons, Pepperidge Farms Herbed Dressing to be exact.
With the discovery of my daughters gluten intolerance, I’ve had to come up with an alternative. Due to the nature of GF breads, it would turn to mush inside the bird, so, I have created a dressing version instead. (Dressing is what it is called when not baked inside the bird)
You can use Udi’s bread for this recipe, but I highly recommend ‘Goodbye Gluten’. It’s shelf stable and the texture is incredibly good, and the resulting dressing is light instead of dense. I use both whole grain and white for color and texture. This dish is such a favorite in our household, that I have actually taken it with me on the occasion we were invited to someone else’s house for Thanksgiving. I cannot imagine Thanksgiving without it! Here, we call it “Grandma Nettie’s Stuffing”. You’ll just call it DELISH! (Read the recipe all the way to the end before tackling. You can put questions in the comment section below!)
(2019 Updates: DF replacements are discussed at the bottom. You can still make your own croutons, which is nice to be able to adjust your own seasonings and control the sodium, but see below for my latest crouton substitution.
Grandma Netties Stuffing
3/4 loaf Goodbye Gluten white bread, cubed, 1/2 inch (crusts removed is optional. if you remove crusts, use the entire loaf, leaving out the loaf end pieces)
3/4 loaf Goodbye Gluten whole grain bread, cubed, 1/2 inch (ditto above comment)
(2019 Update: Sustitute 1-2 boxes of Trader Joes Gluten Free Dressing Cubes OR if making with glutenous bread, you can use 1 bag of packaged bread cubes)
2 cubes butter, 1 cube melted
(2019 Update: for DF, substitute Miyokos Vegan Butter)
1 tsp herbs de provence or an italian mix
1 med-large onion, chopped small dice
3-4 stalks celery, small dice
1 pound breakfast sausage (check for gluten if making GF)
1 can water chestnuts, diced (yes, water chestnuts. Trust me!)
1 tsp dried sage, or 1 tbsp chopped fresh (optional, we like ours with a good dose of sage)
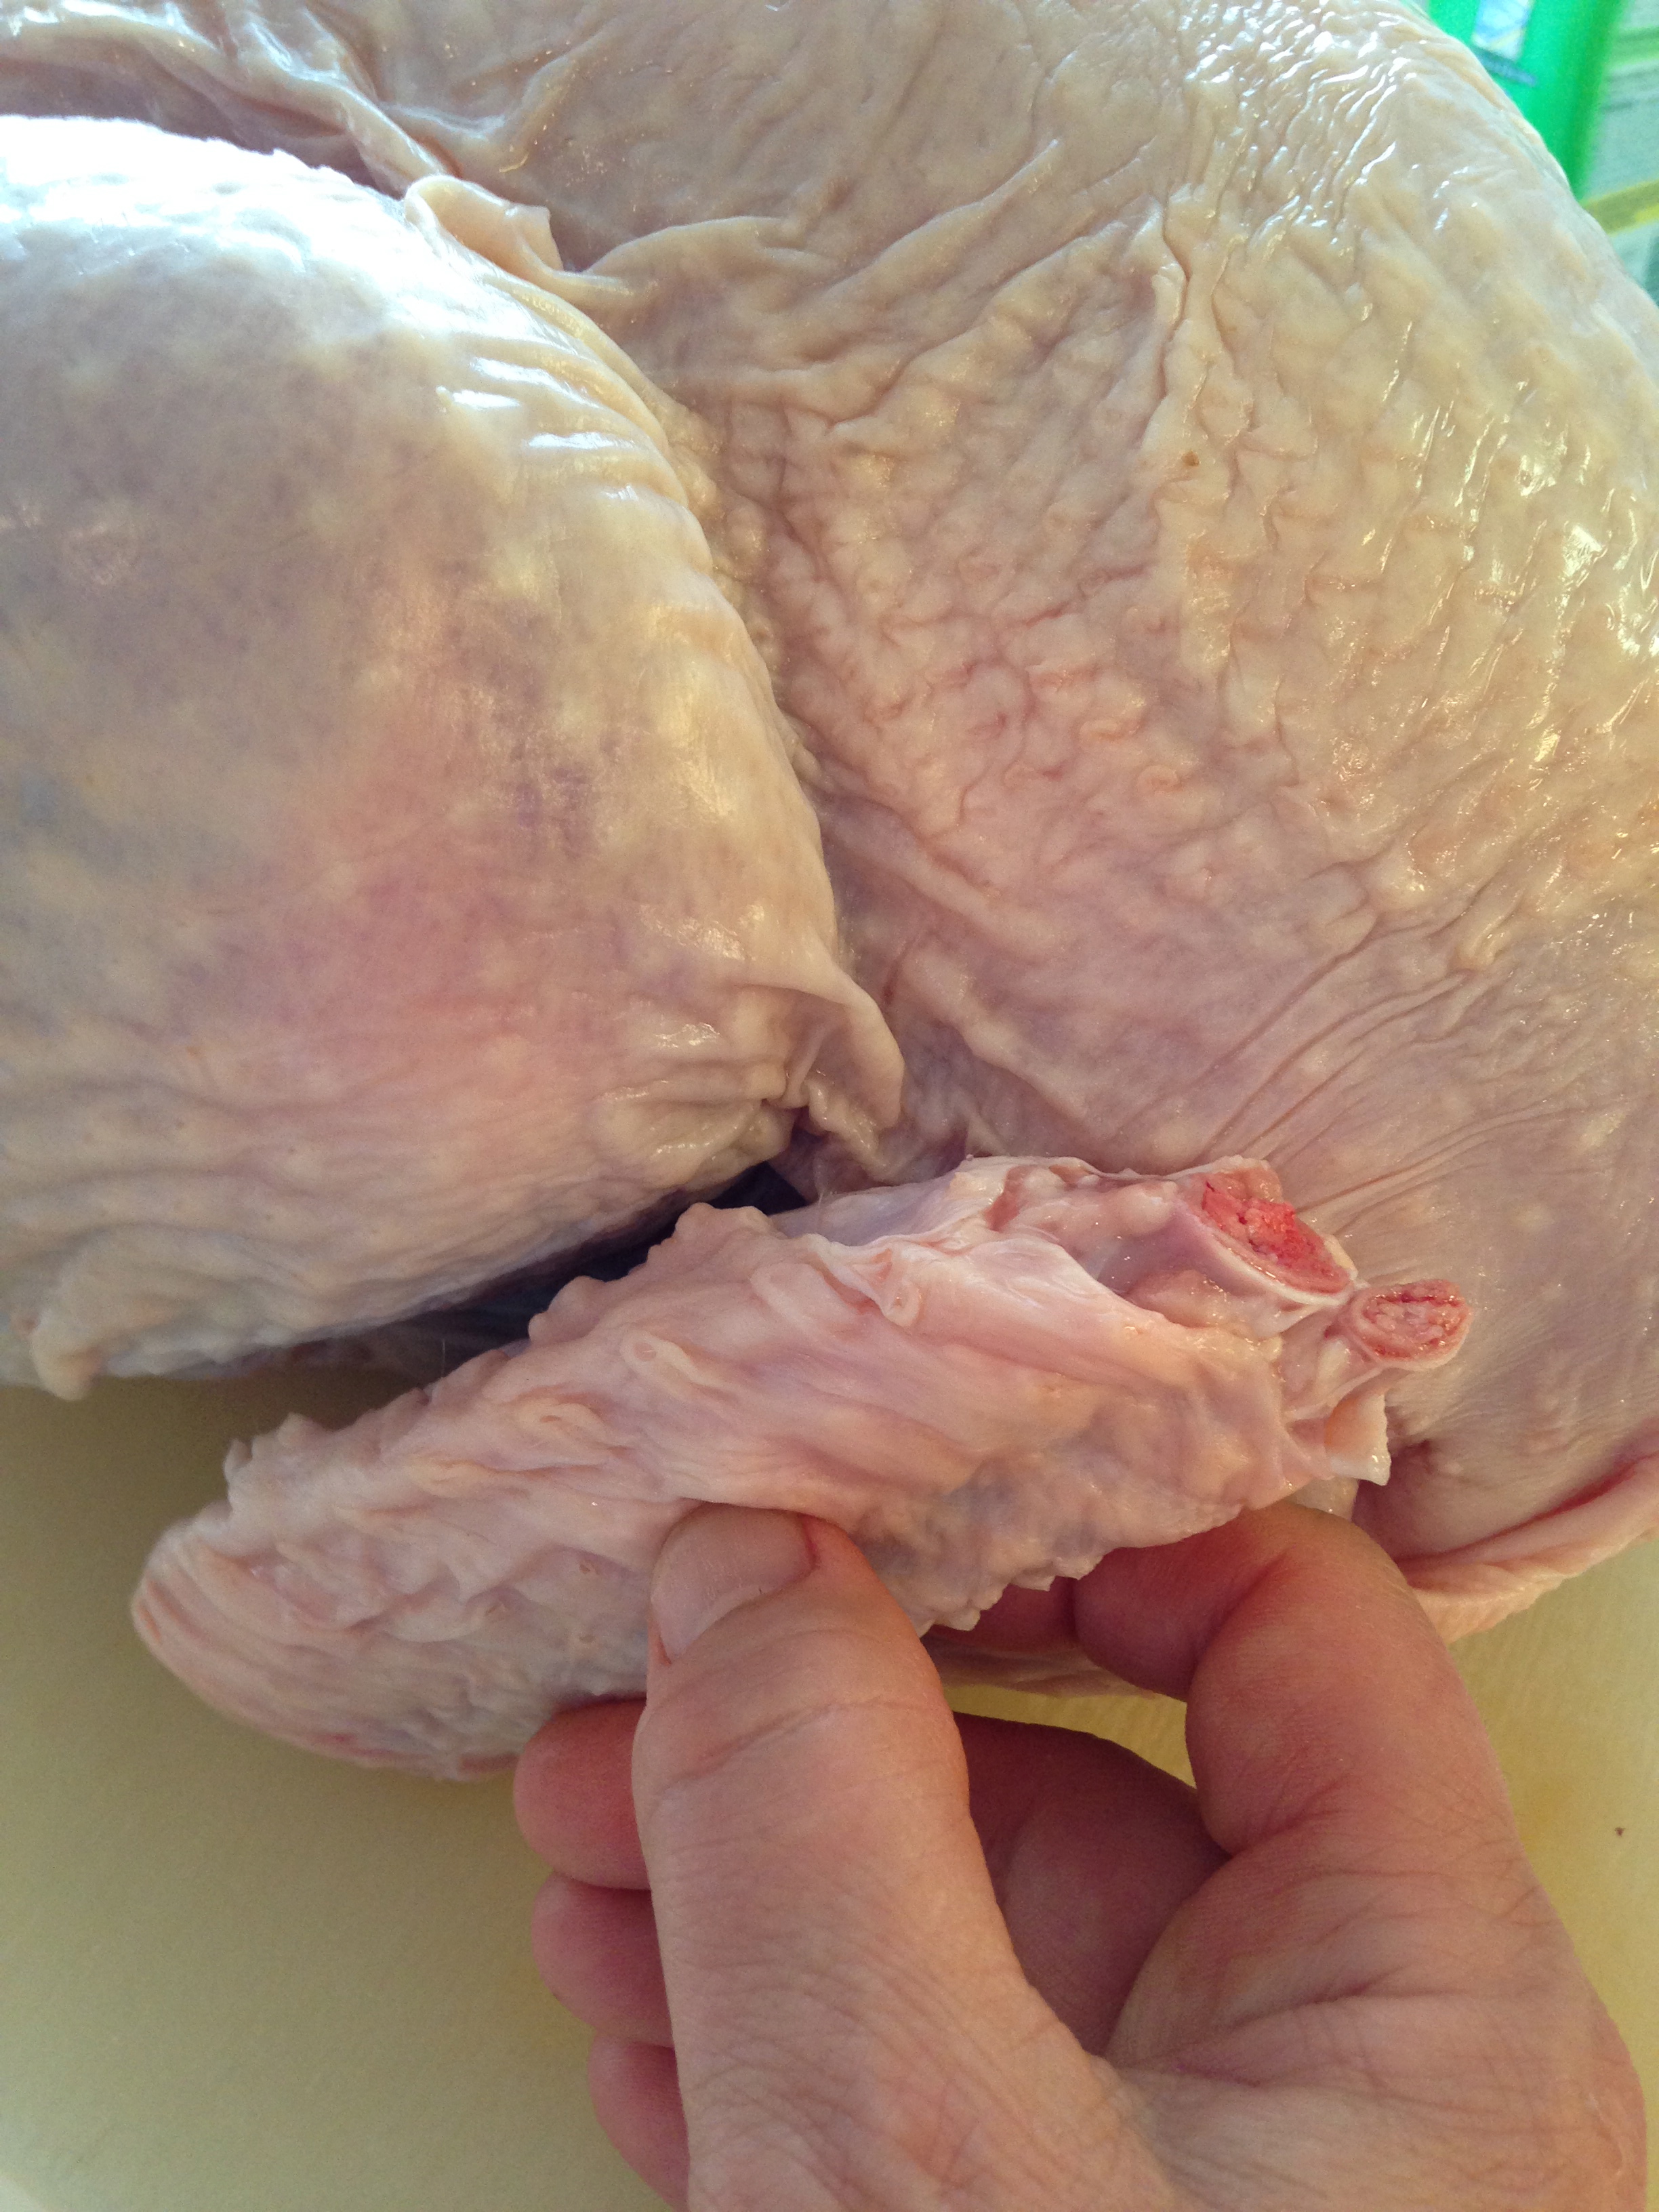
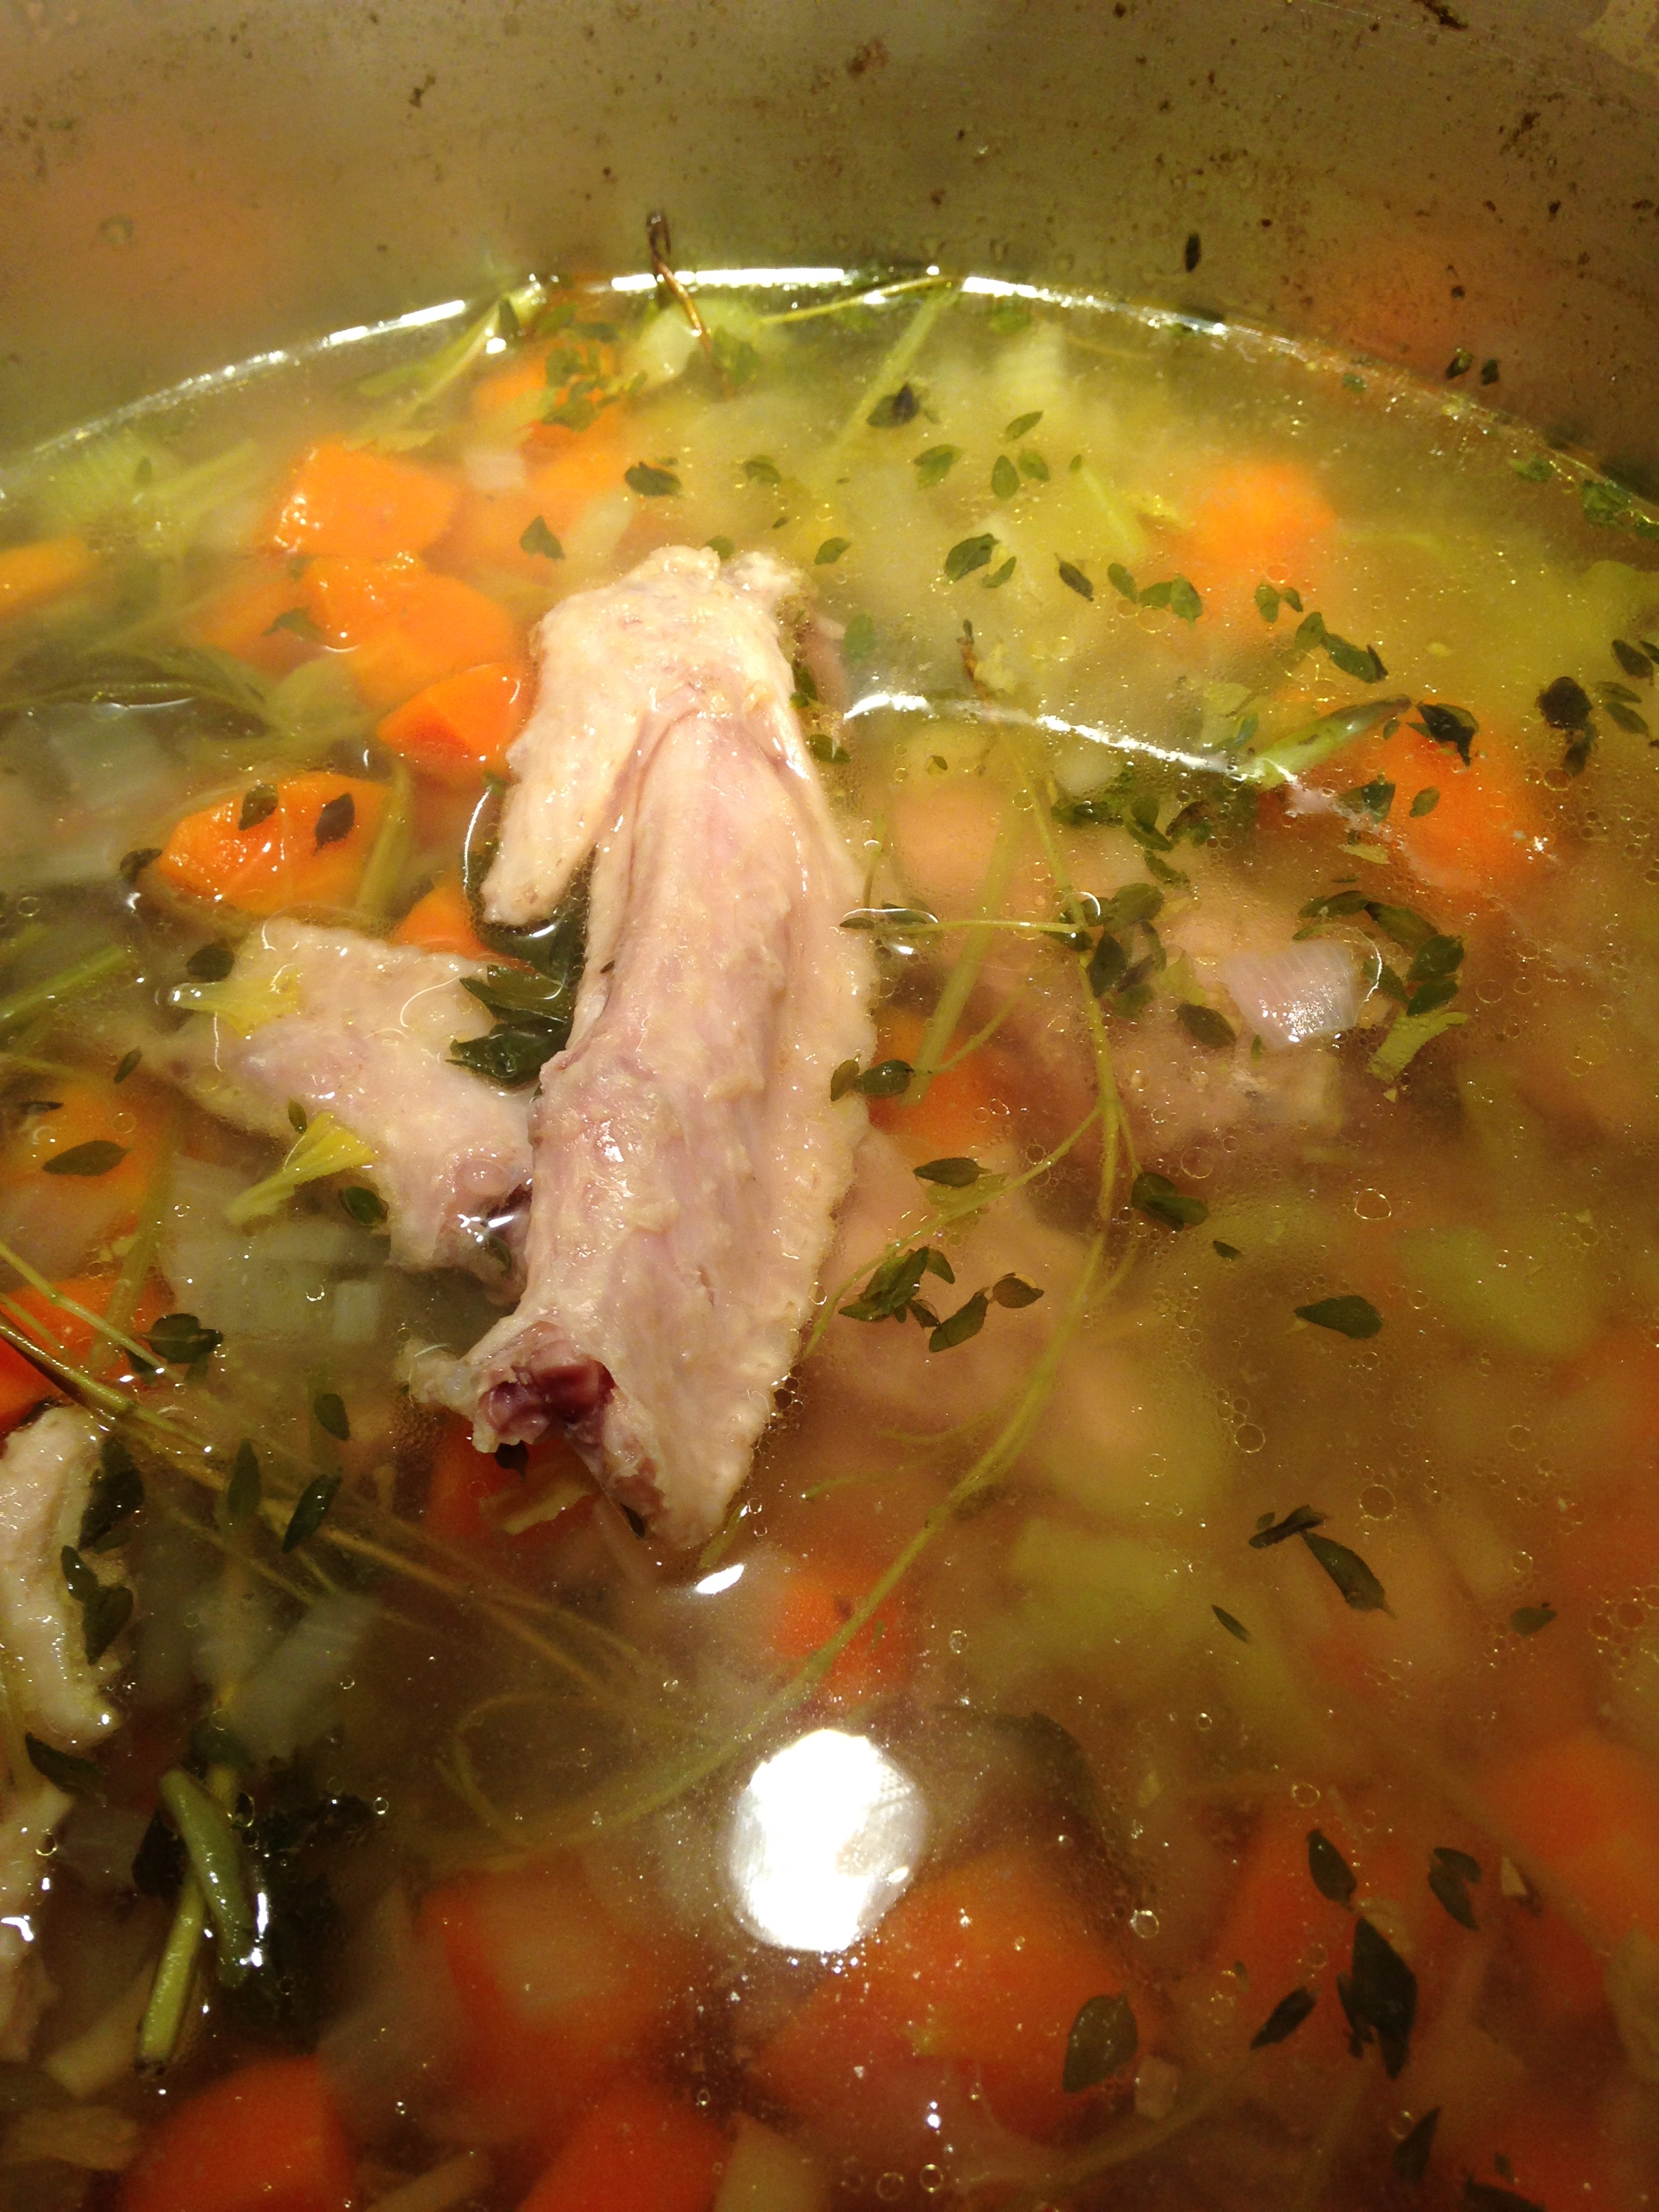
1-3 cups warmed Homemade Turkey Stock (or good quality, low-sodium Chicken Stock, NOT BROTH) Homemade recipe can be found HERE.
Extra melted butter for basting, and extra stock for adding moisture if needed.
NOTE: This recipe is flexible and can easily be doubled.
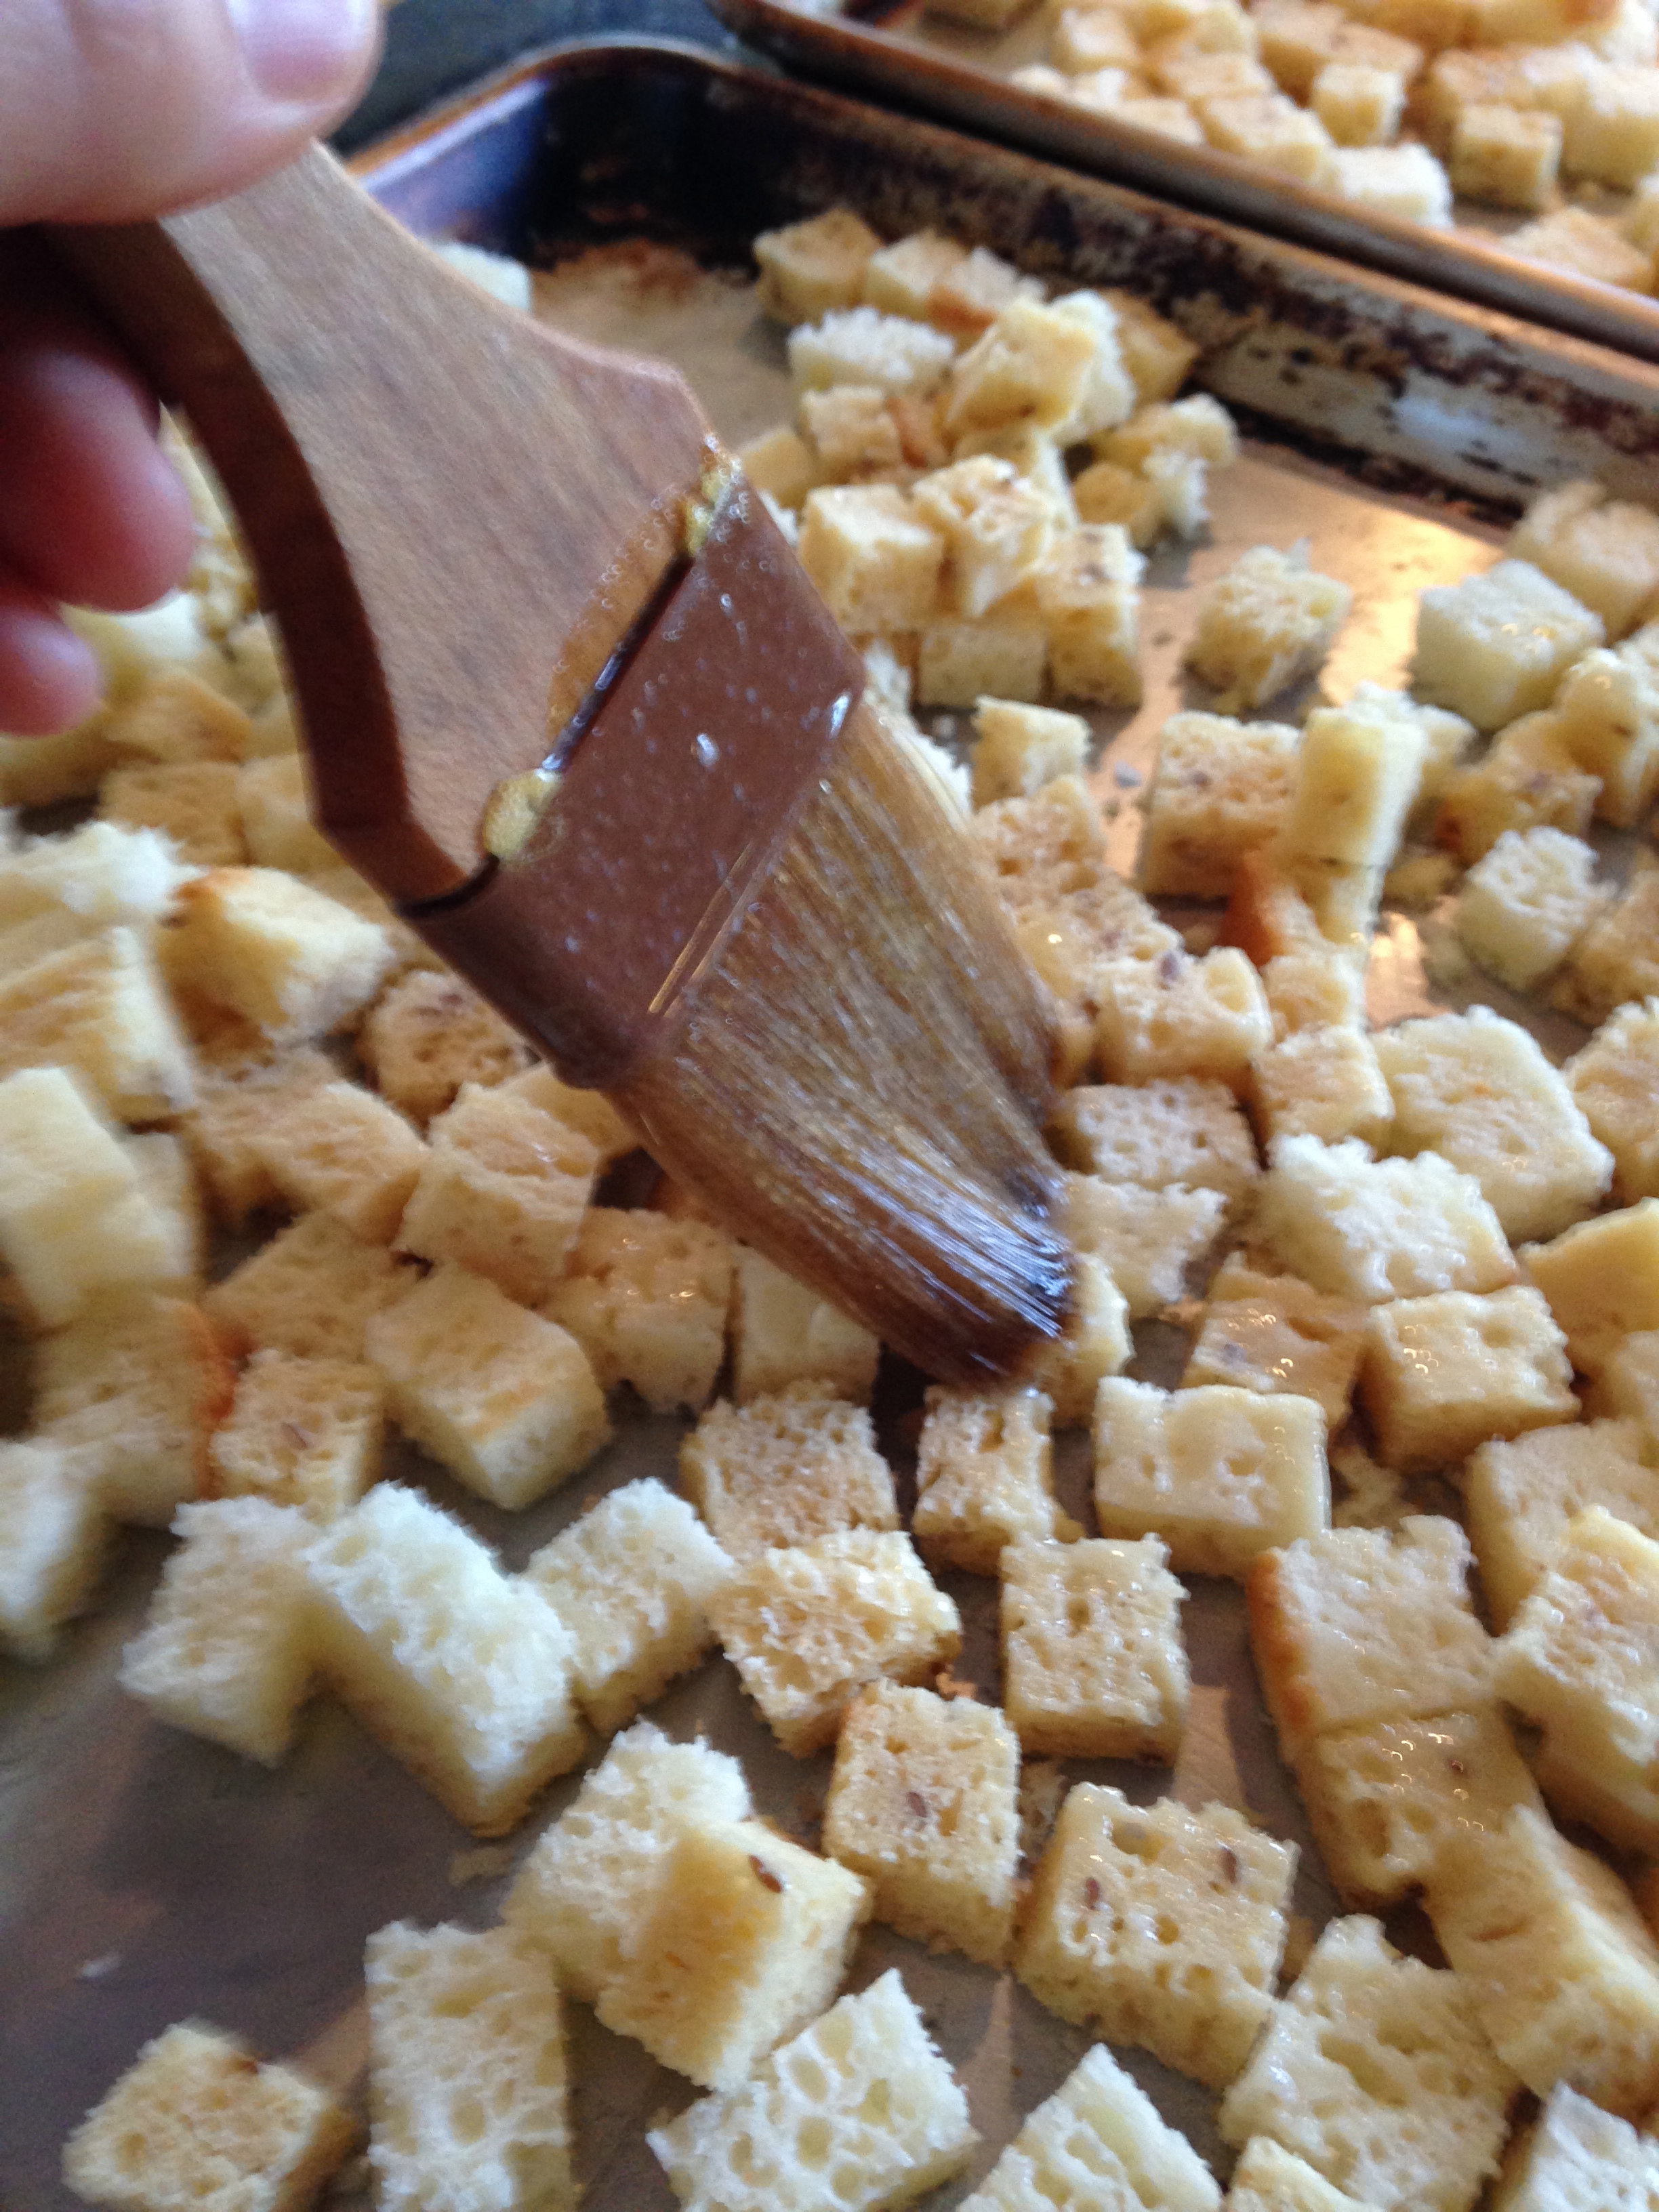
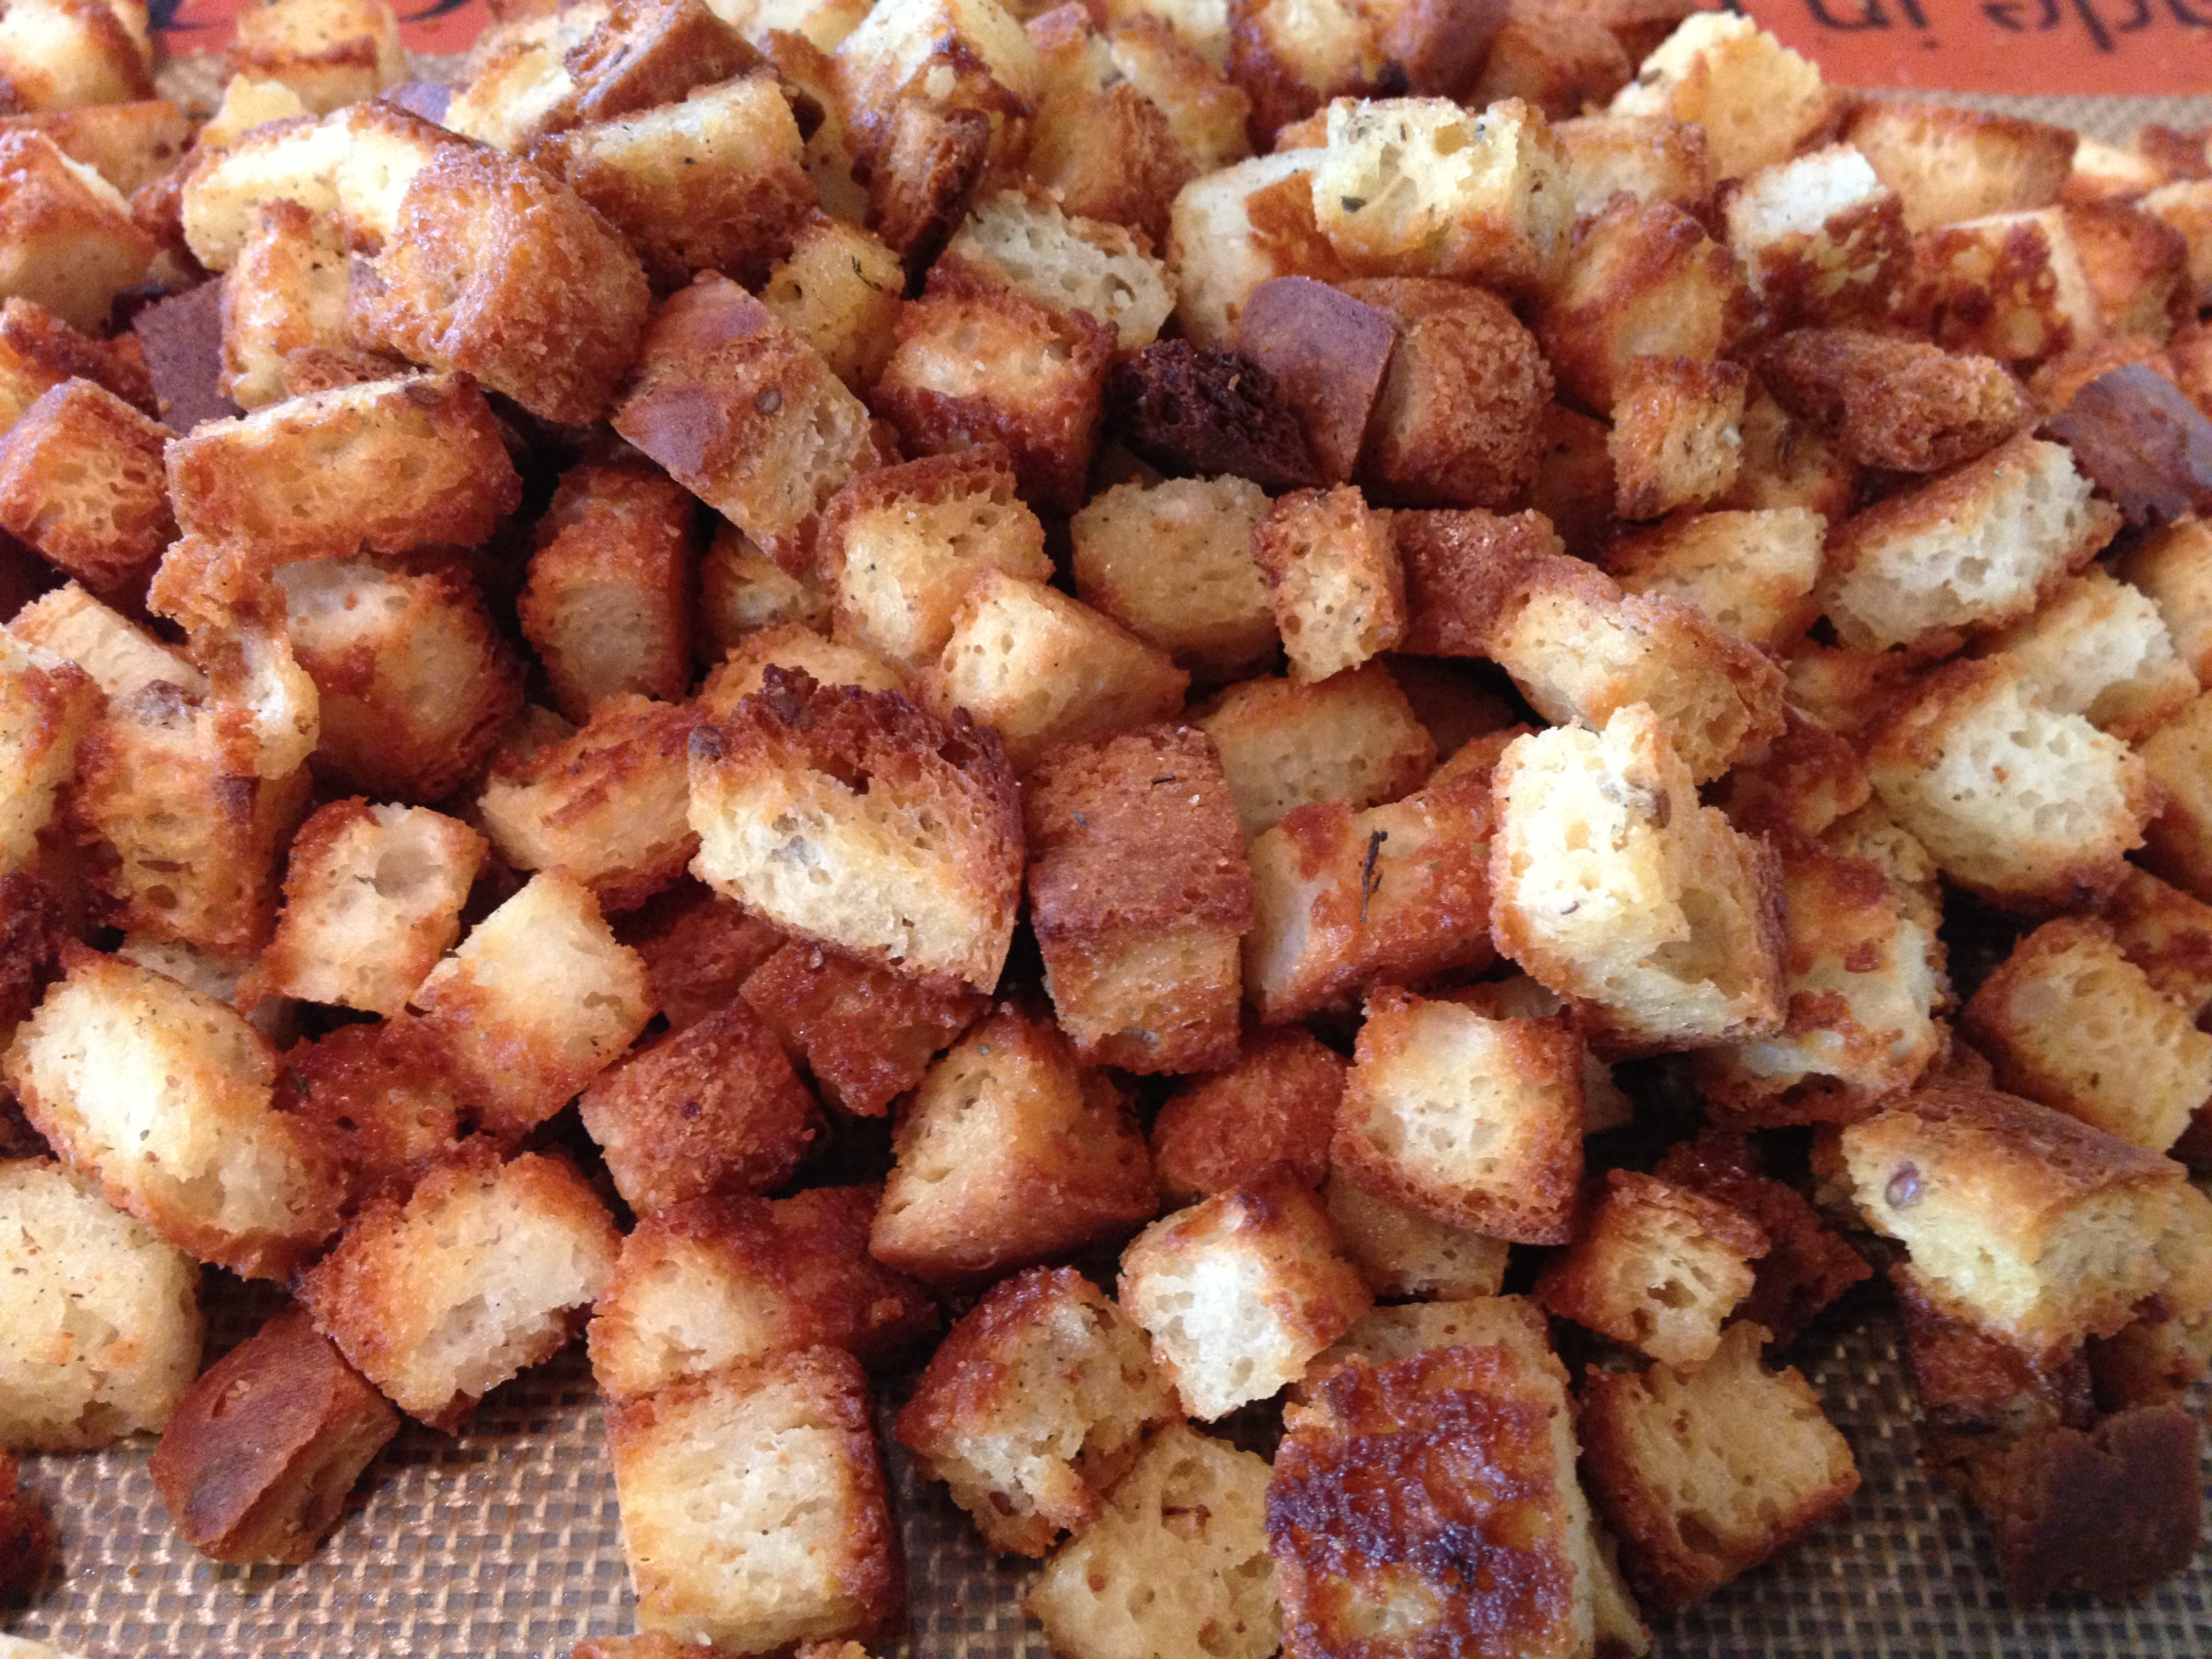
Heat oven to 250 degrees. Lay the bread cubes out on sheet pans and gently brush with 1/3-1/2cup of the melted butter.
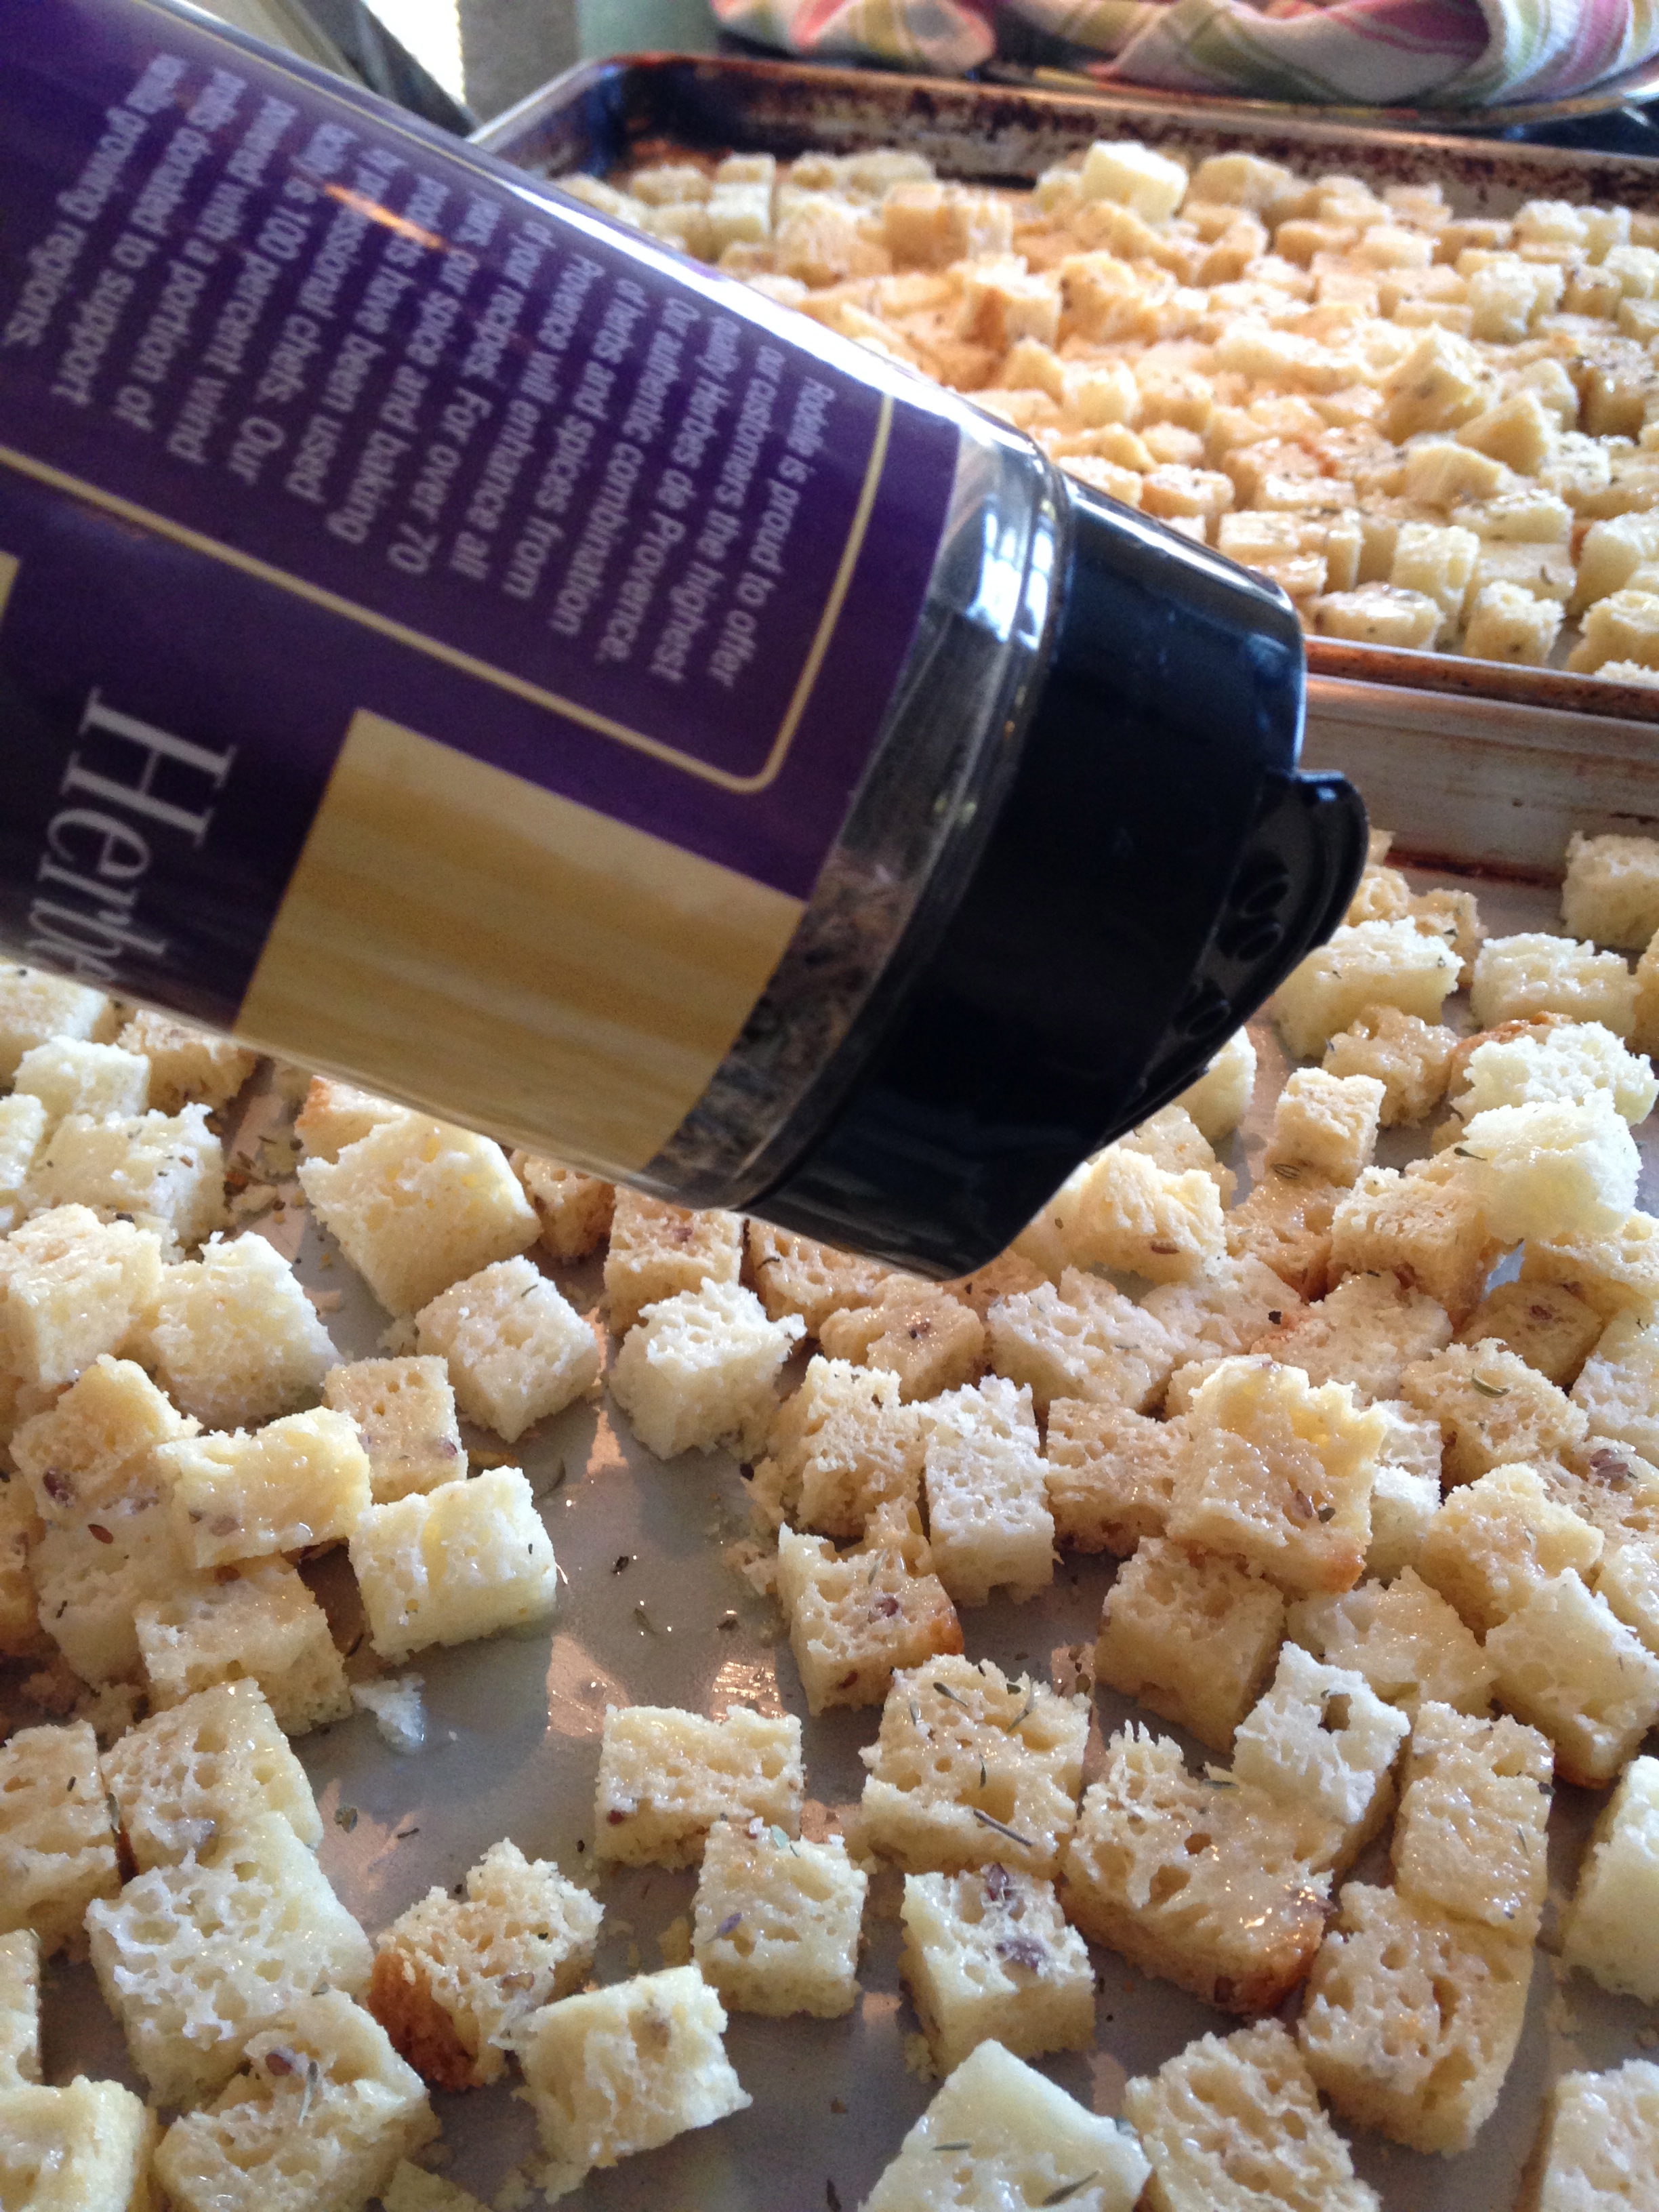
Season with salt. (I use my silpat for easy cleanup) Sprinkle with the Herbs de Provence
and bake until the cubes are dried out and crisp. Stir a couple of times, so that all sides are exposed to the heat. This may take between 20-40 minutes, depending upon the moistness of your bread. (I have done this up to a week in advance, freezing them in a ziploc freezer bag and defrosting on a sheet pan when needed.) Let cool.
Cook sausage in a large skillet, till no longer pink. Remove from pan, wipe skillet with a paper towel and add butter to melt. Add onions and celery and cook on medium heat until tender, but still a bit crisp. Add back the sausage and the diced water chestnuts. (This step can also be done up to 3-4 days in advance, refrigerating and rewarming to melt the butter prior to assembly)
When ready to bake, toss the warm sausage mixture with the bread cubes and sage, gently, until evenly combined. Add the turkey stock until the mixture looks moist, but not wet. This is going to take some eyeballing, just remember, you can always add more stock for moisture. You most definitely do not want a soggy mess, err on the side of caution. Start with 1 cup of stock, adding 1/2 cup increments until it absorbs some of the liquid, but are still fully intact.
Pour this mixture into your casserole dish or desired baking pan and bake at 350 degrees for 30-40 minutes. The first photo is a 9×13 pyrex dish, but I doubled the recipe for this. Baste frequently with additional melted butter, and stock if needed. Your goal here is for the top to become buttery/crunchy/golden and the underneath to be moist, tender and yet still fluffy. You can check the progress with a fork, gently lifting the top layer to get a gauge on how the bottom layer is doing. When the underneath steams and the top is browned, it’s done.
If you are looking for a traditional tasting stuffing that is sure to please even the pickiest of eaters, you can’t go wrong with this one. If you try it this year, or at any time, let me know what you think!
POSTNOTES:
– I wrote this recipe in this format, so that it feels like I am in the kitchen with you, walking you through the steps.
– It sounds vastly more complicated than it actually is.
– This recipe is also very flexible: If you hate sage, omit sage. If you want to trim some of the fat, cut the butter by half and drain the sausage. We don’t, because I eat this once a year and we like it just exactly this way, plus I limit how much I take. Portion control!
– You can increase the ingredients to suit your taste. I believe in the photo, I used a pound and a half of sausage. What can I say? Pork and pork fat rules.
– You can make this dressing with regular old bread cubes from the bag (which I did for decades) using the liquid portions listed on the package.
– For leftovers we always, and I mean ALWAYS have a turkey sandwich on white ‘bread’ with thick slices of turkey, mayo, cranberry sauce and stuffing. It honestly makes for the BEST sandwich ever, and as I said above, it’s a sandwich I eat once a year, so I allow myself the indulgence.
– I apologize for the anemically yellow photo of the finished dish. One of my goals this Thanksgiving is to pick my brothers brain on ways to achieve better pictures. He is a photographer, and obviously I am not. My trusty iPhone has served me well on my Facebook cooking page, but it’s time to step up my game!
*Update: After putting my own bread in this morning, I am re-adjusting the temp to 250 and will recommend you check every 10 minutes for up to 40 minutes. Mine took 40 minutes, which hubby dutifully tended while I hit the grocery stores. DAB the bread cubes with butter, you’re not soaking here. Just adding a layer of flavor and encouraging normally difficult GF bread to dry out crispy, intact and give something for the herbs to stick to. I am including photos I took as I prepared the croutons and the mix. Hopefully tomorrow I can post a better picture than the one above! Check recipe again for any additional tips, tricks and modifications.*
——————
2019 Update:
So many advancements in GF nowadays. I wrote this years ago when GF was in its infancy.
Now I go to Trader Joes and buy their GF dressing croutons and add a little more stock to moisten.
Also, when I first posted this we thought my daughter lactose intolerant, which meant I could do butter. In the years between we discovered she cannot tolerate the A1 protein in milk. Praise the Lord for A2 milk, and the improvement of vegan butters.
I substitute Miyokos Vegan European Cultured ‘Butter’ for real butter. It’s delicious.
My review of Miyokos is HERE.