When Life Gives You….Tart Cherries!

My friend, who is also my landscaper (I’m giving a shout out to MeadowLark Landscaping) was instrumental in helping this novice mid-western gardener, who grew up in the lush zone 8 of the Pacific Northwest, transform this barren wasteland of a yard in to a paradise of privacy and beauty. My mandate, when she first started helping me pick out plants, was plant nothing that shed something which nature did not naturally consume or compost. Until a couple of years ago, other than my summer annual produce, it never occurred to me to have a tree or bush that produced something HUMANS would consume! She suggested a dwarf cherry.

“Too big,” I said. “I’m short, I’m not getting on a ladder to pick fruit.”

No, she convinced me, a dwarf cherry would be lovely on the corner of my house to create some privacy for the front door and as an added benefit I would have tart cherries to cook with.

Well, how can one turn that offer down?

So this is my little dwarf cherry tree. Cute, isn’t it?

Image

At it’s tippy top, I do have to reach up and pull the branches down for me to reach, but this is about as big as it will get. However, as it ages, it will become more productive.
[2015 update: I picked nearly 20 pounds this year. Tart Cherry Jelly will be canned soon!]

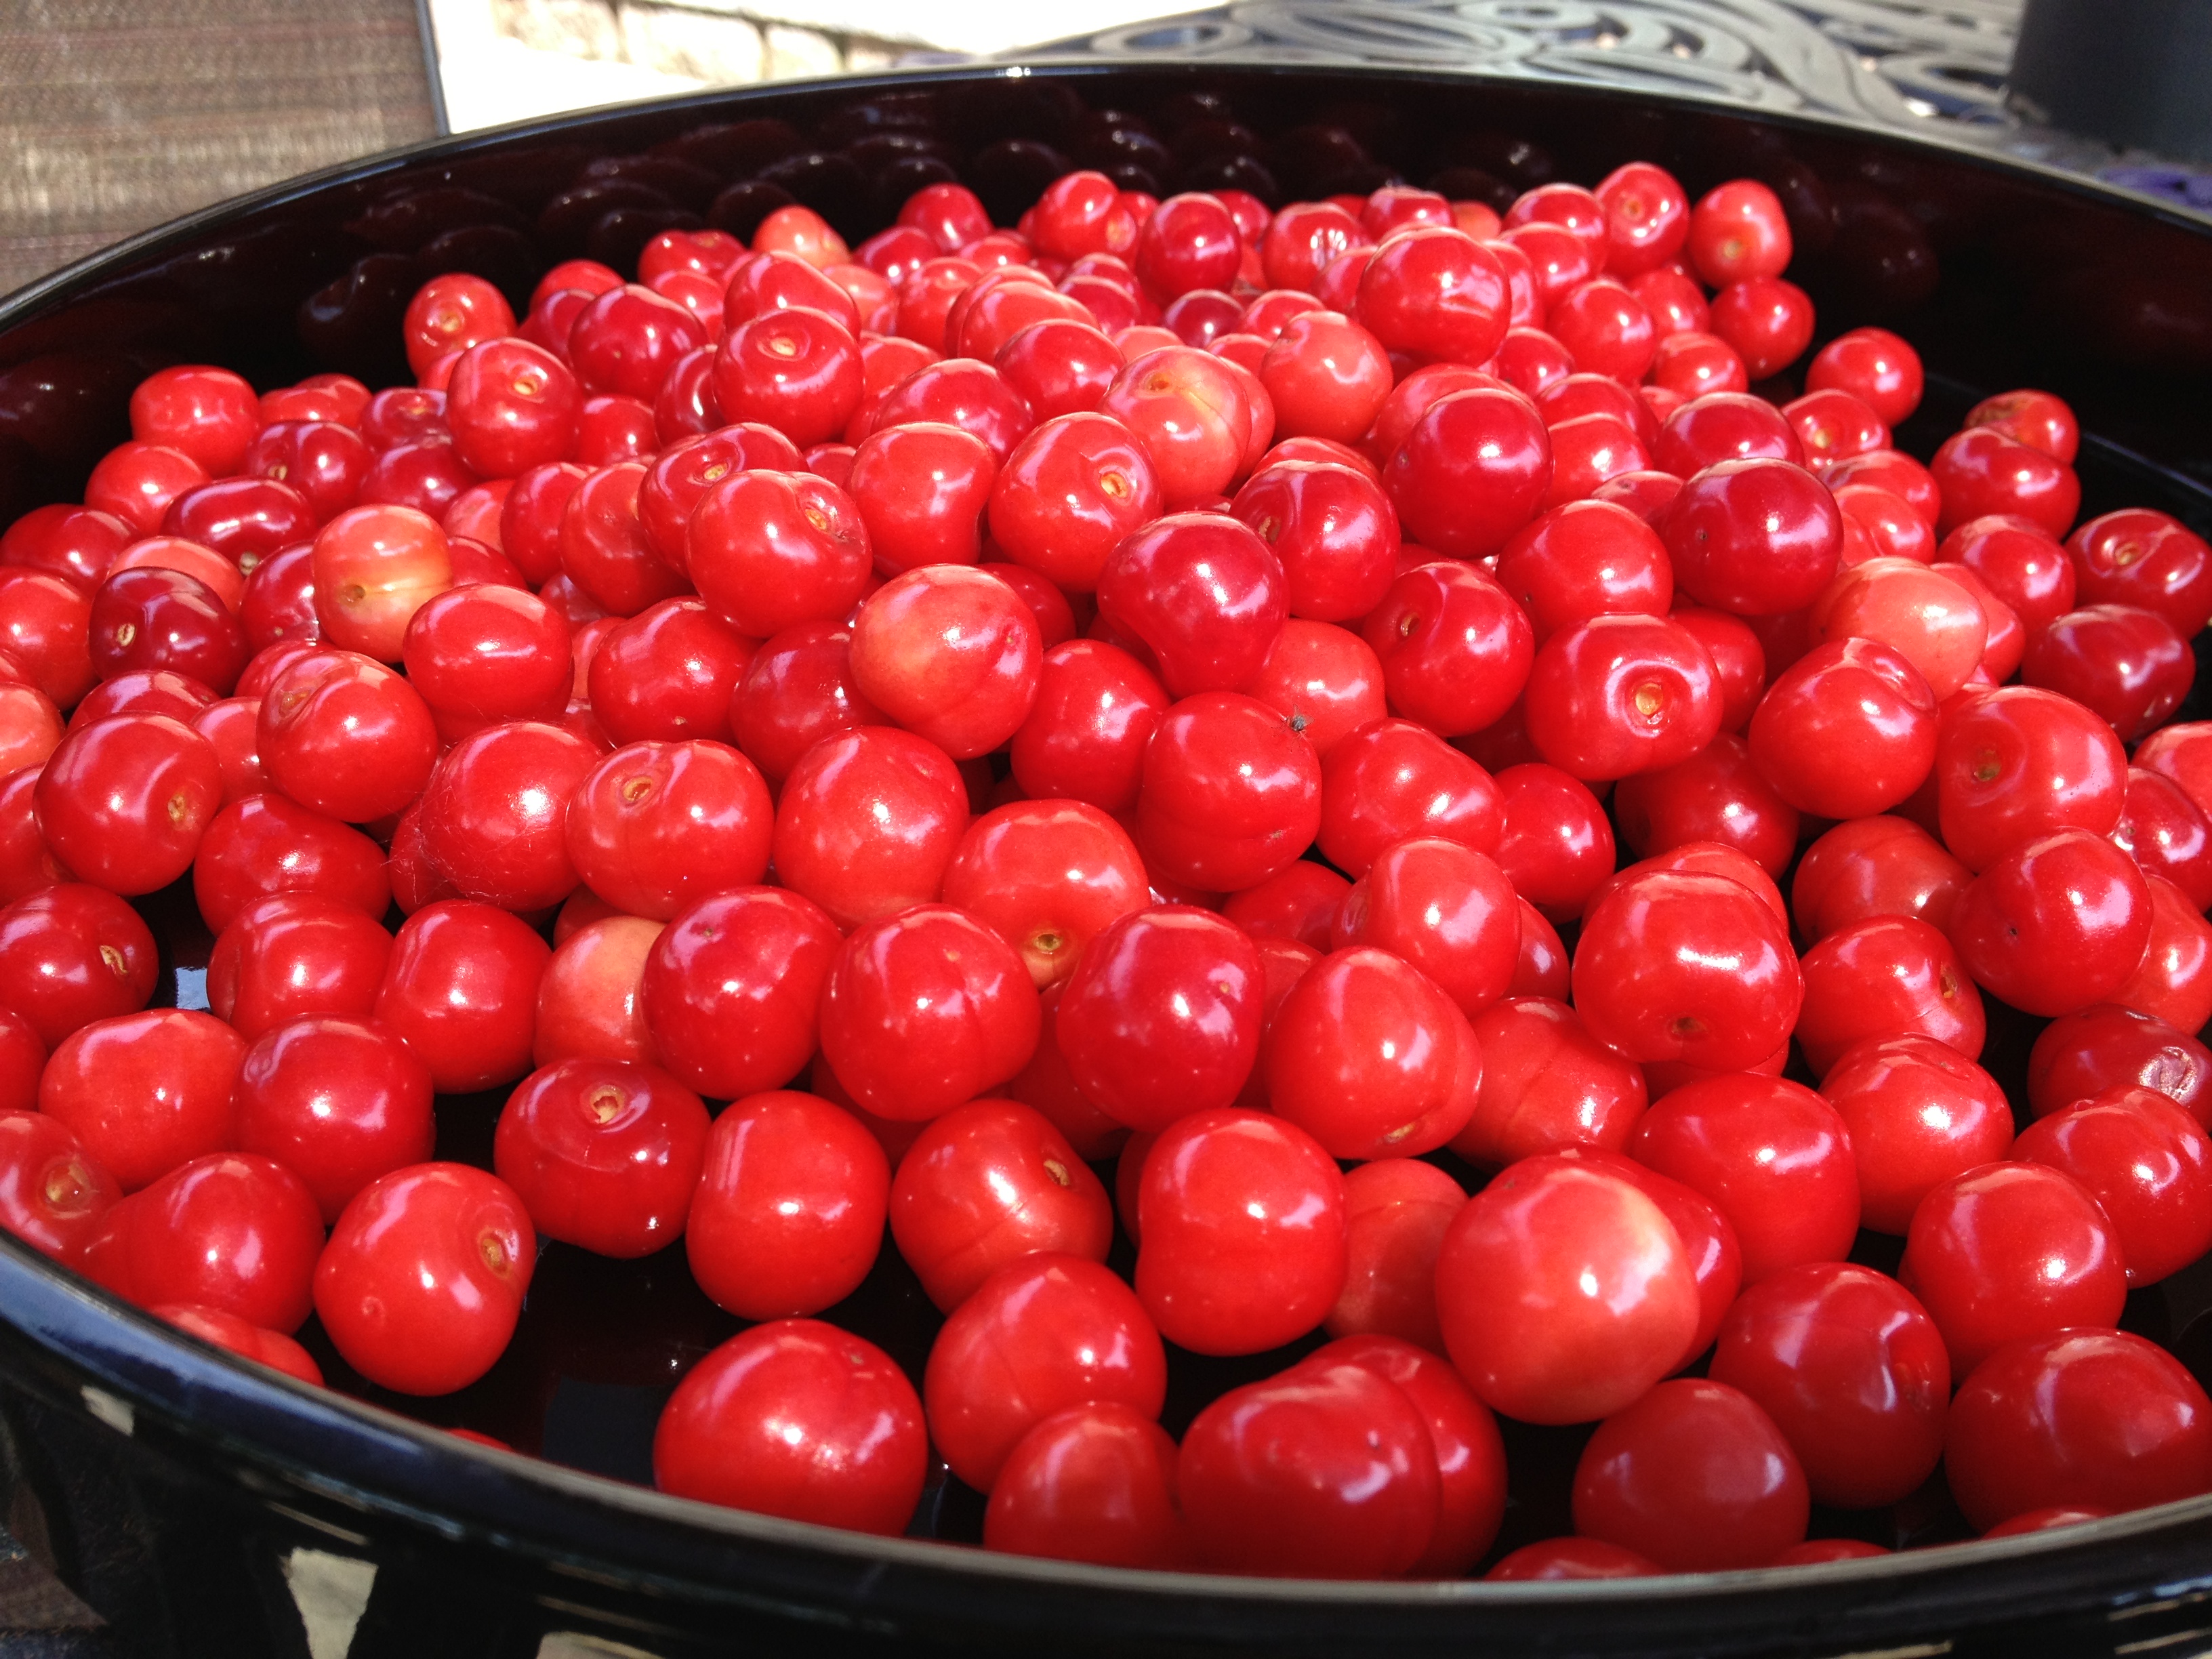
While cleaning out our garage for the up and coming graduation party, I noticed many of the berries were ripe. Having competed with (and lost) the ‘first dibs’ battle with robins before, I grabbed a tray and started picking. In the photo above, you can see there are still a lot left on the tree for a future use. Here is the fruit of my easy labor:

Image

For the remaining on the tree, after they have ripened, I’m thinking pickled cherries inspired from a blog I read by GlutenFree Girl and the Chef. She posted the link to the recipe by Matthew Amster-Burton on Gourmet, so when these babies ripen they are destined for pickling!

After a long hard day working in the garage and yard weeding, a sweet cherry treat is exactly what I was drooling for. Scanning the web for ideas, all but one seemed too time consuming and lengthy, dirtying too many dishes. Yes, I wanted dessert, no I didn’t want the mess after ‘cleaning’ all day. And since it was pushing 5pm, it had to be fast and easy. Reading endless critiques about tart cherry pies and that awful canned pie filling, it dawned on me….fresh cherry pie filling is not so different than macerated strawberries. What if i substituted fresh cherry filling for strawberries over a ‘shortcake’? YES! And what better to go with cherries than chocolate?

Normally I would make my famous cream scones, but I was looking for quick, easy and as little dish mess as possible. Pamela’s Pancake and Baking mix to the rescue. Since I happened to have a scone pan form (I bought it before I found Pamela’s Artisan Flour and perfected my traditional scones) it was easy to modify her simple recipe by adding chunks of chocolate, plop the blobs in and bake, turning them out to cool!  In minutes, with only a couple of dishes to do, I had dessert, fresh from my garden. Voila! A beautiful sight to behold!

Image

Easy Tart Cherry ‘Filling’

Approximately 2 generous cups of pitted tart cherries (be sure to pit over a bowl to catch the juices)

1/2 cup sugar

Juice of half an orange plus it’s zest

1 star anise (optional)

4 tsp GF Arrowroot starch

1/2 cup water-if needed. My cherries were extremely juicy.

Place in a 3-4 quart pan over a low heat and bring cherries to just under a boil, DO NOT BOIL. Make a slurry with the arrowroot (mix with a tablespoon of water to create an emulsion) and add to the cherries. Stir until combined, turning heat off. It should thicken quickly. (Do not boil, as this will weaken the arrowroot starch) Cool, refrigerate until needed, but you can serve it warm over ice cream too! NUM!)


Springs’ First Breath: Curried Chicken Salad Lettuce Wraps

Well, it finally came, Spring.

After such a long hibernation, trapped house-bound, it is marvelous to be able to sit outside on the patio and have dinner. This is that brief period of Minnesota spring where the snow is just behind us and the heat of the spring has not yet manifested in the feasting hordes of mosquitoes.

Tonight was a simple dinner of Curried Chicken Salad Lettuce Wraps, set out for assembly, and fresh fruit. Delish.

Image

Simple Curried Chicken Salad

1/2 cup celery

1/2 cup mayonnaise (you can use light to reduce the calories)

1/2 cup golden raisins, chopped dried cherries or mixture of both.

1 cup grapes, sliced in half (optional)

1/4 cup diced white onions.

2-3 tbsp sweet curry

2 cooked chicken breasts, chopped

Mix the first 6 ingredients together. You can add more of any one to suit your taste. My family likes it very curry flavored and crunchy, so I add more  curry andcelery. Then add the chicken and fold gently to mix. I also prefer to have the grapes in there, along with the the tartness of the dried cherries, but if you dont have the fresh grapes on hand, this is just as good without them.

You can serve this right away, but it tastes best after it has had a chance to rest.

This salad can be served as pictured, on lettuce leaves, which is naturally Gluten Free. It can also be served on whole grain bread, in pita pockets, or on a bed of salad greens with radishes and cucumbers, dressed with a simple vinaigrette.


Gluten Free Cream of Tomato Soup

As I’ve said in a previous blog, I am going to feature other bloggers once in awhile. This time its my  dear friend Laurie over at The Frugal Farmer . I am posting the recipe for  a soup I made for her, which she recently requested. It honestly is one of the best tomato soups I’ve ever made, and the only recipe I now use.

Yes, it is a little putzy, but it is well worth the effort. I double the recipe and freeze half before adding the cream. It’s then easy to defrost, reheat and add the cream and brandy. (I use brandy, but you can use sherry if you prefer)

The original recipe is not gluten free, but I have modified it to be gluten free by using my gluten free Artisan Flour Blend by Pamela’s. If you are not gluten intolerant, just use all-purpose flour.

Cream of Tomato Soup- Gluten Free.

2 (28oz) cans whole tomatoes packed in juice, drained reserving 3 cups of the liquid. Put a strainer over a bowl to catch the seeds and keep the juice, and carefully open the tomatoes, pushing out the seeds and juice.

1.5 tbsp dark brown sugar

4 tbsp unsalted butter

4 shallots, minced

1 tbsp tomato paste

pinch of allspice

2 tbsp gluten free all-purpose flour

1.75 cups low-sodium chicken broth

1/2 cup heavy cream

2 tbsp brandy or sherry

salt and cayenne pepper to taste.

Preheat your oven to 425deg, line a rimmed baking sheet with foil and place the seeded tomatoes in a single layer on it, sprinkle with the brown sugar and bake in the oven for about 30 minutes until they are beginning to color and the juices have evaporated. Peel the tomatoes off the foil and set aside.

Melt the butter in a large saucepan over a medium heat, add the shallots, tomato paste and allspice. Lower the heat to low, and cook, stirring often, until the shallots soften (about 5-10 min). Add the flour and stir to combine, cook about 30 sec. Whisking constantly, add the chicken broth, reserved tomato juice and the roasted tomatoes. Cover the pot, increase the heat to medium and simmer until the flavors marry, about 10 minutes.

Strain the soup in to a bowl. Place the solids in a blender, add about a cup of the liquid and puree until smooth. Add this back to the rest of the liquid, and put back in the sauce pan. (Rinse or wipe out to ensure no chunky bits are left behind)

[soup can be frozen at this point]

Add the cream and brandy, season to taste and enjoy! (do not boil the soup once you have added the cream. To reheat, bring to a simmer, then serve)

Below is a photo of the leftovers from a reunion Christmas cookie decorating party for my oldest and her high school friends. I have not made this soup in awhile, so I don’t have a current photo. My apologies.

Image