Gluten Free Stuffed Pumpkin Snickerdoodles

P1020994

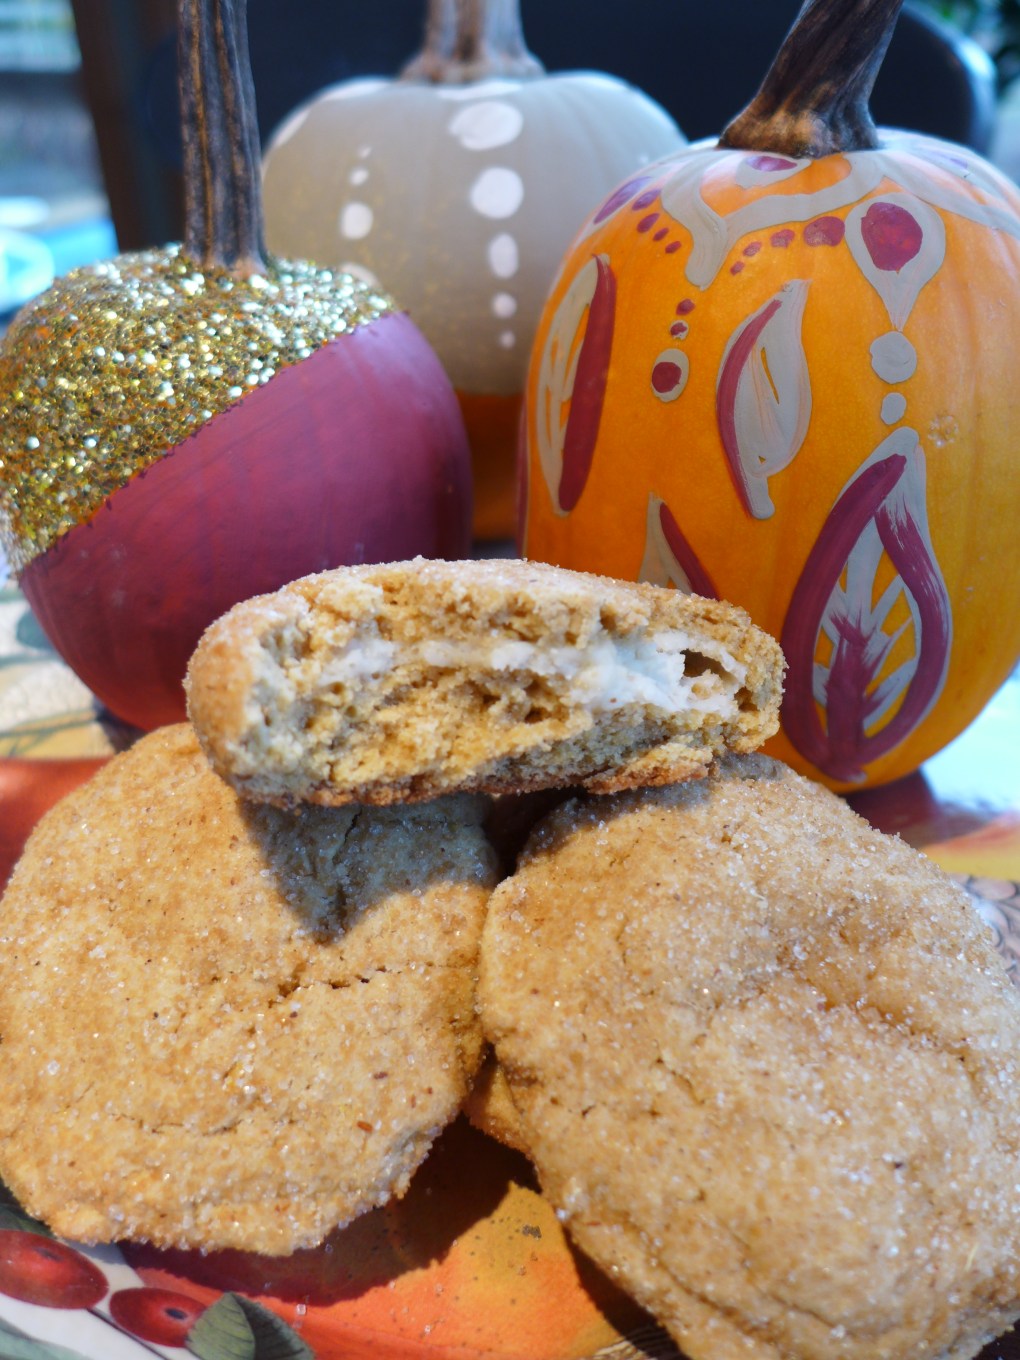
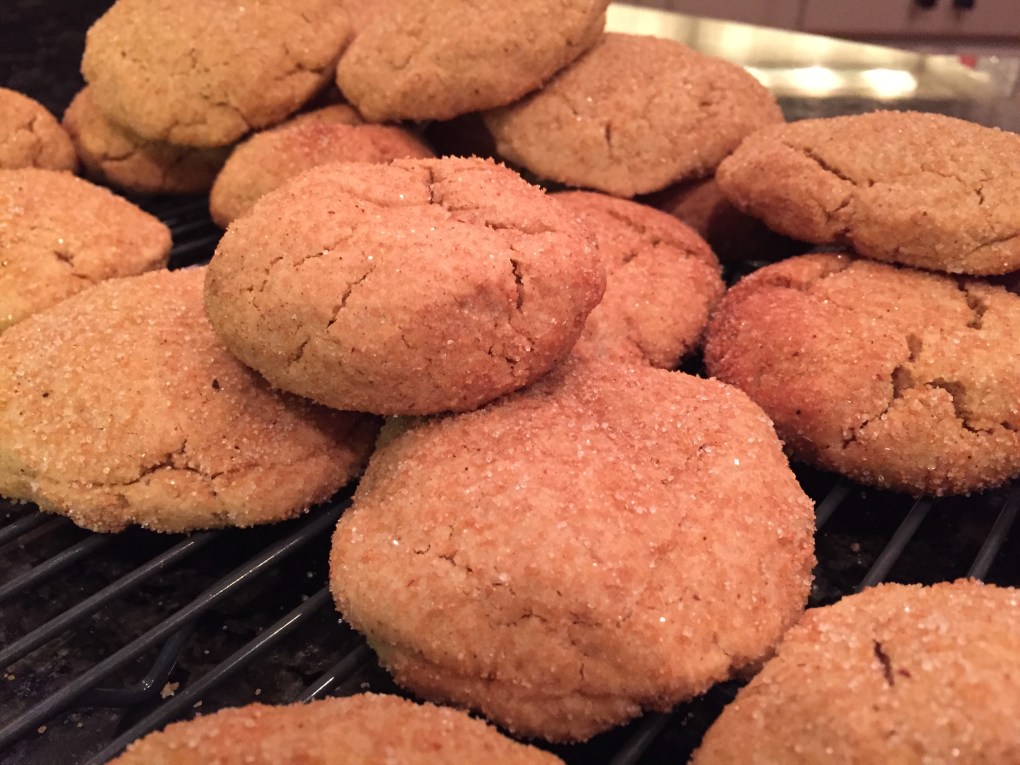
OH YEAH BABY. Just look at those cookies! Are you drooling yet? Well, trust me, they are drool worthy. I’m not kidding here, these are totally worth every single calorie in them!
While these tasty nuggets of pumpkin, spice, and everything nice, are fantastic anytime, they would also be a massive hit on your Thanksgiving Dessert Buffet. Why not think ahead? Santa would be happy to down a couple of these before dropping off presents! Do you have an upcoming Christmas Cookie Exchange? Well, these taste amazing, are a wonderful gluten free option, and probably due to the pumpkin, keep extremely well, getting softer over time. So feel free to pre-bake and take, knowing they will be even better a day later!

Gluten Free Stuffed Pumpkin Snickerdoodles

For the cookie dough:
3 3/4 cups Gluten Free Flour blend. (I always use Pamela’s Artisan Flour)
1 tsp Baking Powder
1/2 tsp Cream of Tarter
1/2 tsp Salt
3/4 tsp Cinnamon, ground
1/4 tsp Nutmeg, ground
1/2 tsp Ginger, dried ground
1 cup Unsalted Butter, softened *see note
1 cup Sugar, white (i use organic cane sugar)
1/2 cup Brown Sugar, dark
1 Egg, large
3/4 cup Pumpkin Puree
2 tsp Vanilla extract

For the stuffing:
8 oz Cream Cheese, softened
1/4 cup Sugar, white
2 tsp Vanilla extract

For rolling the cookies:
1/2 cup Cinnamon Maple Sugar *see photo below
1/2 tsp Ginger, ground
(If you cannot find Cinnamon Maple Sugar, simply add cinnamon and ginger to maple sugar OR mix together cinnamon, ginger and white sugar to taste. Approximately 1/2 cup sugar + 1 tsp Cinnamon and 1/2 tsp Ginger)

P1020995

Preheat oven to 375 degrees
Line baking sheets with a Silpat silicone liner or Parchment Paper

First, whisk together the dry ingredients: Flour, baking powder, cream of tartar, salt, cinnamon, nutmeg and ginger.
Then, in your stand mixer (or hand mixer) beat the butter with the sugars until light and fluffy, add egg, pumpkin puree and vanilla. Mix well.
(*Note: I don’t always remember to soften my butter. So I cheat: Dice up the butter, add part of your sugar, then begin to mix on low. Add the rest of the sugar and continue to beat. The sugar will ‘cut’ up the butter and soften it, along with the friction of the beaters. It’s not the ideal method, but it works in a pinch.)
Add the dry ingredients to the wet, mixing well. (The flour has no gluten, so no worries about over mixing, they will remain tender)
Set these ingredients in the refrigerator while you make the stuffing.

In a clean bowl, beat the softened cream cheese with the sugar and vanilla. Do not over mix this. You are not whipping it, just mixing it altogether.

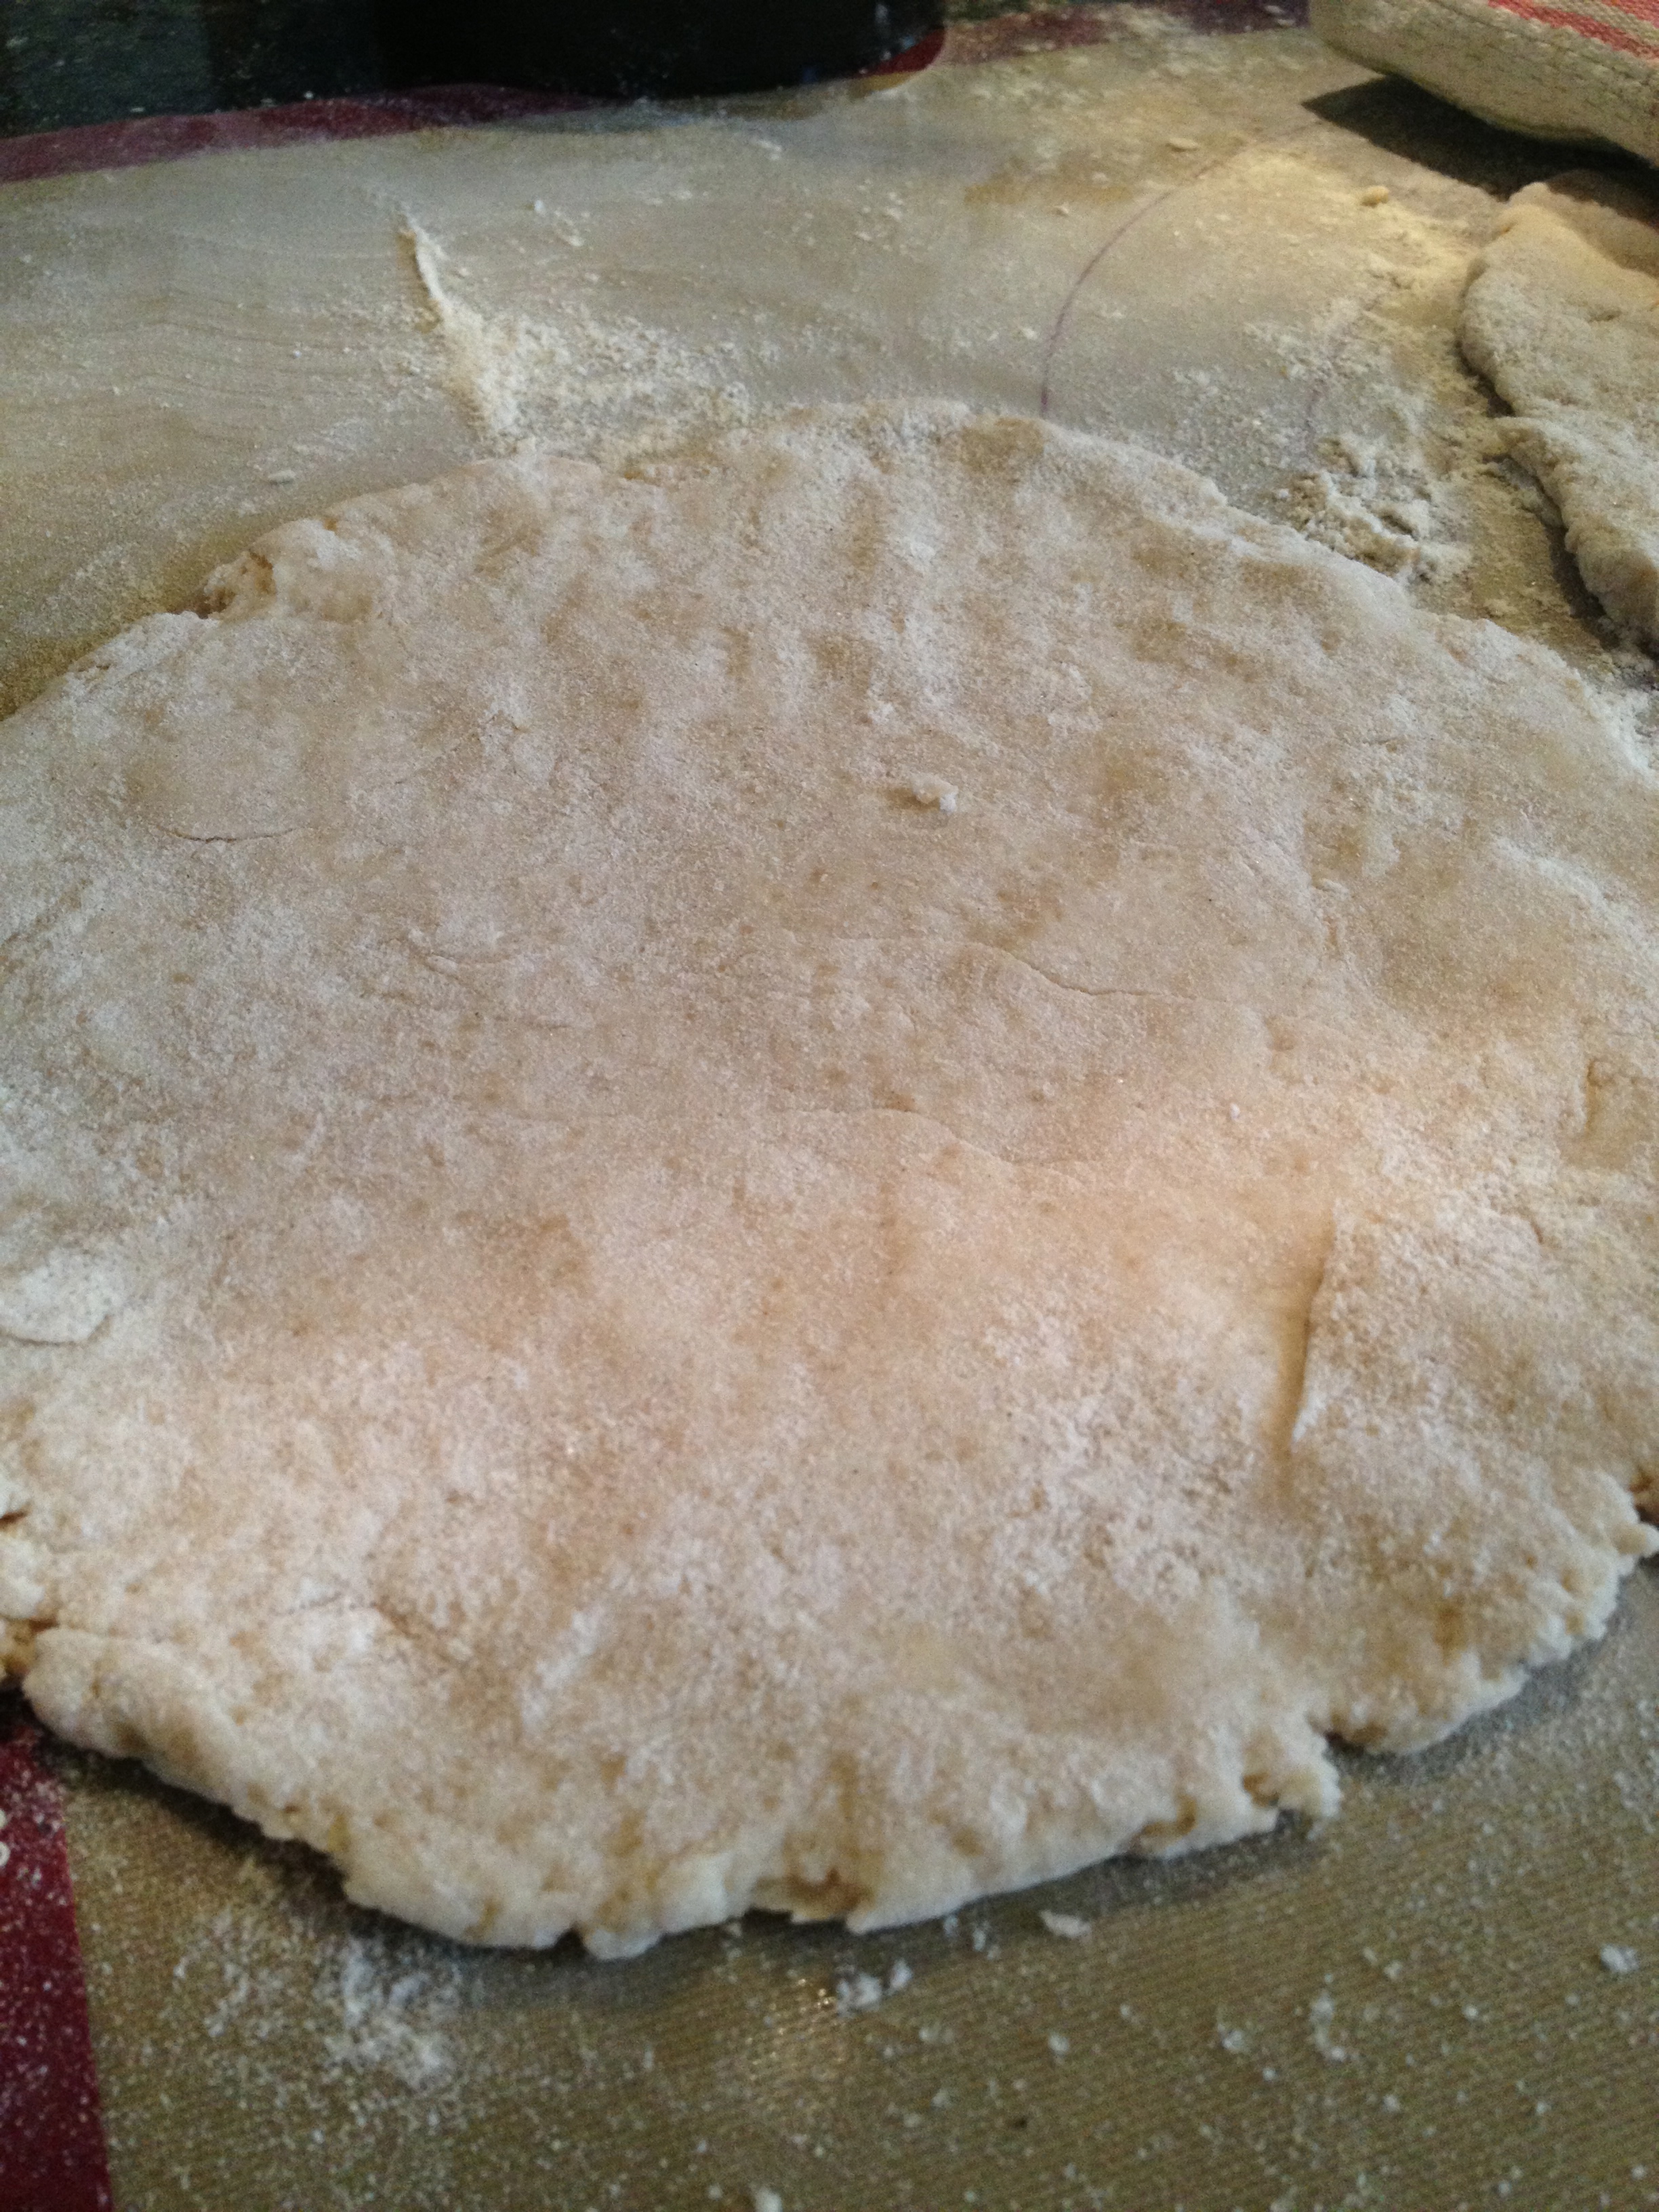
Now is the tricky part, though not difficult. This dough is a little soft, but not super sticky, you’ll understand what I mean when you make them. They are softer than a traditional snickerdoodle, so if your kitchen is not cool, that little time in the fridge does wonders to firm up the dough a bit.

IMG_3485

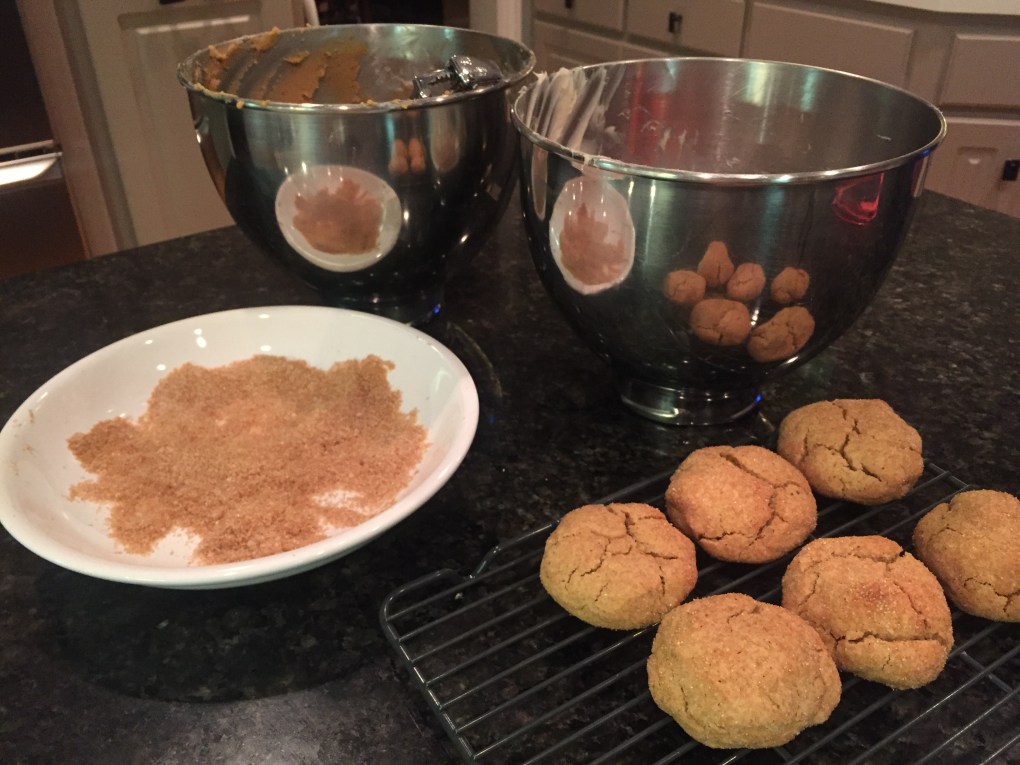
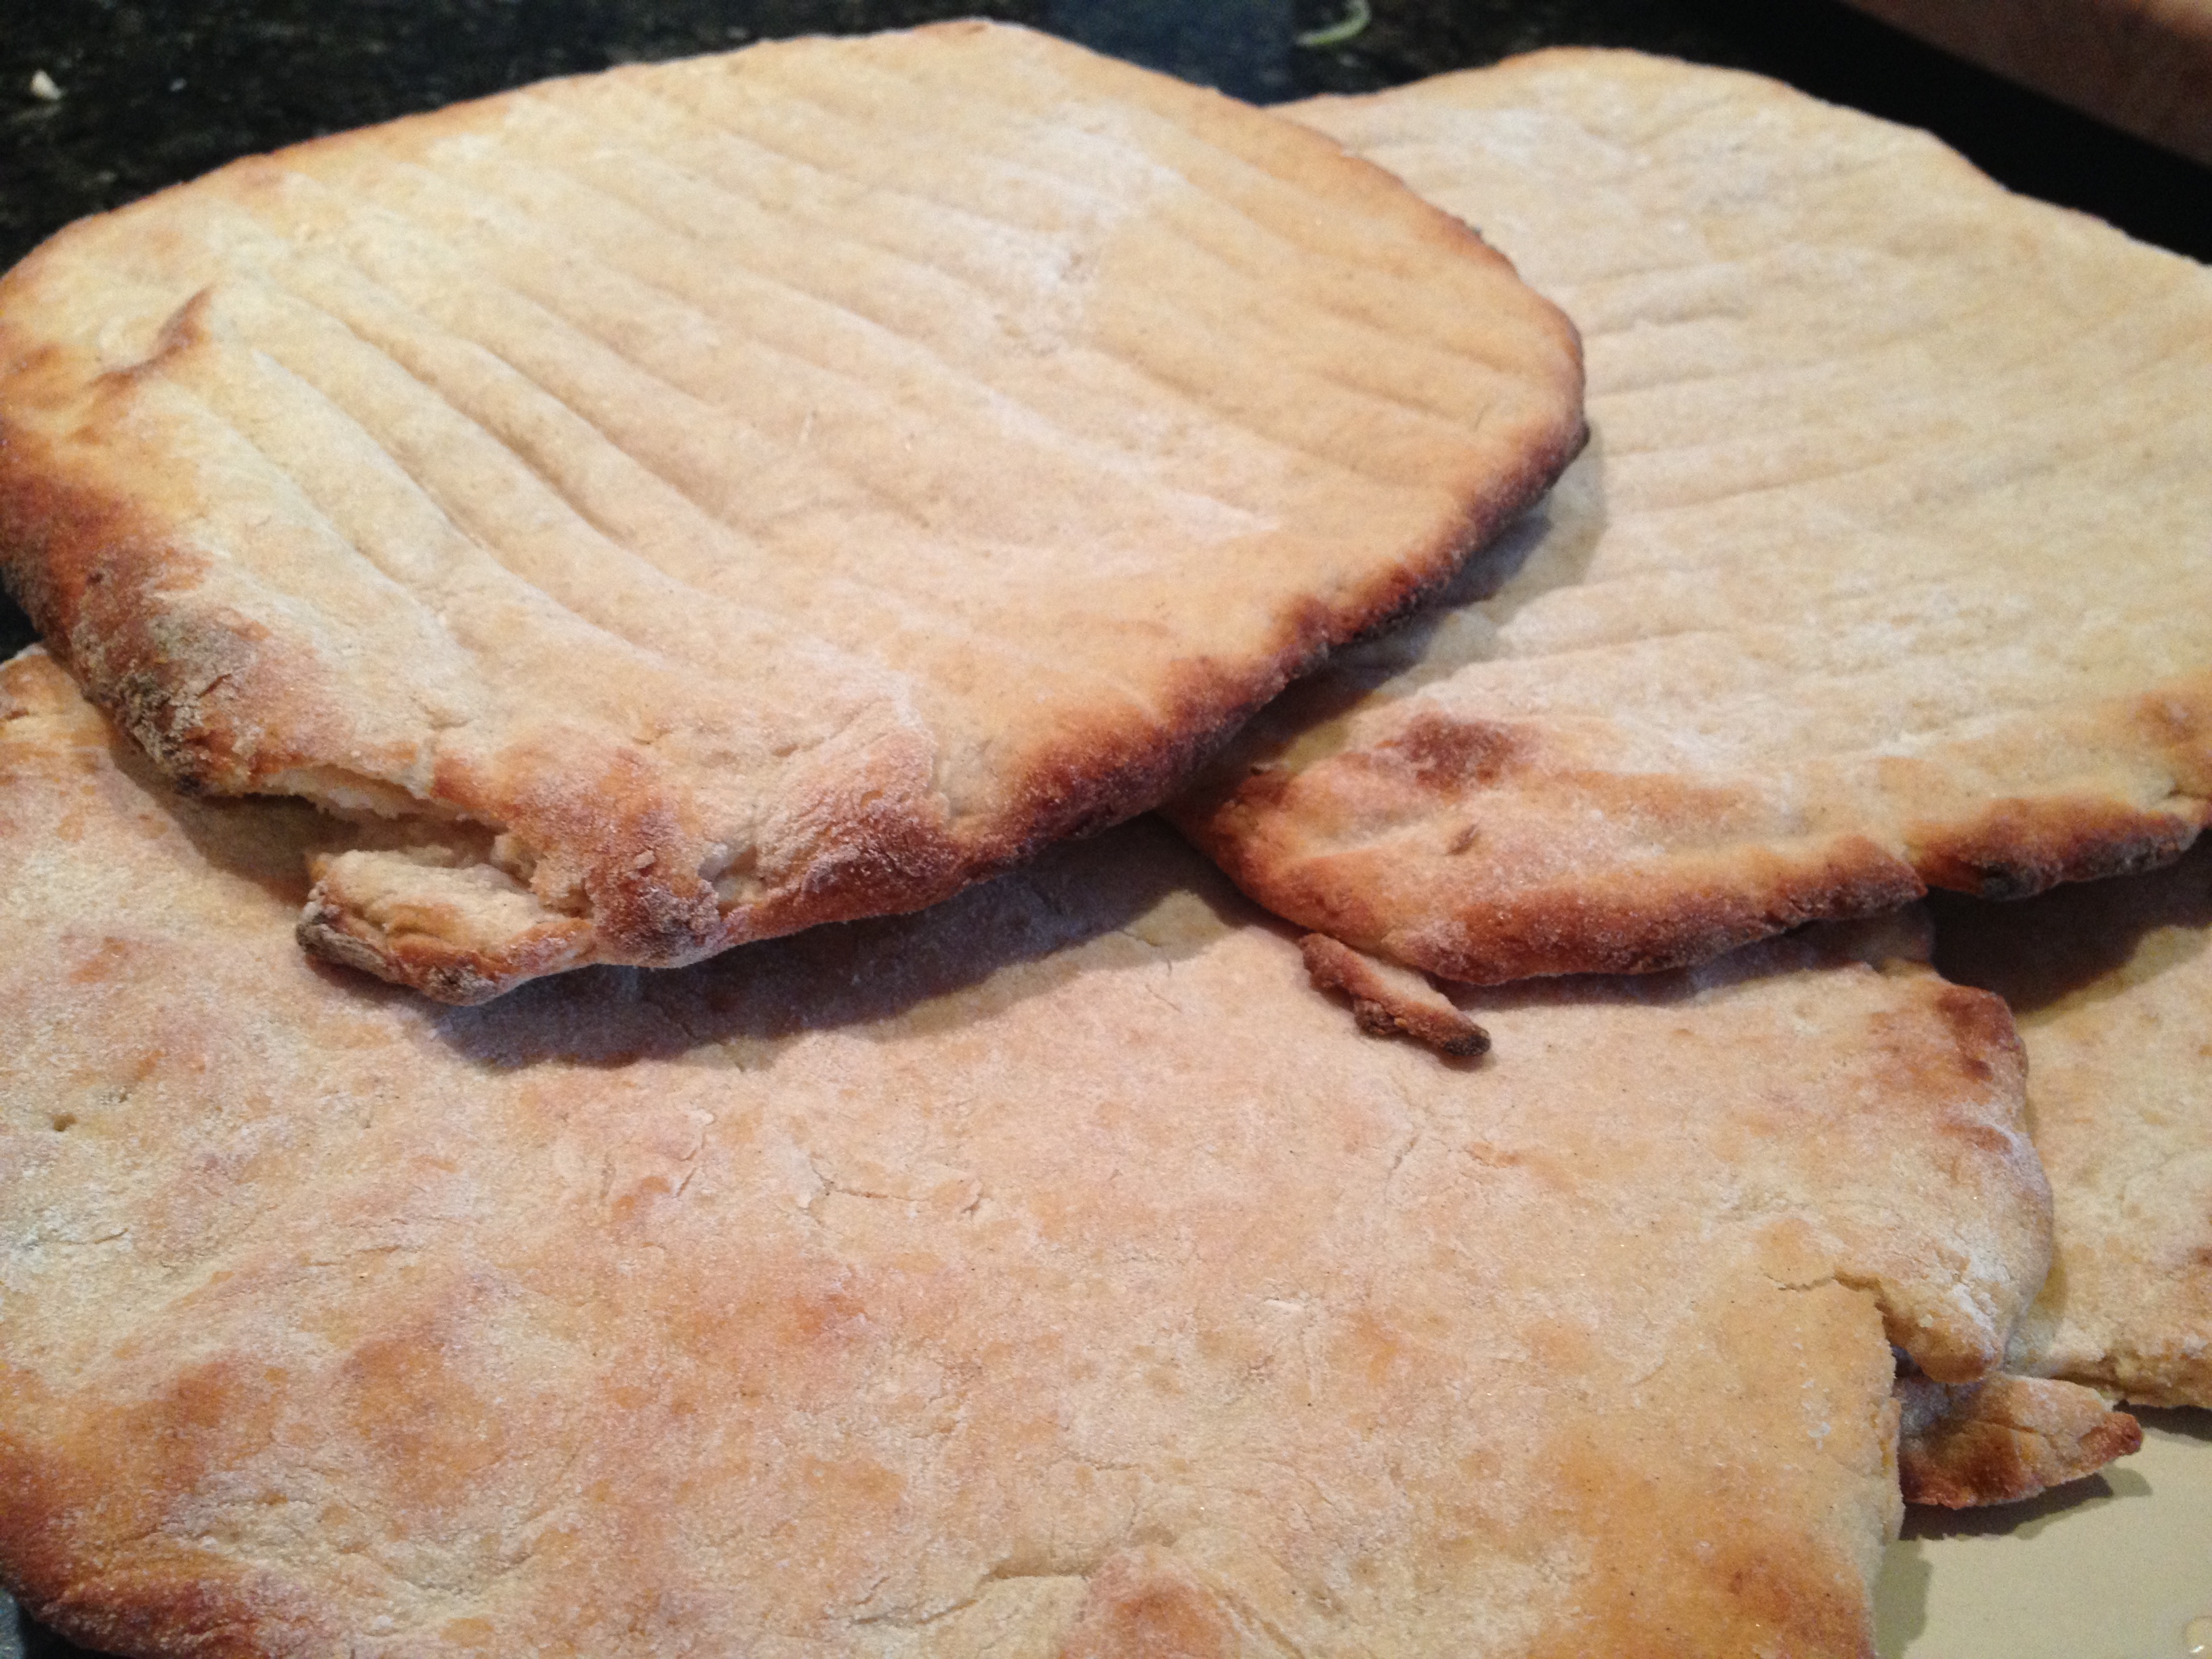
Using a teaspoon or dough scoop (I use a small  muffin-cookie scoop which is kind of like an ice cream scooper), take 2 small wads of dough (a little under a tablespoon each) and slightly flatten. Then take a tsp of the cream cheese mix, lay it in-between the 2 pieces of dough and gently press/pinch the seams together to make a slightly flattened ball. My first batch, I rolled into a circular ball like I would a traditional snickerdoodle, and the cookies baked up too tall. When I used this flatten/pinch-to-seal technique, the end result was a more traditional looking cookie. Can you see the difference in the picture below? The one on the top was a wad of cheese that I wrapped the dough around. The flatter, more traditional cookies are a result of my modified technique.

IMG_3486

Roll (or flip) the dough ball in the maple cinnamon sugar. Place on your baking sheet and bake 10-12 minutes. They may, or may not develop cracks. The cookie will be moist but not raw when done.

Remove to a cooking rack and let cool, if you can wait that long. Half were gone before I finished baking them all!

These cookies do not disappoint. I think how many you end up with, will depend on how big of a cookie you roll. I was able to end up with just under 2 dozen cookies.
Enjoy, and as always, I’d love to hear your feedback or answer any questions in the comment section!


When Life Gives You….Tart Cherries!

My friend, who is also my landscaper (I’m giving a shout out to MeadowLark Landscaping) was instrumental in helping this novice mid-western gardener, who grew up in the lush zone 8 of the Pacific Northwest, transform this barren wasteland of a yard in to a paradise of privacy and beauty. My mandate, when she first started helping me pick out plants, was plant nothing that shed something which nature did not naturally consume or compost. Until a couple of years ago, other than my summer annual produce, it never occurred to me to have a tree or bush that produced something HUMANS would consume! She suggested a dwarf cherry.

“Too big,” I said. “I’m short, I’m not getting on a ladder to pick fruit.”

No, she convinced me, a dwarf cherry would be lovely on the corner of my house to create some privacy for the front door and as an added benefit I would have tart cherries to cook with.

Well, how can one turn that offer down?

So this is my little dwarf cherry tree. Cute, isn’t it?

Image

At it’s tippy top, I do have to reach up and pull the branches down for me to reach, but this is about as big as it will get. However, as it ages, it will become more productive.
[2015 update: I picked nearly 20 pounds this year. Tart Cherry Jelly will be canned soon!]

While cleaning out our garage for the up and coming graduation party, I noticed many of the berries were ripe. Having competed with (and lost) the ‘first dibs’ battle with robins before, I grabbed a tray and started picking. In the photo above, you can see there are still a lot left on the tree for a future use. Here is the fruit of my easy labor:

Image

For the remaining on the tree, after they have ripened, I’m thinking pickled cherries inspired from a blog I read by GlutenFree Girl and the Chef. She posted the link to the recipe by Matthew Amster-Burton on Gourmet, so when these babies ripen they are destined for pickling!

After a long hard day working in the garage and yard weeding, a sweet cherry treat is exactly what I was drooling for. Scanning the web for ideas, all but one seemed too time consuming and lengthy, dirtying too many dishes. Yes, I wanted dessert, no I didn’t want the mess after ‘cleaning’ all day. And since it was pushing 5pm, it had to be fast and easy. Reading endless critiques about tart cherry pies and that awful canned pie filling, it dawned on me….fresh cherry pie filling is not so different than macerated strawberries. What if i substituted fresh cherry filling for strawberries over a ‘shortcake’? YES! And what better to go with cherries than chocolate?

Normally I would make my famous cream scones, but I was looking for quick, easy and as little dish mess as possible. Pamela’s Pancake and Baking mix to the rescue. Since I happened to have a scone pan form (I bought it before I found Pamela’s Artisan Flour and perfected my traditional scones) it was easy to modify her simple recipe by adding chunks of chocolate, plop the blobs in and bake, turning them out to cool!  In minutes, with only a couple of dishes to do, I had dessert, fresh from my garden. Voila! A beautiful sight to behold!

Image

Easy Tart Cherry ‘Filling’

Approximately 2 generous cups of pitted tart cherries (be sure to pit over a bowl to catch the juices)

1/2 cup sugar

Juice of half an orange plus it’s zest

1 star anise (optional)

4 tsp GF Arrowroot starch

1/2 cup water-if needed. My cherries were extremely juicy.

Place in a 3-4 quart pan over a low heat and bring cherries to just under a boil, DO NOT BOIL. Make a slurry with the arrowroot (mix with a tablespoon of water to create an emulsion) and add to the cherries. Stir until combined, turning heat off. It should thicken quickly. (Do not boil, as this will weaken the arrowroot starch) Cool, refrigerate until needed, but you can serve it warm over ice cream too! NUM!)


Lamb kebabs with Gluten Free Pita

Image

Oh, it truly is the little things that make my daughter happy. I’m glad for it, but as it’s something as simple as a flatbread it makes me sad, just a little. Nowadays with her gluten intolerance, many of her favorite foods are tough to come by or not available, unless mom gets creative and does her homework. 

One of our favorite dinner meals are lamb kebabs done Moroccan style with tzatziki sauce (i was inspired by alton browns version, using greek FAGE yogurt), tomatoes, cucumber, white onions and grilled peppers. It hits all the main food groups so it’s a variation of a ‘one pot’ meal for sure. Perfect for a sunday sabbath day, cold outside but sunny and cheery. Not a bad day to experiment.  

The current dilemma has been a homemade gluten free pita bread that doesn’t take all day or a lot of special ingredients. Over at Gluten-Free on a Shoestring they came up with a recipe I felt fit those constraints and worthy of giving a try.  (here is the link. ) Sunday is as good a day as any to get creative, so I headed down to my freezer and pulled out the last of my ground lamb from my farmer. (see Todd & a well stocked freezer) While it defrosted, I started the bread, mixing and putting in a warmed oven to rise. (My house is kept too cool for normal bread rising. I turn my gas pro-range on just long enough to warm the oven cavity, then turn it off and put my dough in, covering with a tea towel)

Meanwhile I got the meat ready, prepped the veggies and cracked open a lovely bottle of pinot noir to sip while cooking. For the meat I made a puree of cilantro, parsley and onion, then adding cumin, paprika and cayenne, salt and pepper. I gave the meat, all the spices along with the puree a quick whiz in the food processor, then formed in to patties and grilled along with an orange bell pepper. I sliced the bell pepper to serve with the other veggies on the wraps. (grilling mellows the flavor and adds another texture as well as contrast to the dish) 

While the grill was heating, I formed and baked up the pita. This time I used Pamela’s Bread Mix and Flour Blend and holy cow, did they turn out awesome. I think the photos will testify they certainly look the part. Here is a picture of them prior to baking. (sorry for the shadows, I have a pot rack that hangs below my light!) :

Image

My only modification was to brush the top with some extra virgin olive oil and turn the convection fan on. I also flipped them at the 6 minute mark and let them go another 2 minutes. VOILA. AWESOME-Y GOODNESS! 

Image

This pita recipe is designed to make pita pocket bread. That was not my goal, so I was not disappointed at all when only one puffed as it should. In our family, we don’t care for the pita pockets, as they always seem tough. No, we prefer the ‘flatbread’ style of pita, which this recipe produces wonderfully. I can already envision my famous hummus with fresh baked gluten free pita. My daughter will be in heaven! 

Image