Those who follow me, know I’ve been on a mission to create a Monkey Bread worthy of my very critical tastebuds. While I am obsessed with finding a recipe for light and airy nuggets of cinnamon sugared baked dough balls, which I make ONCE A YEAR, my girls have been missing plain old fashioned cinnamon rolls, which we enjoy year ’round. While in Seattle recently (my oldest graduated college and it was her graduation wish to take a trip out there) we found a little bakery offering gluten free cinnamon rolls at a little shop in Pikes Marketplace. Finding them, and chatting with the shop owner, we ordered them to be picked up fresh the next morning. Fresh and warm, the flavor was excellent, but they reminded me more of an expertly made biscuit dough, rolled with cinnamon, sugar and butter and baked. Don’t get me wrong, it made me re-think my monkey bread if I cannot figure out a risen dough version. But based on the oooooh’s and aaaaaah’s, along with murmurs of happiness from my girls, it was obvious cinnamon rolls were highly cherished.
So, when I stumbled on another bloggers risen dough version of a Cinnamon Roll, I leaped at the opportunity to give it a try. Of course, I always throw my own twist in, and this time is no different. Normally, I make a gluten free baked good more than once before throwing it out there for others to enjoy. However, after posting photos on my Facebook page: Michelle Venturo Cooking Coach a friend begged for the recipe. Sooooo, here goes! (Please read the entire recipe before starting!)
I will explain some of the potential pitfalls with this recipe right up front, and share my own tips and tricks.
This dough is sticky. Like, STICKY. Its not unmanageable, but my second batch will utilize the advice I’m giving you to make the process more manageable.
1. Use a Silpat. A lot of recipes use saran wrap to help shape and ease gluten free doughs. Sorry, but just isn’t going to work here. Don’t have a Silpat? Well, go get one. They have a lot of generics out there. Just get one. You’ll thank me later. They have a multitude of uses. Every kitchen should have one!
2. Use a LOT of GF flour on your Silpat. I always have Pamelas Artisan Flour on hand, so I used that. You could use any good gluten free flour blend, or plain white rice flour. I like the blends better for applications like this, but I’m just leaving the option open. If you don’t use enough flour on that Silpat, the dough will stick. No worries, just use a floured bench scraper and gently pry it loose and keep the rolling process going.
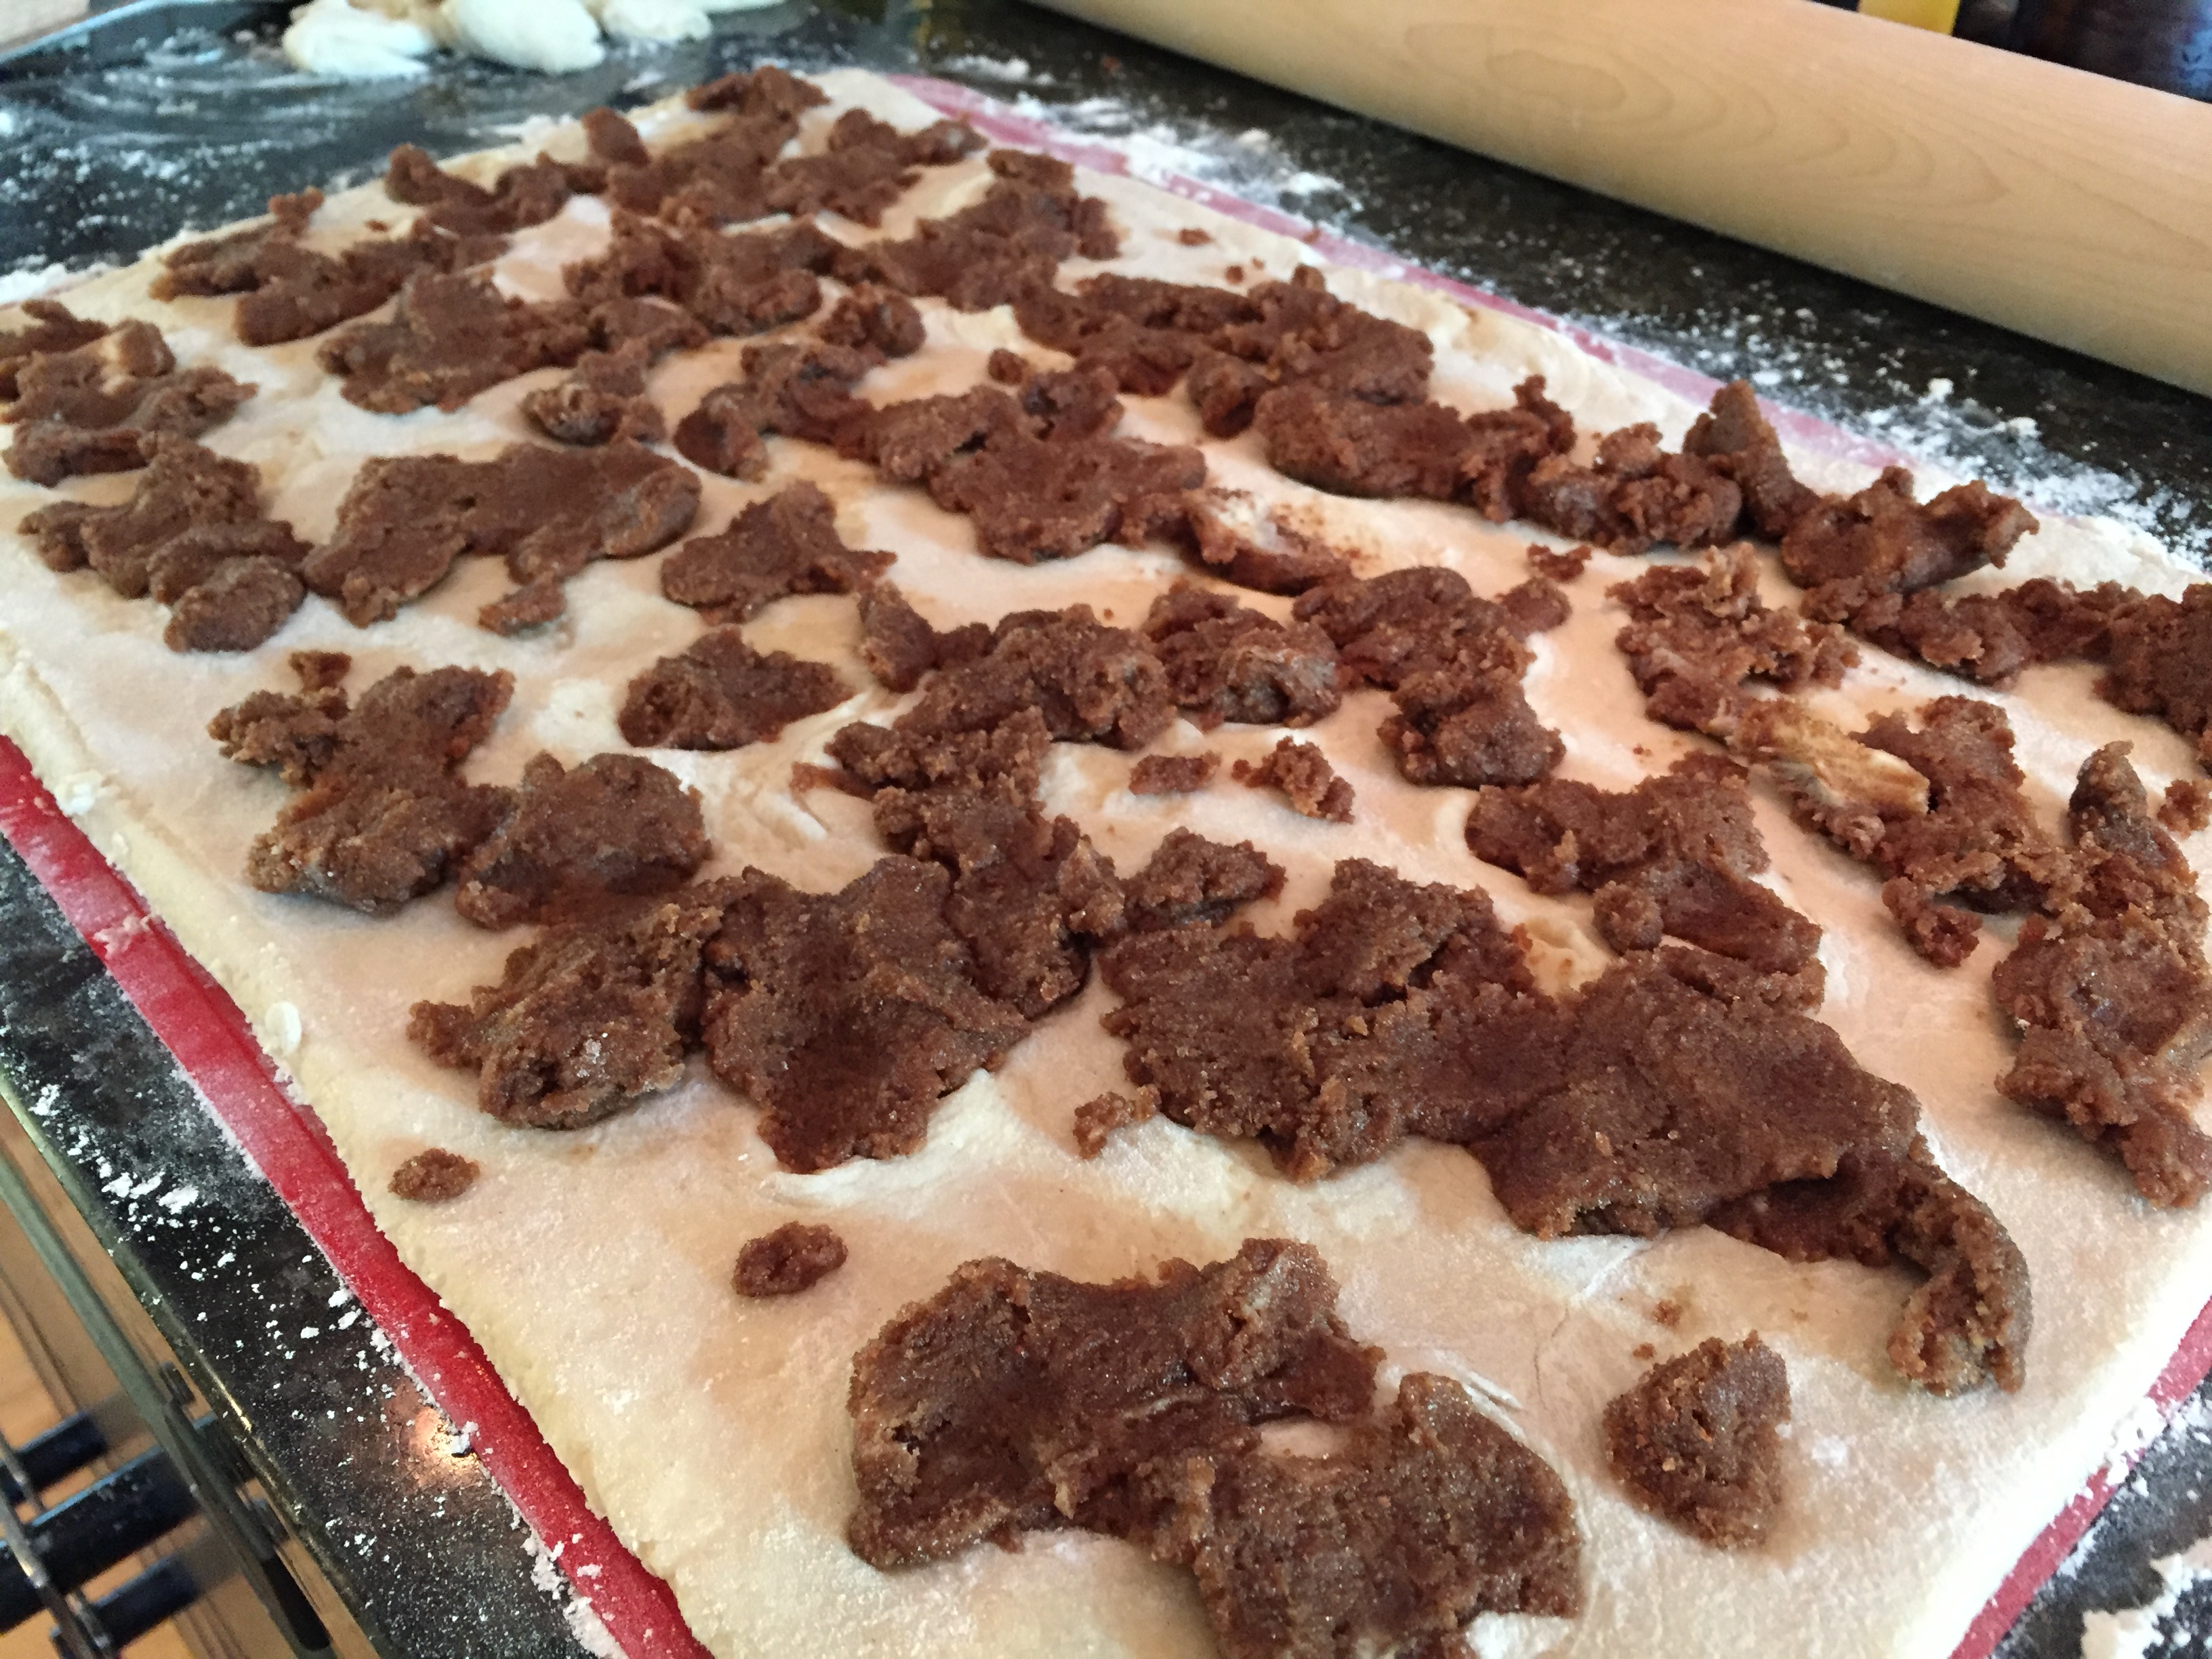
3. Unless you melt the butter (see #8 note below), getting the creamed butter to ‘spread’ over the dough rectangle just isn’t going to happen in a pretty way. Granted, its fall/winter and my kitchen is cold, but that dough is soft. I gave myself some grace and just tried to make it work by ‘smooshing’ the butter mixture into flattened wads and laid them over the top. (see photo below)
4. Once you roll your dough log up, you need to cut your rolls. I have always used Dental Floss. It’s easy and gives a clean cut. Only have mint floss on hand? No worries! Just run it under water to wash off the mint flavor and cut a-way! (no way I’m admitting I did that)
5. Grease your pan. I use an organic coconut spray by Spectrum. It works great. but you can use melted butter. (hmmm, i think butter sounds better, don’t you?)
6. Can you use something other than Pamelas Bread Mix? I don’t know. I know that my Perfect Gluten Free Pancakes are amazing made with Pamelas Artisan Flour. I just can’t guarantee they will turn out the same. I do think Pamela’s is a true gift for the gluten free cook. It liberated me when my daughters were diagnosed. I’ve tried all the brands and I like Pamela’s best. I don’t get commission, so I think I can say I like the product and be unbiased.
7. Next time, I will use 2-3 pie pans. I think these were spread too far apart and so they had nothing to ‘grab’ in the rising process. They turned out flatter than I would have liked, and that could be due to over-rising, under-rising, or not crowded close enough together. My daughter assured me she couldn’t find a single thing wrong, so it might just be me, being self-critical!
8. Next time, I might try melting the butter for the spread. Pioneer Woman in her rolls, uses melted butter, white sugar and cinnamon. I am wondering if that would work here. I’m thinking out loud, so if you are adventurous, try it. If not, stick to the recipe. It works.
9. (Last one, sorry for so many ‘tips’!) Next time, I might let the dough rest for half hour in the mixer, gently beat down and then turn out. It works for gluten dough, helping give time for the flour to accept the liquid, making it a little dryer to deal with.
Now that we have covered some of the tips for success, let’s get to baking!
Gluten Free Cinnamon Rolls
3 Cups of Pamela’s Bread Mix.
3 large Eggs
1 cup of Buttermilk, warmed to 105 degrees. (no warmer than 115)
2 1/4 tsp Active Dry Yeast
1 tbsp Organic Cane Sugar
1 package of Unflavored Gelatin, softened in 1/4 cup of water.
1 1/2 tsp Apple Cider Vinegar
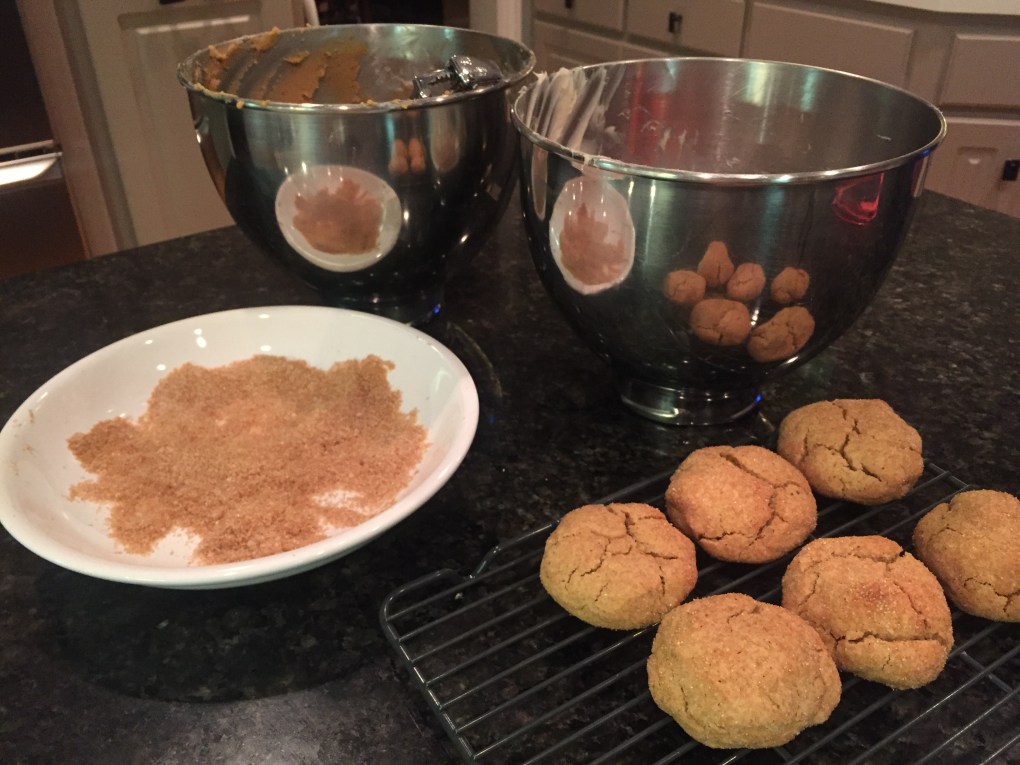
Cinnamon-Sugar Filling
1 stick Unsalted Butter (8tbsp), softened
2 1/2 tbsp Cinnamon (I used half Ceylon and half Vietnamese)
1 cup Brown Sugar
**Frosting: see below
First: Add the yeast and sugar to the warmed buttermilk and let stand until it begins to foam up, about 10-15 minutes.
In a stand mixer, combine the flour, eggs and pulse. Add the yeasted-buttermilk mixture, gelatin and pulse the mixer again to combine. Add the apple cider vinegar and beat for approximately 2 minutes. (If experimenting with ‘resting’, this would be a good time to let it rest for a bit. Then give a quick pulse on the machine to ‘knead’ it down and then continue)
When dough is done, turn out onto your well-floured Silpat. Gently pat the clump out into a – sorta – rectangular shape. Then, with a very well floured rolling pin (sprinkle more flour over the top if you need to keep it from sticking) gently roll the dough out to approximately a 16×11 rectangle. (that is the shape of a standard Silpat) Trim the edges.

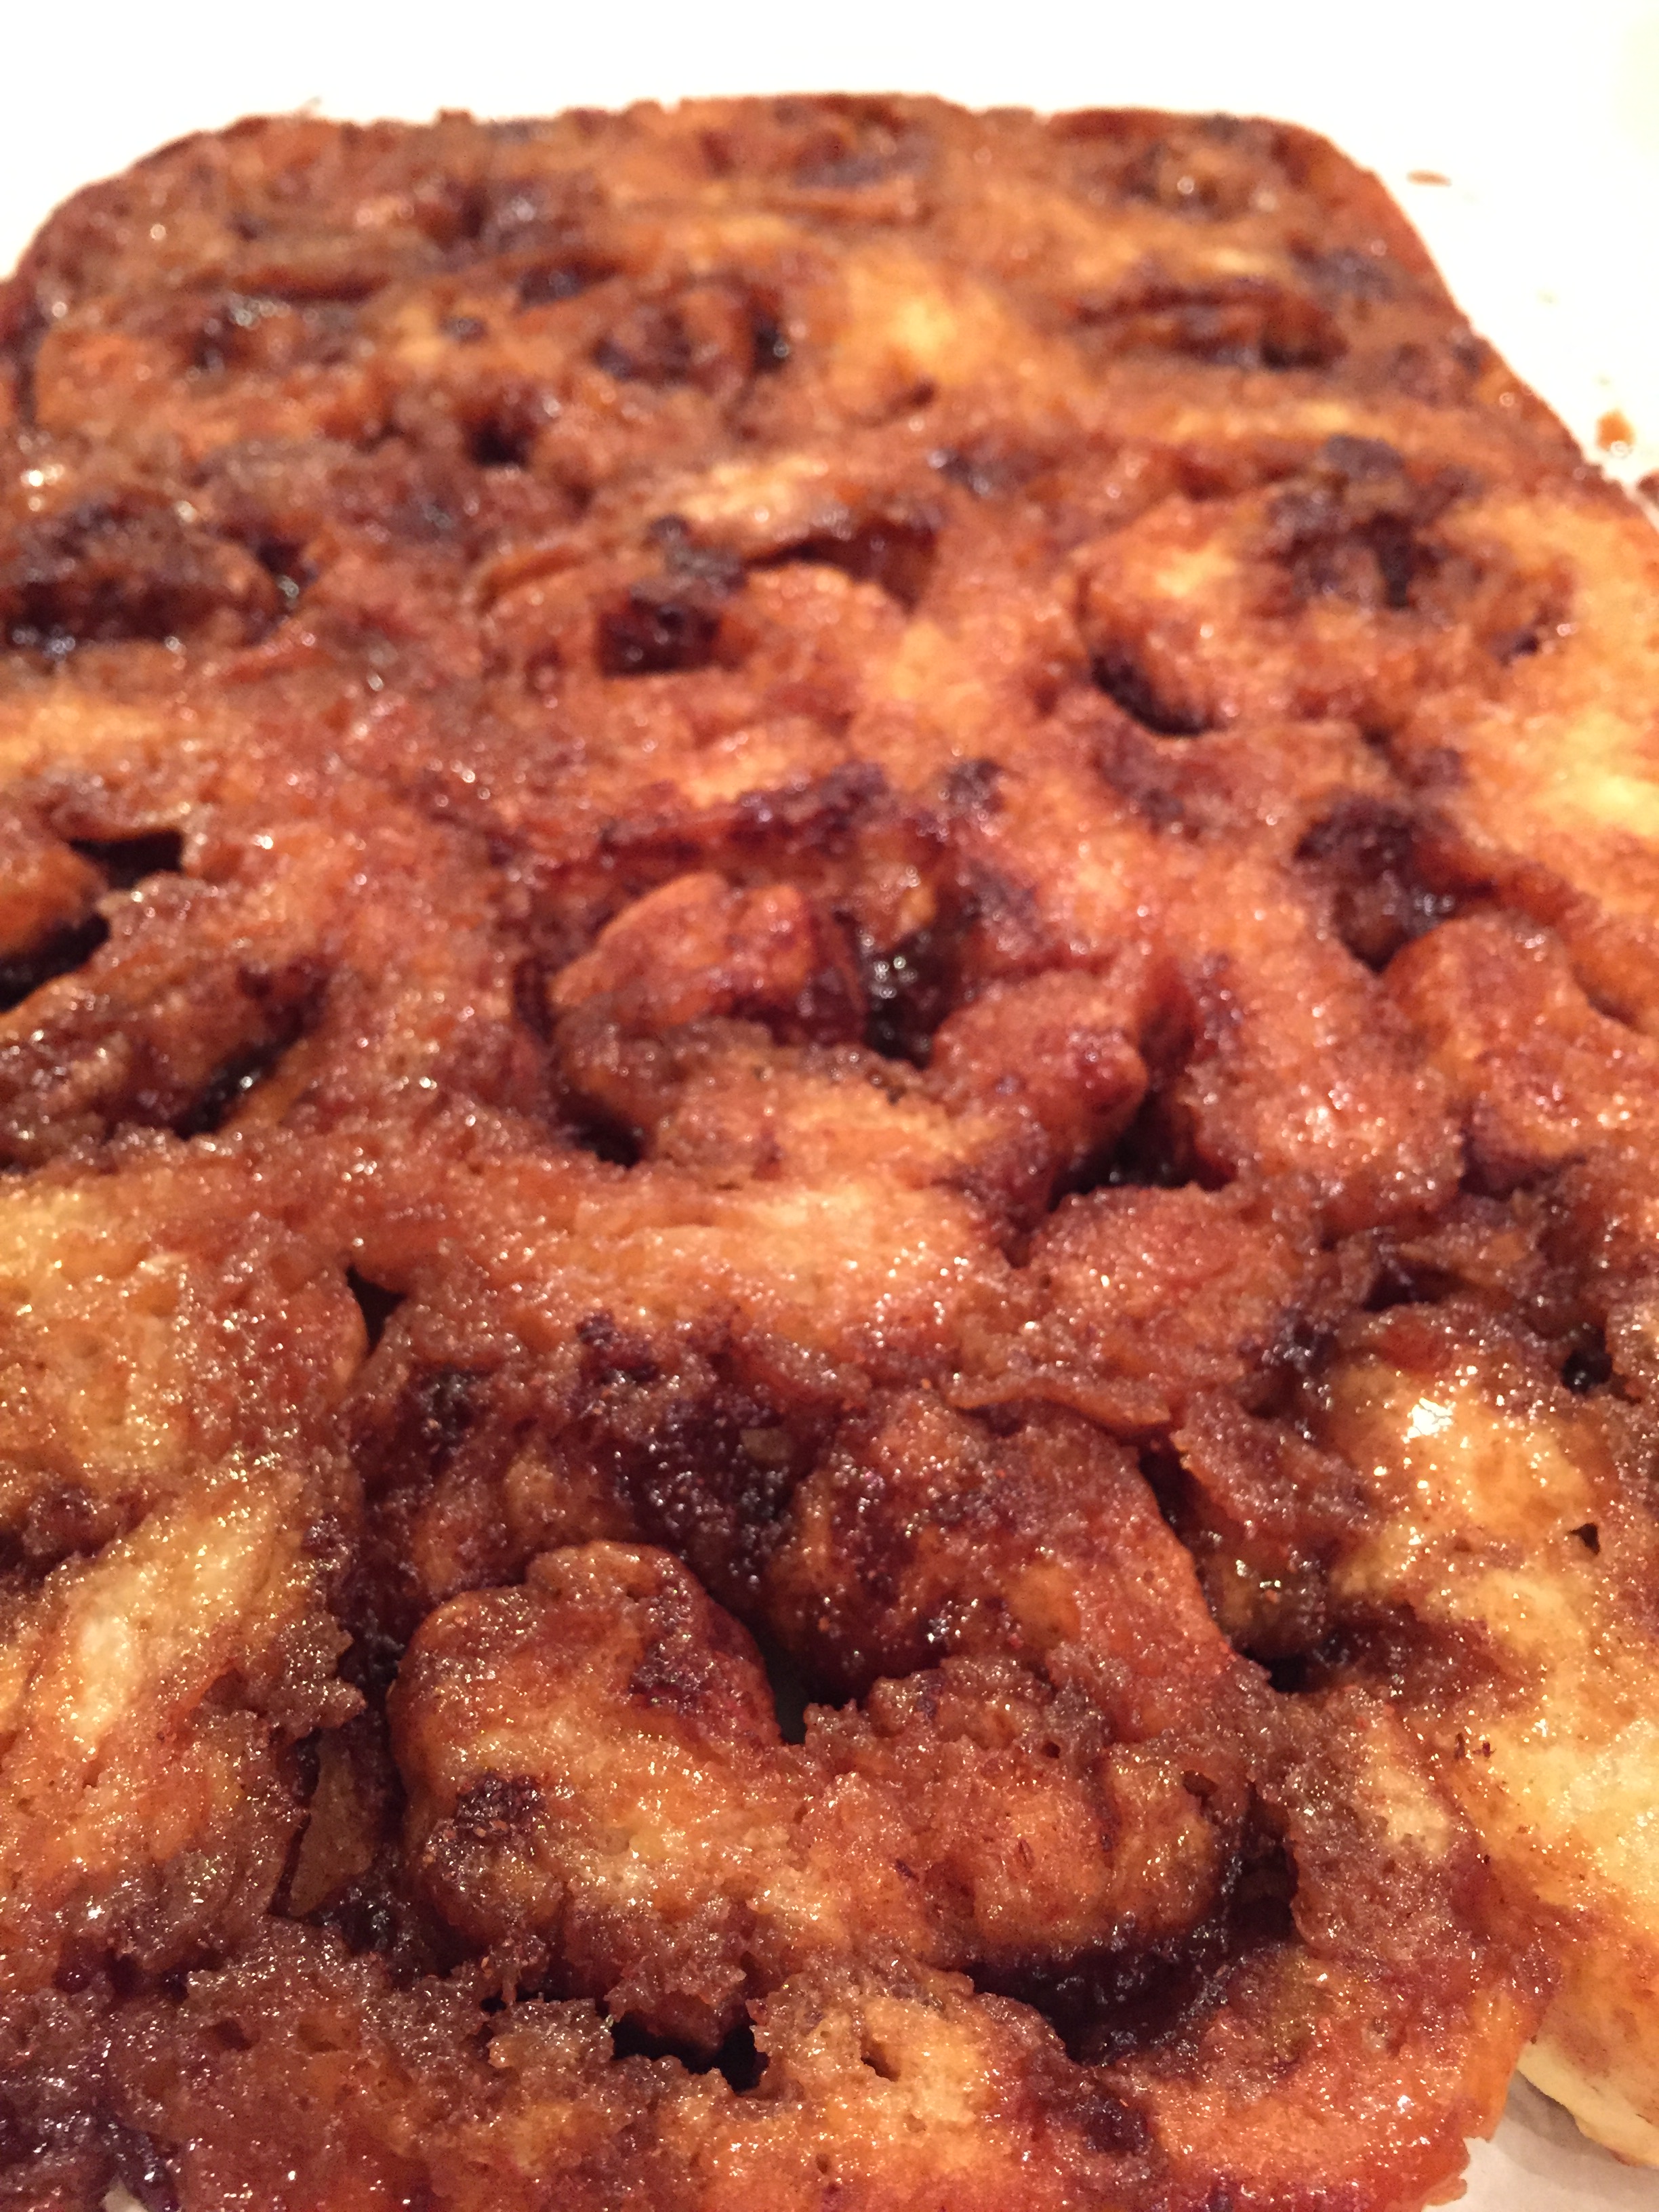
Then, take your softened butter mixture (FYI: I have sped this process up but beating it with my stand mixer. Beating the butter with the sugar, allows the sugar to cut up the butter and soften it fairly quickly) and gently smooth it as you drop it on the dough. Just try to be as even as possible. Spread it as evenly as possible. (photo above)

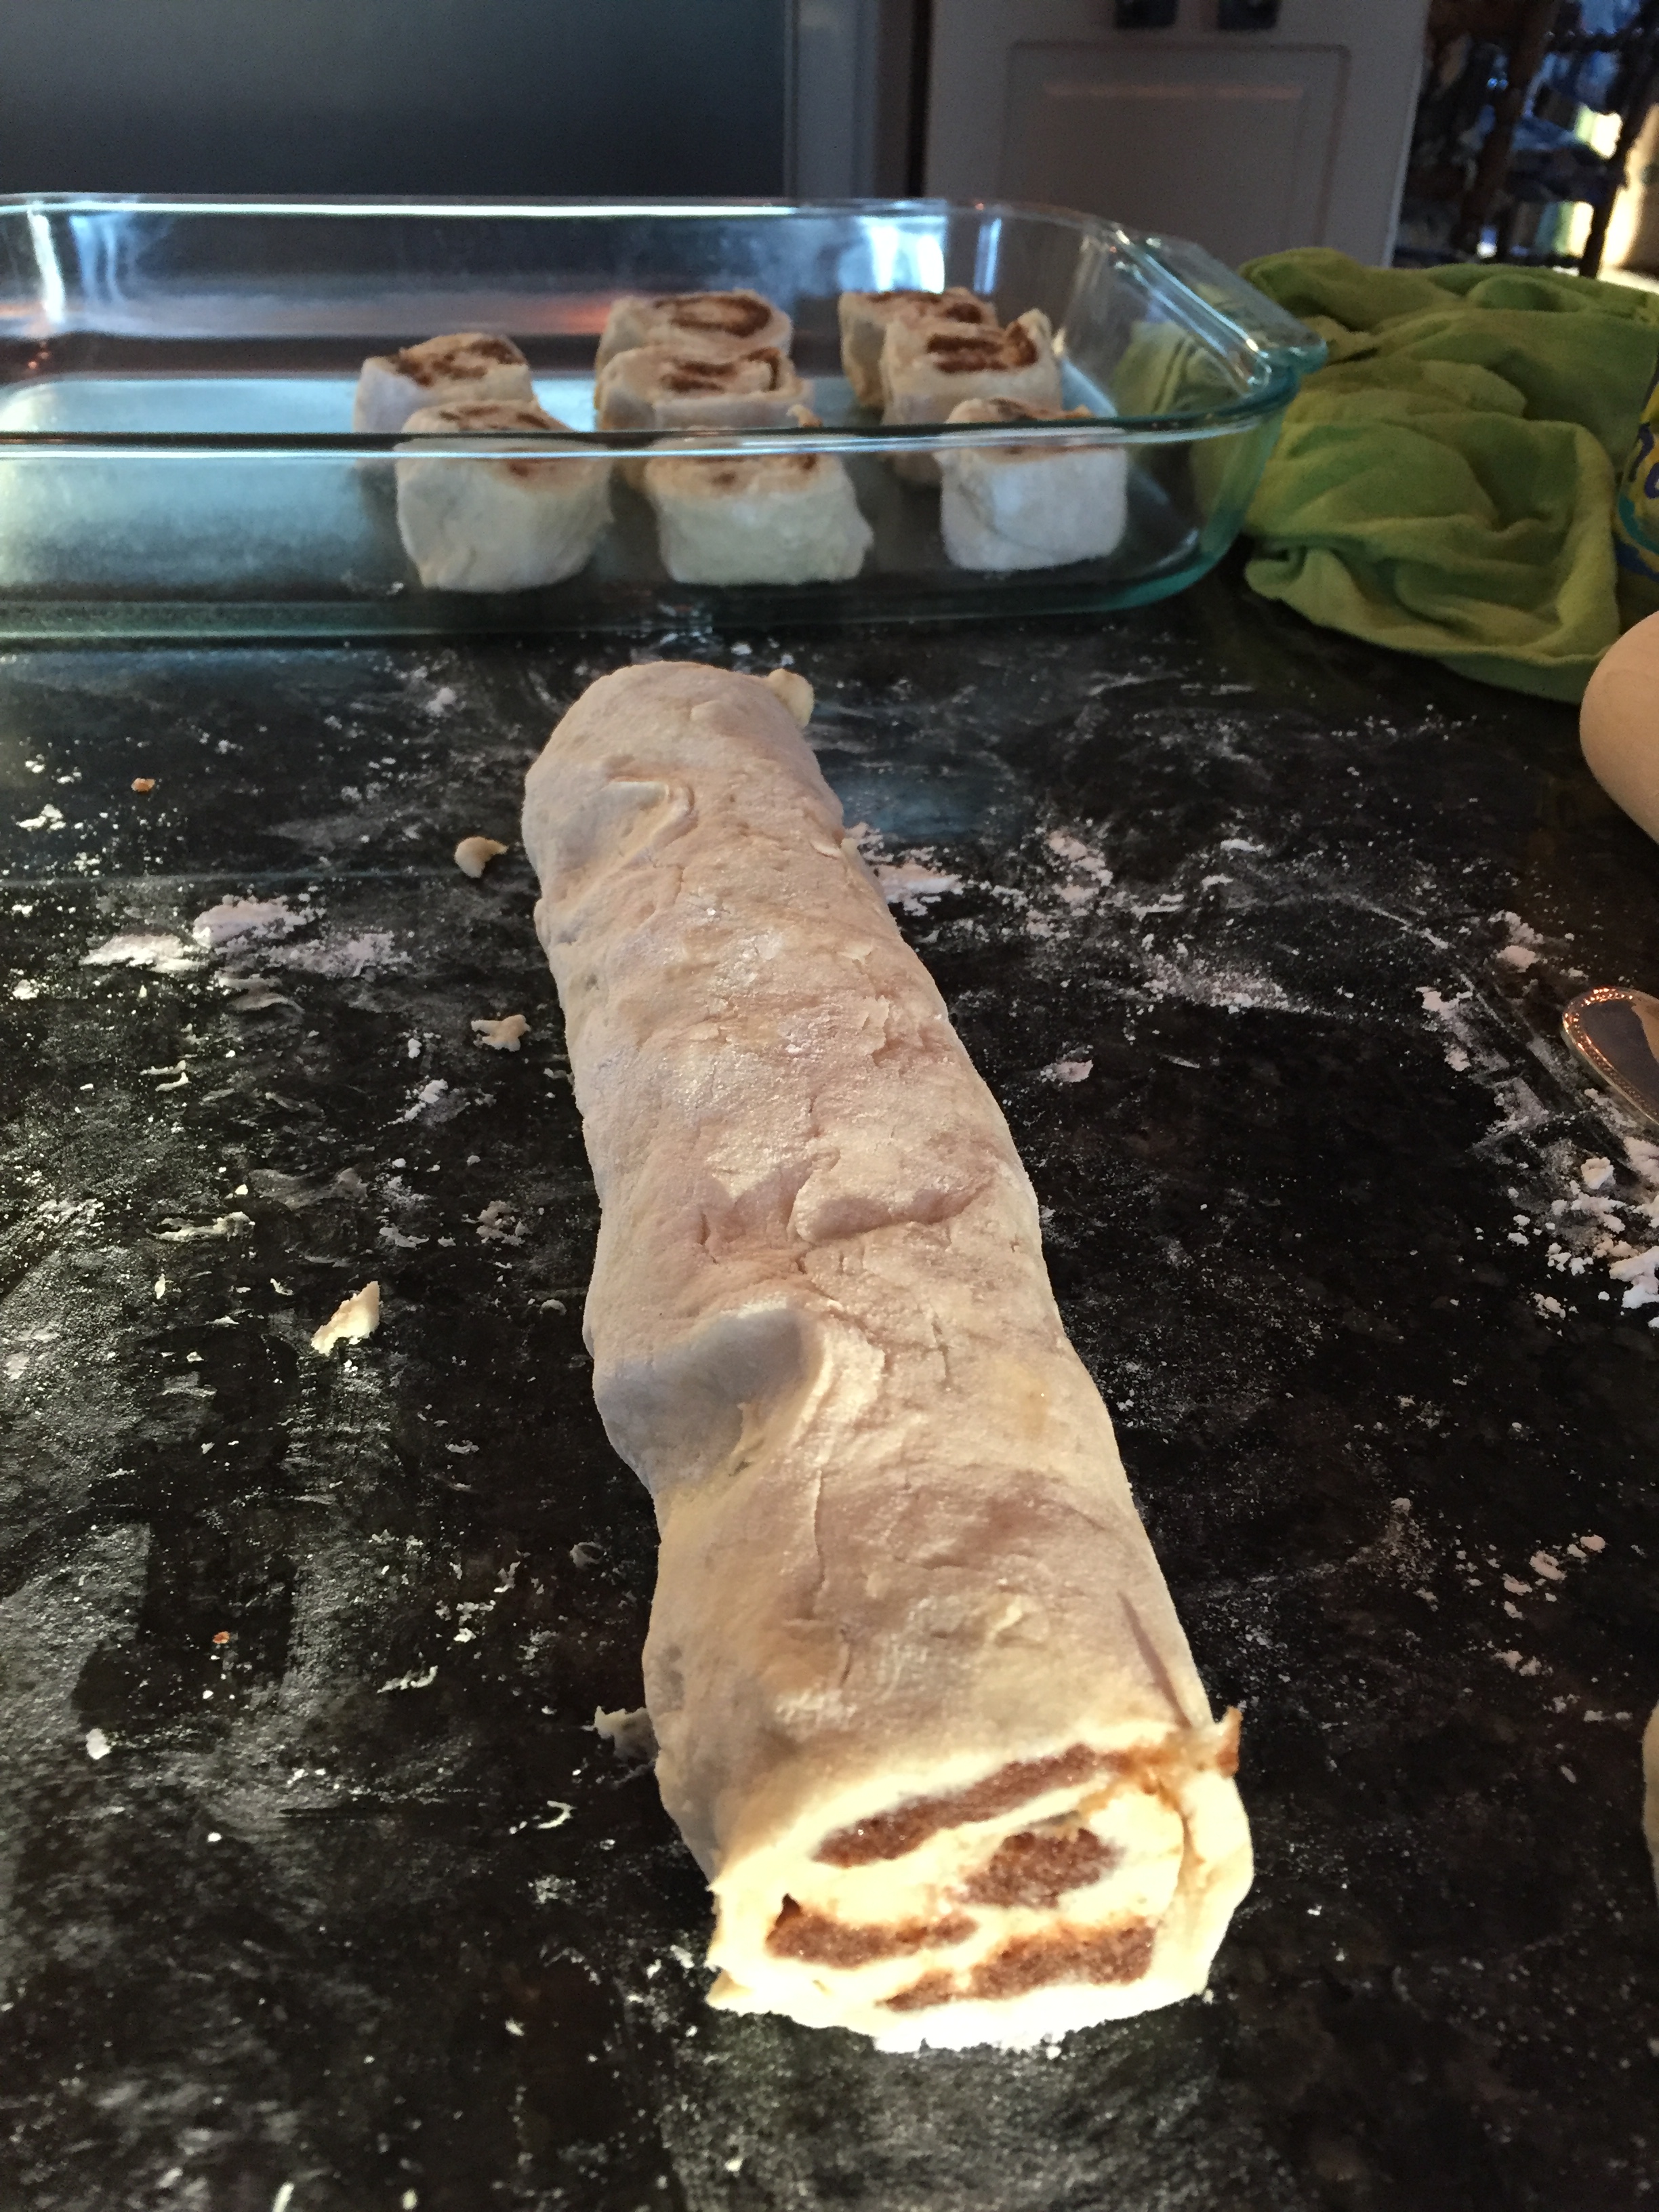
Here is the ‘fun’ part: rolling! Pick up the long edge and gently begin to fold it over on the dough. You are rolling it into the shape of a log. If it is going to stick, this is where it will. Don’t panic, simply take a kitchen knife or bench scraper that has been dipped in your flour, and gently ease it off the mat and onto itself. Keep rolling. If you need to use a bit of flour to ease the rolling process, do it. When the whole thing is rolled up (photo above), pinch the seam together as best you can. Now is when your teeth cleaning skills come in to play….not really! Now is when you use your dental floss to ‘cut’ the dough. Lay it flat and slide it under the log. Then lift both ends up, cross them over and pull, it will cut off a 1.5 inch slice. Take the slice, and place it in your greased 9×13 dish, cut side up. Continue till all the dough is cut.

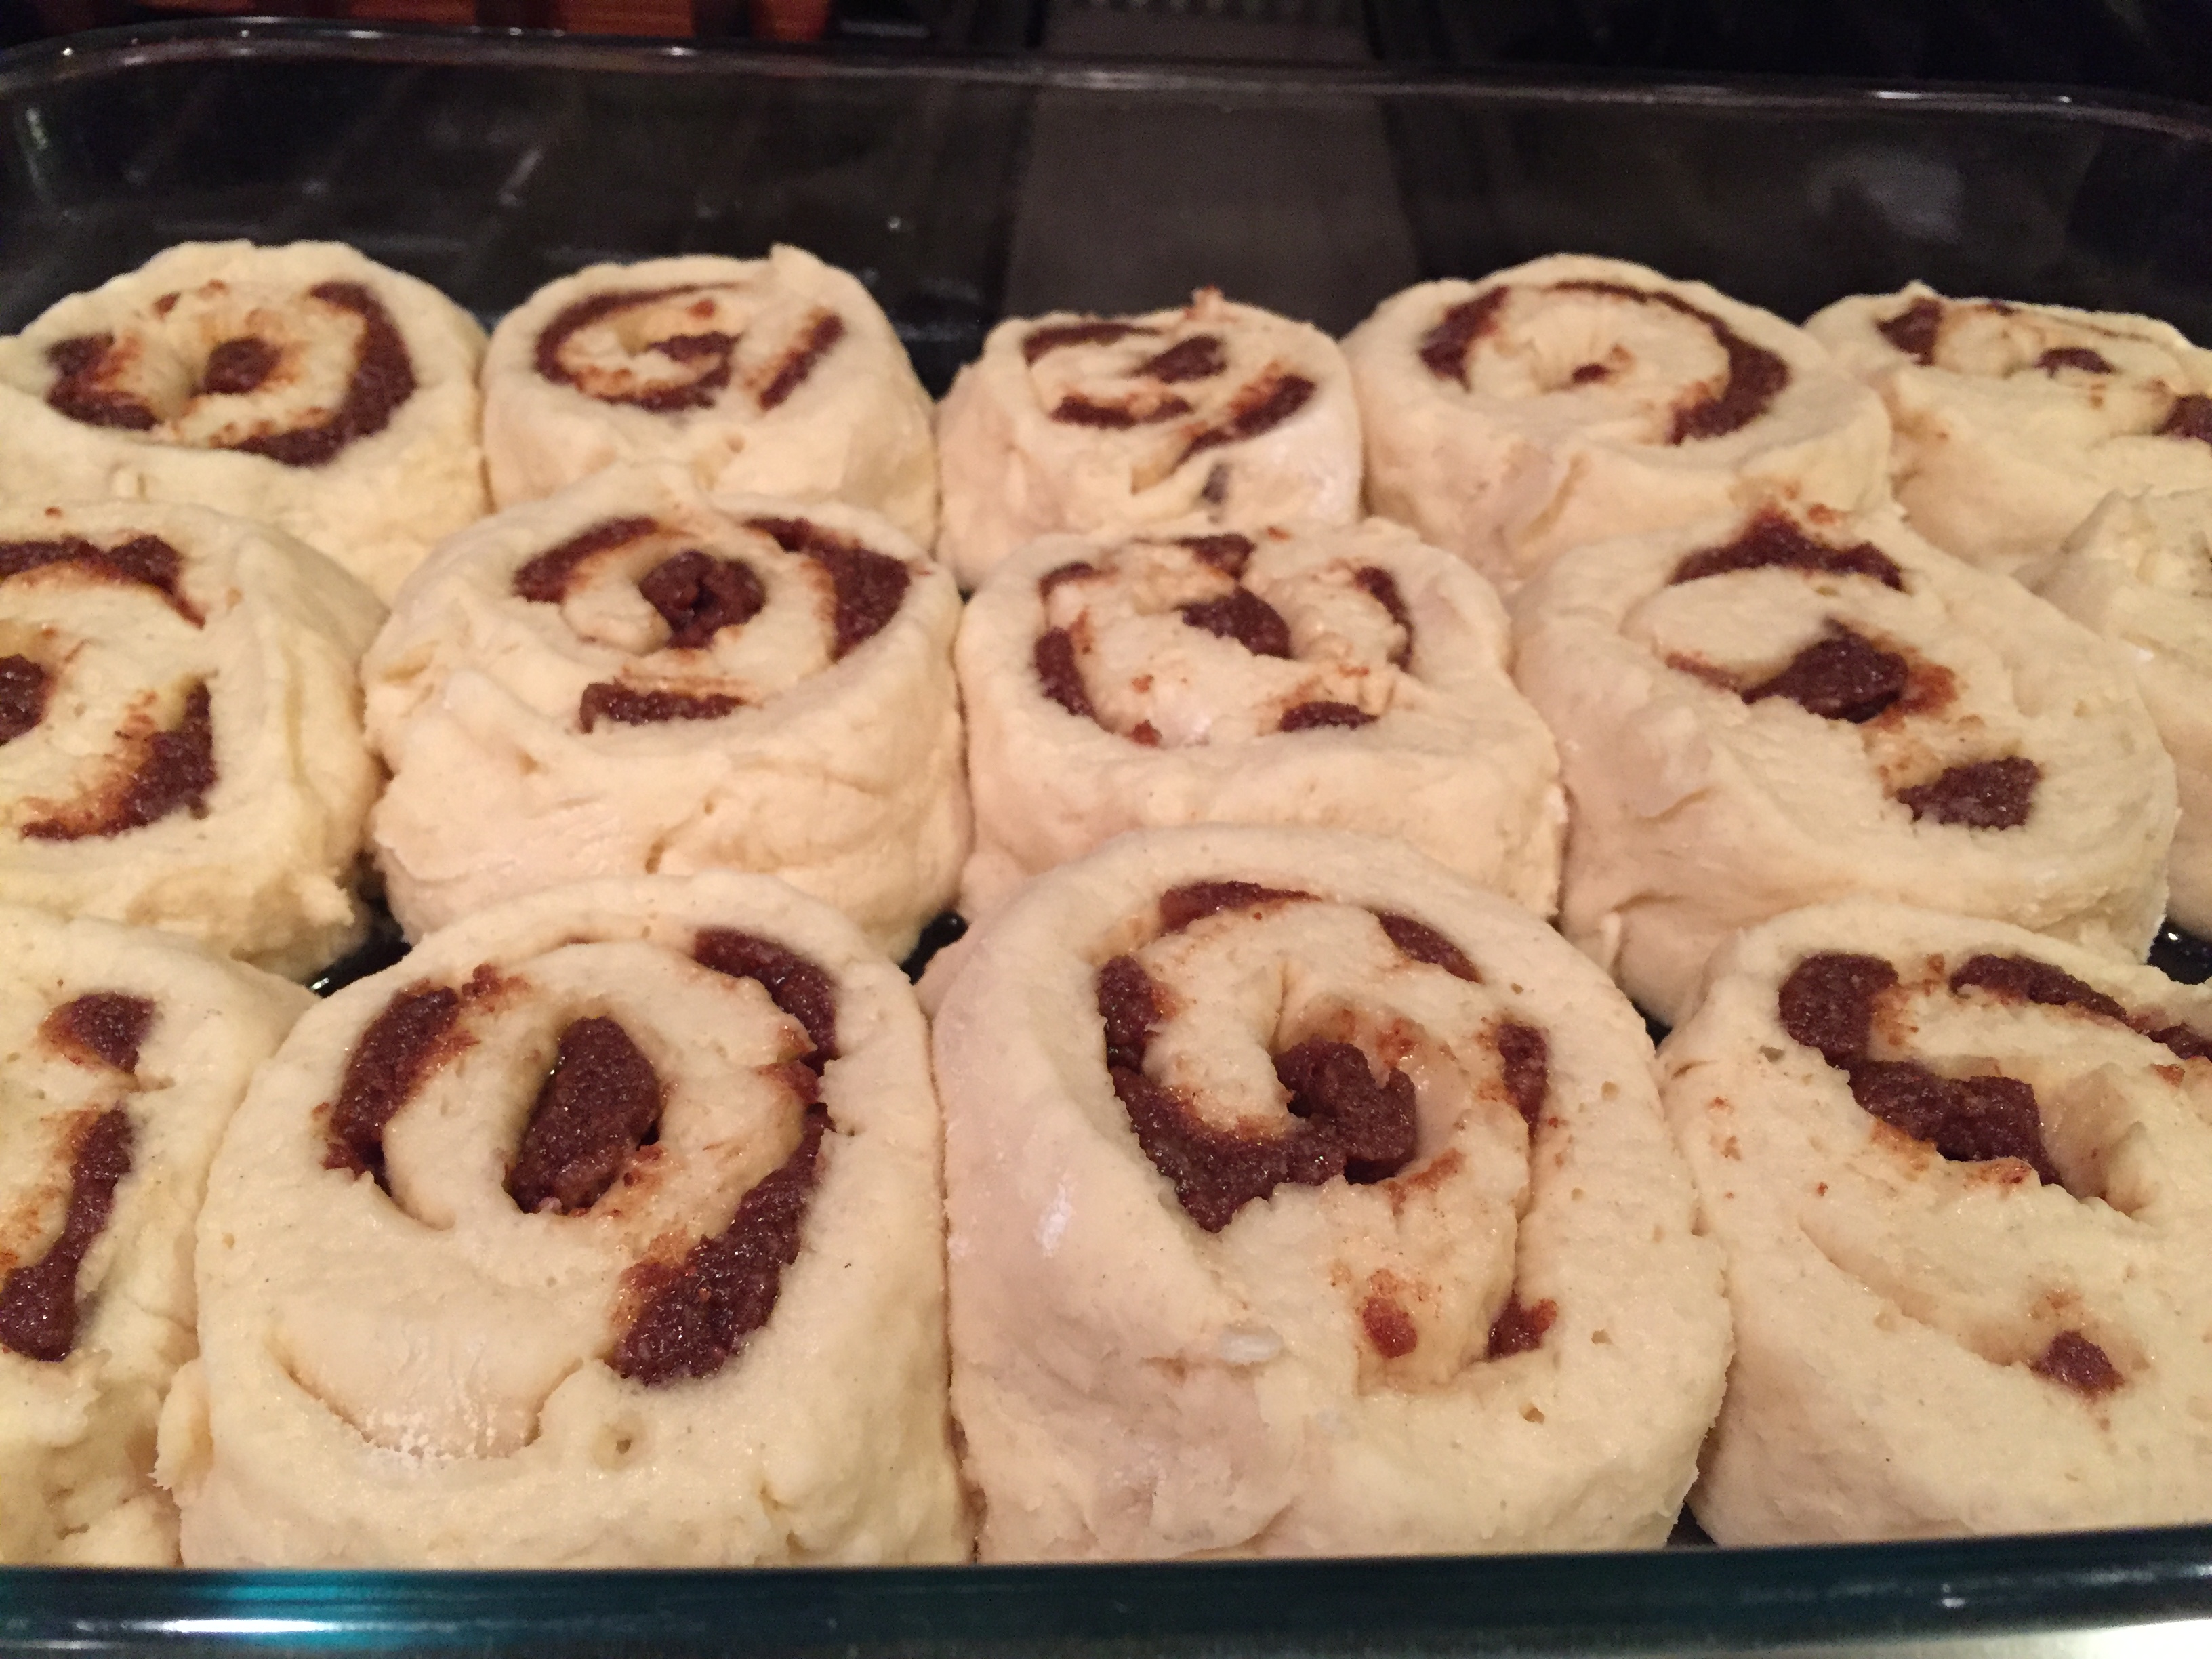
Cover the pan with saran wrap. I like to put a dish towel over the top and place it in the warmest spot in your kitchen. Since I usually have my oven going, near the oven is best. If that is NOT your case, then bring 4 cups of water to a boil, put a pan in your oven that will hold the water, and pour it in, place your rolls in, and shut the oven door! The warm water will warm up the air. You might want to check the warmth after about 45 minutes. (Rolls can take 45 min- 2 hours to rise, depending upon your kitchen temp) Re-heat the water if you need to.
When the rolls have doubled in size. Heat up your oven to 375 degrees.
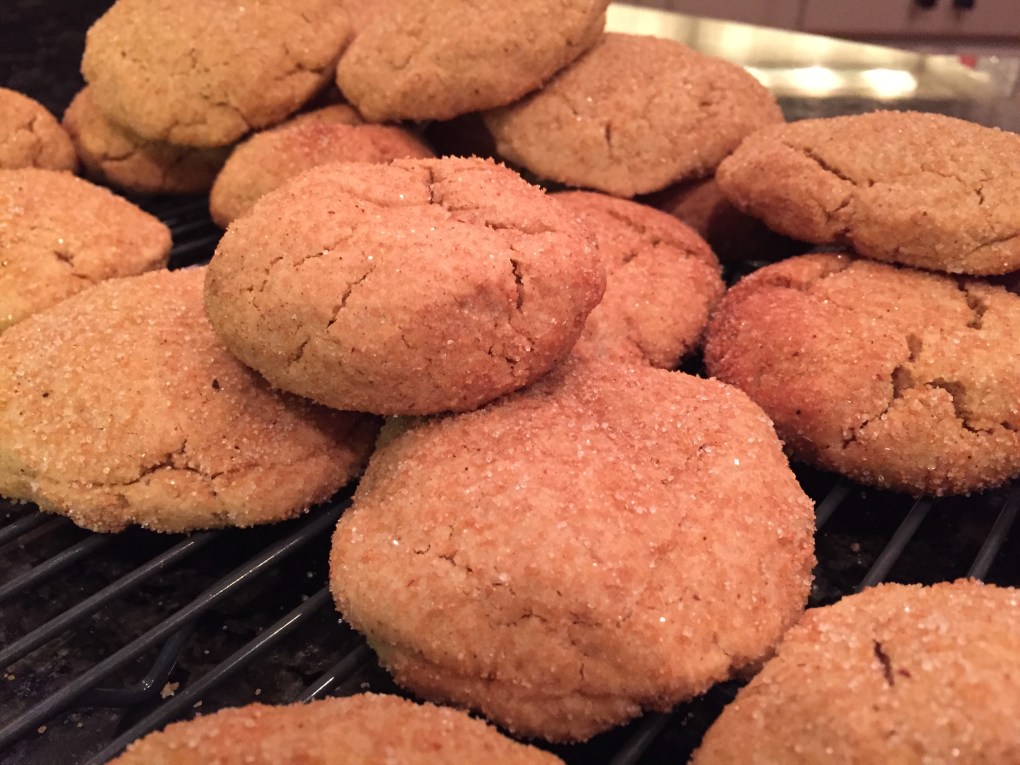
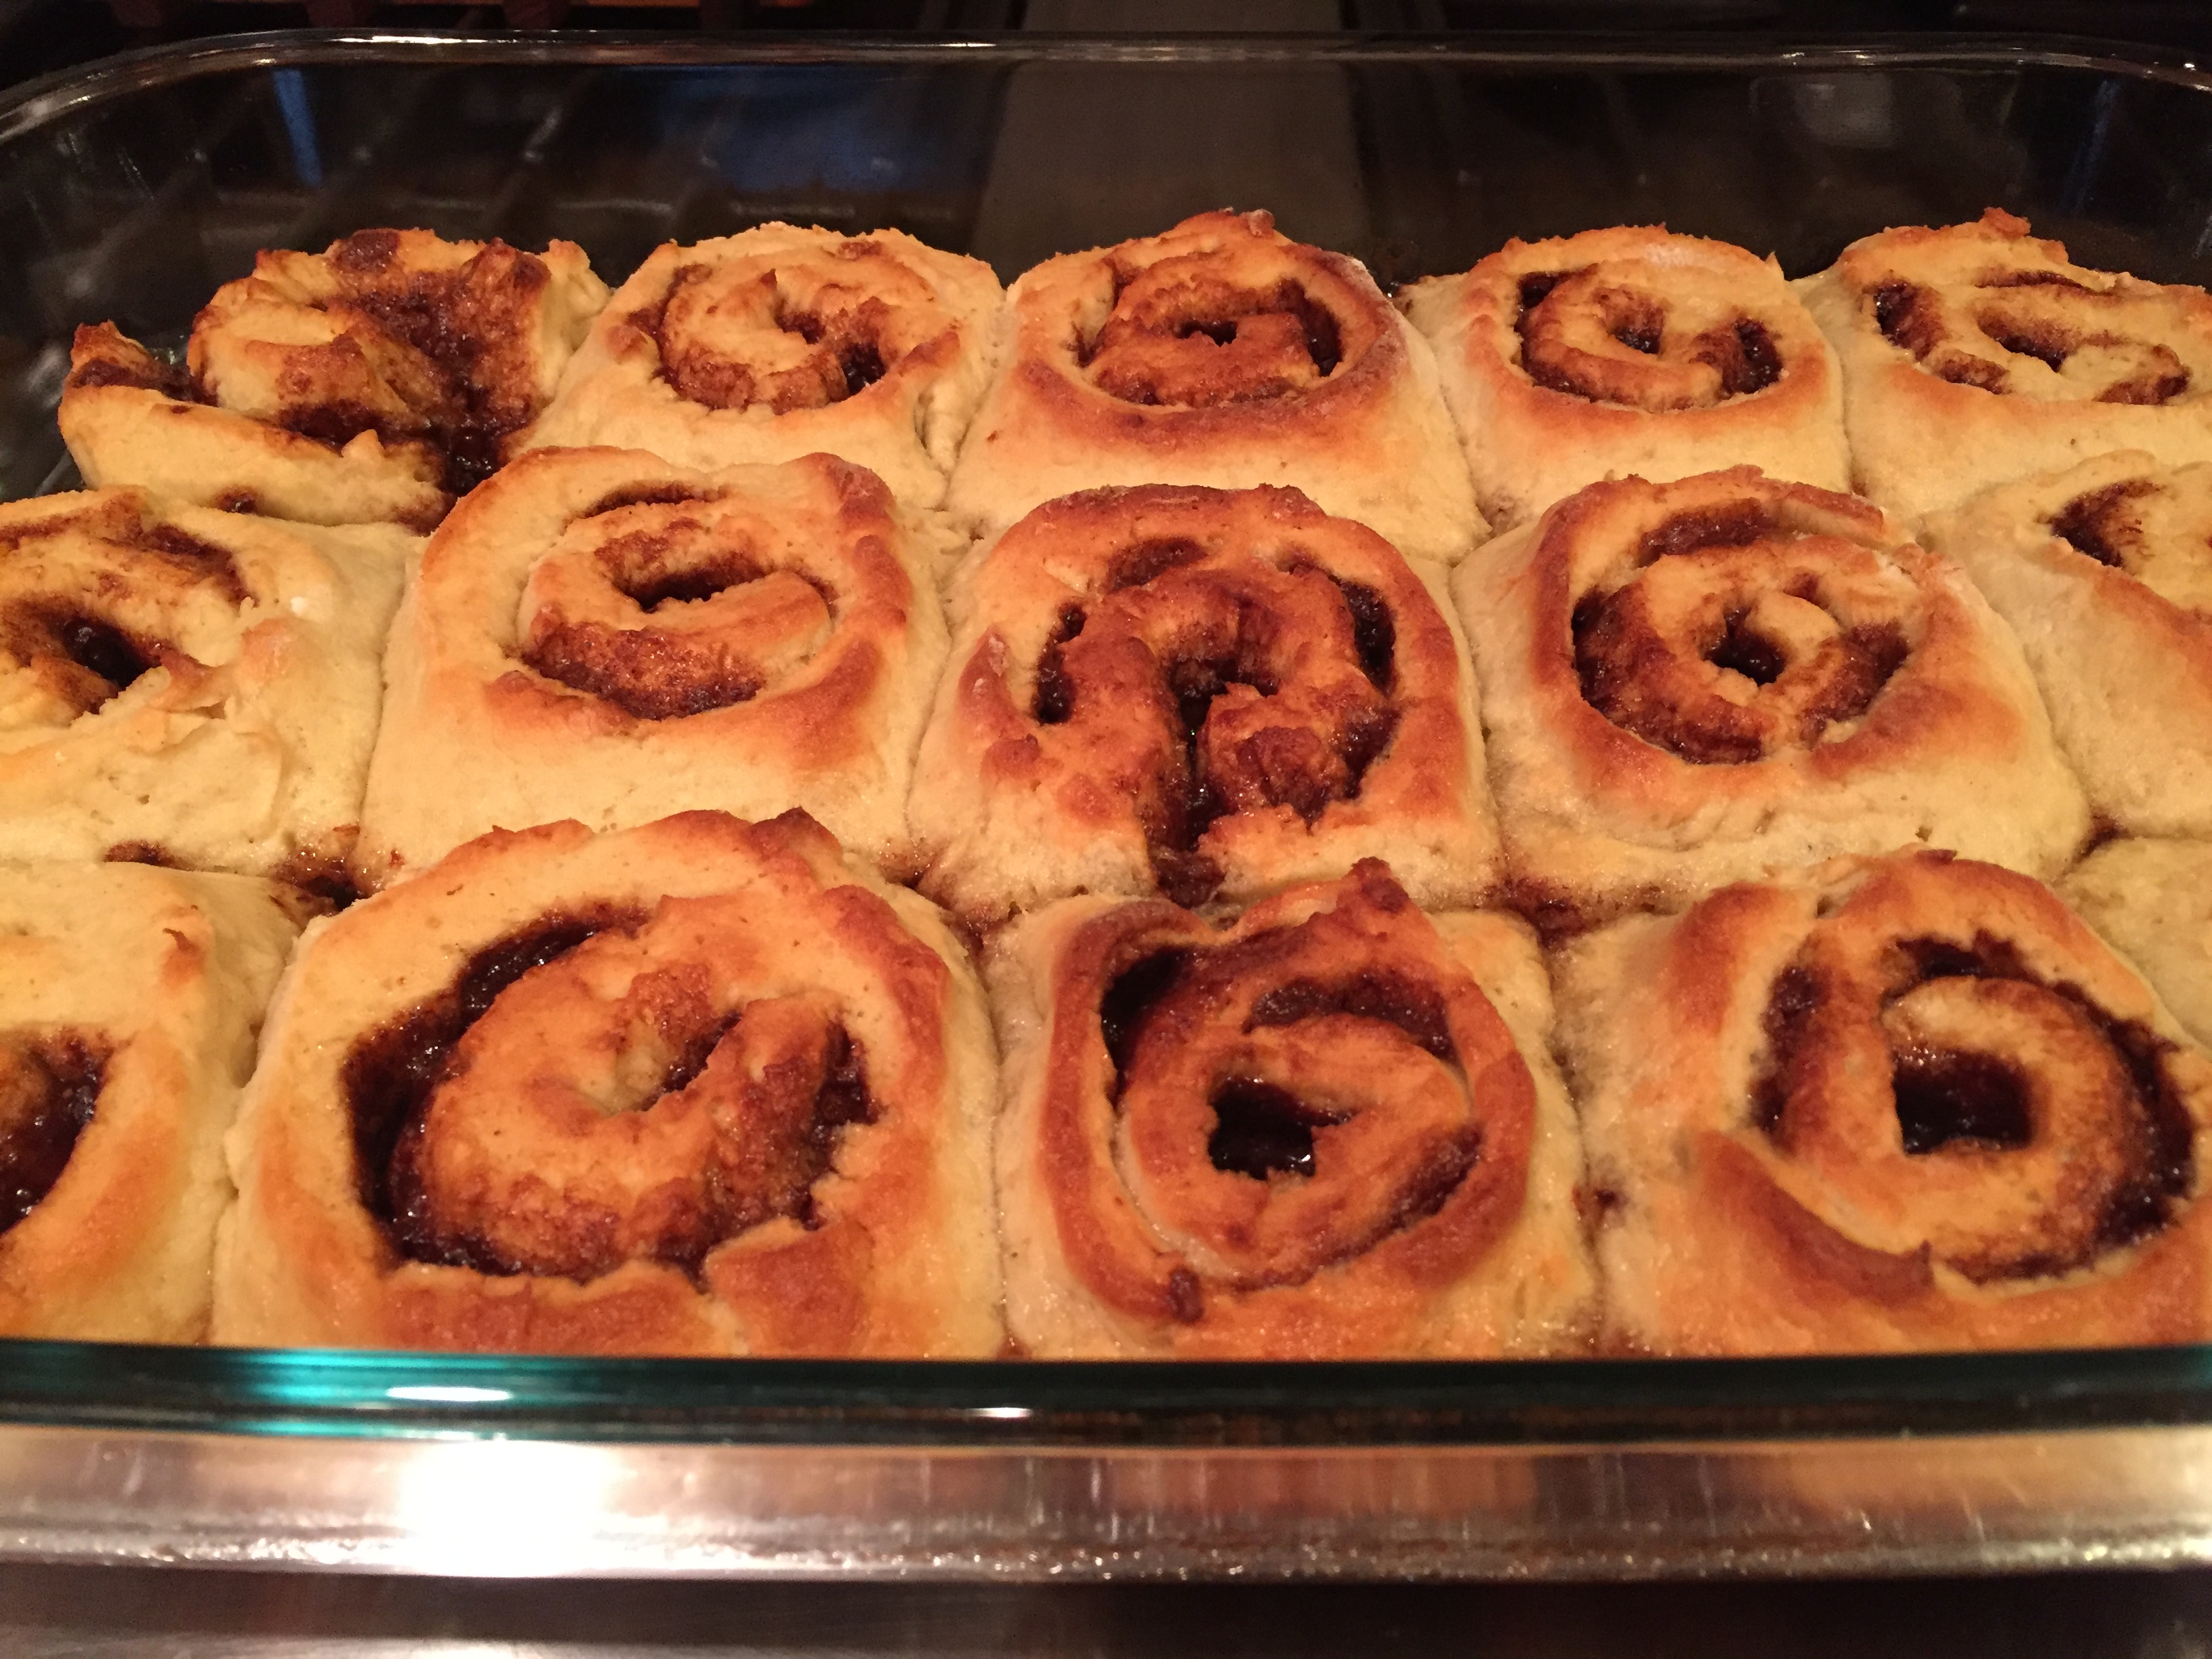
Bake for 28-35 minutes. Check them early. They should be cooked through, but not BURNED! What can I say, some baked goods are subjective! Some people like their cookies soft and gooey, some like them hard and crispy. Bread? Needs to be cooked. Err on the safe side for more cooked. My frosting will make up for a multitude of errors!

Make frosting while it bakes:
4 cups Powdered Sugar
1 1/2 tsp Maple Extract
1/4 cup Melted Butter (salted)
1-2 tbsp Nespresso. (If you don’t have a nespresso – (Big Man’s fathers day gift) – use a very strong brewed coffee.
Milk added to make the right consistency, thin enough to drizzle, but not too loose. It might be as much as 1/4 cup, could be as little as 2 tbsp.
*whisk together until smooth. When you come back to it, it might have ‘dried out’ a bit, so add a bit of milk or coffee to thin it out.
*if using unsalted butter, add a pinch of salt.

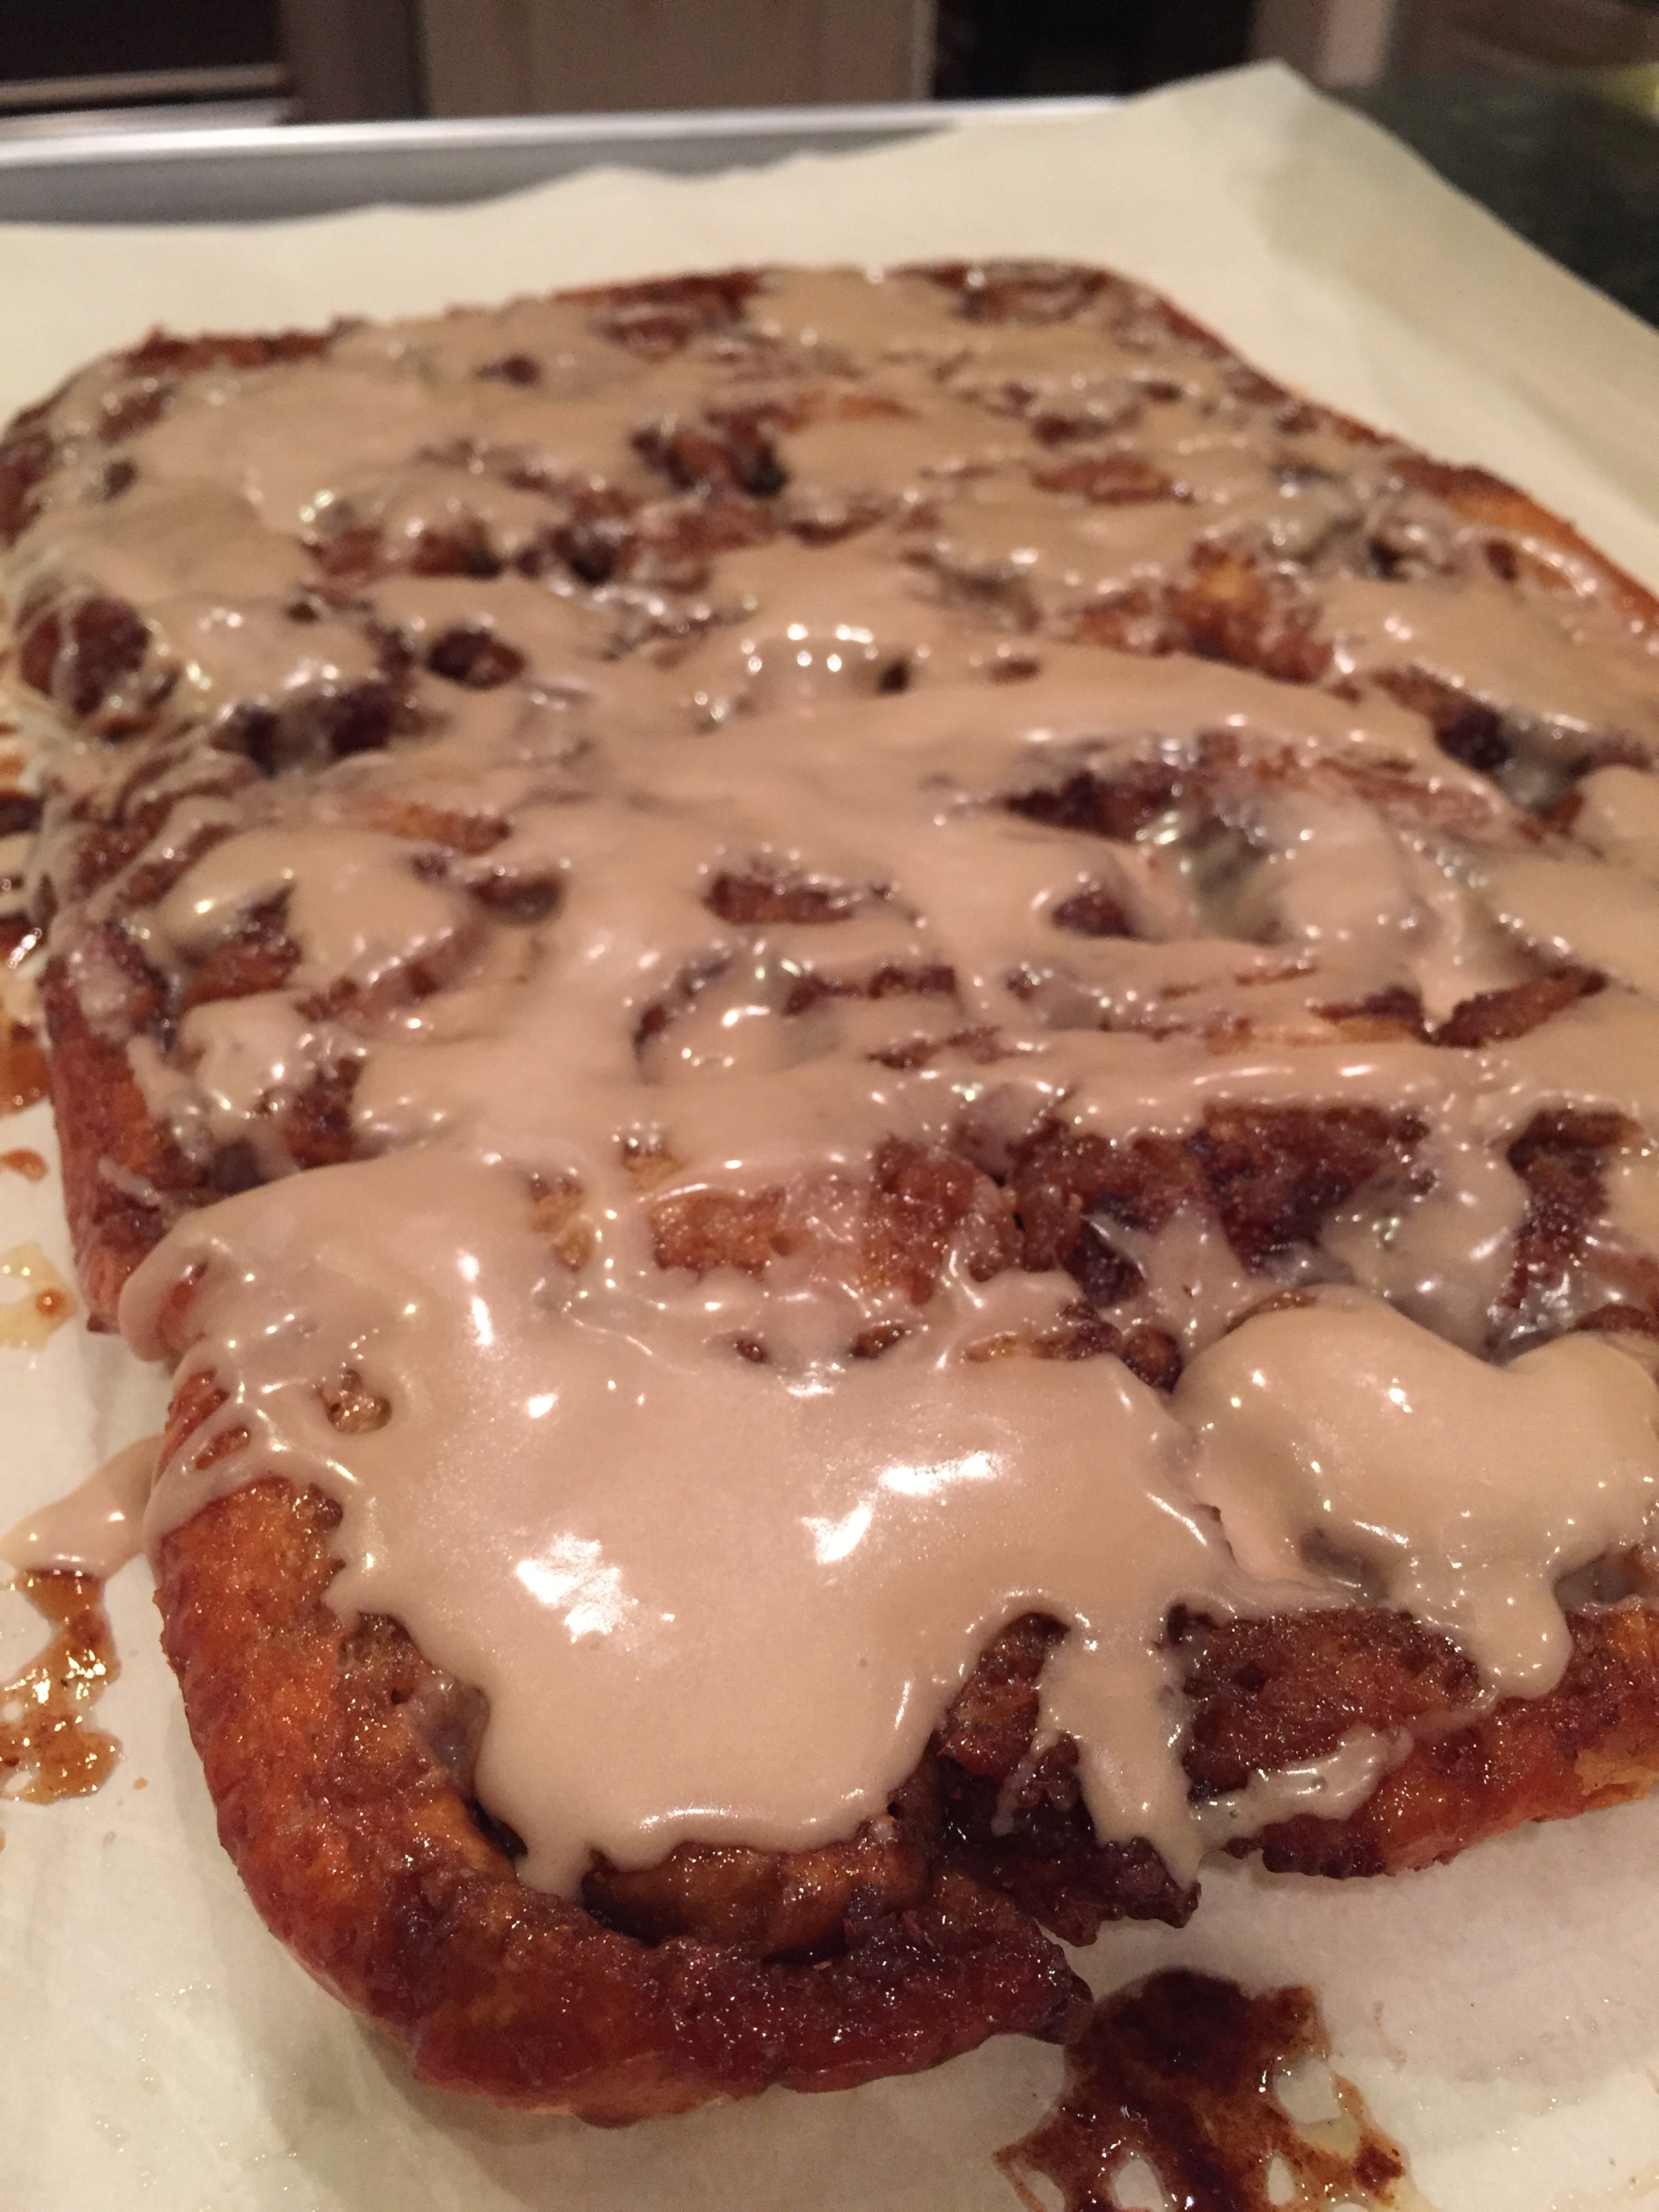
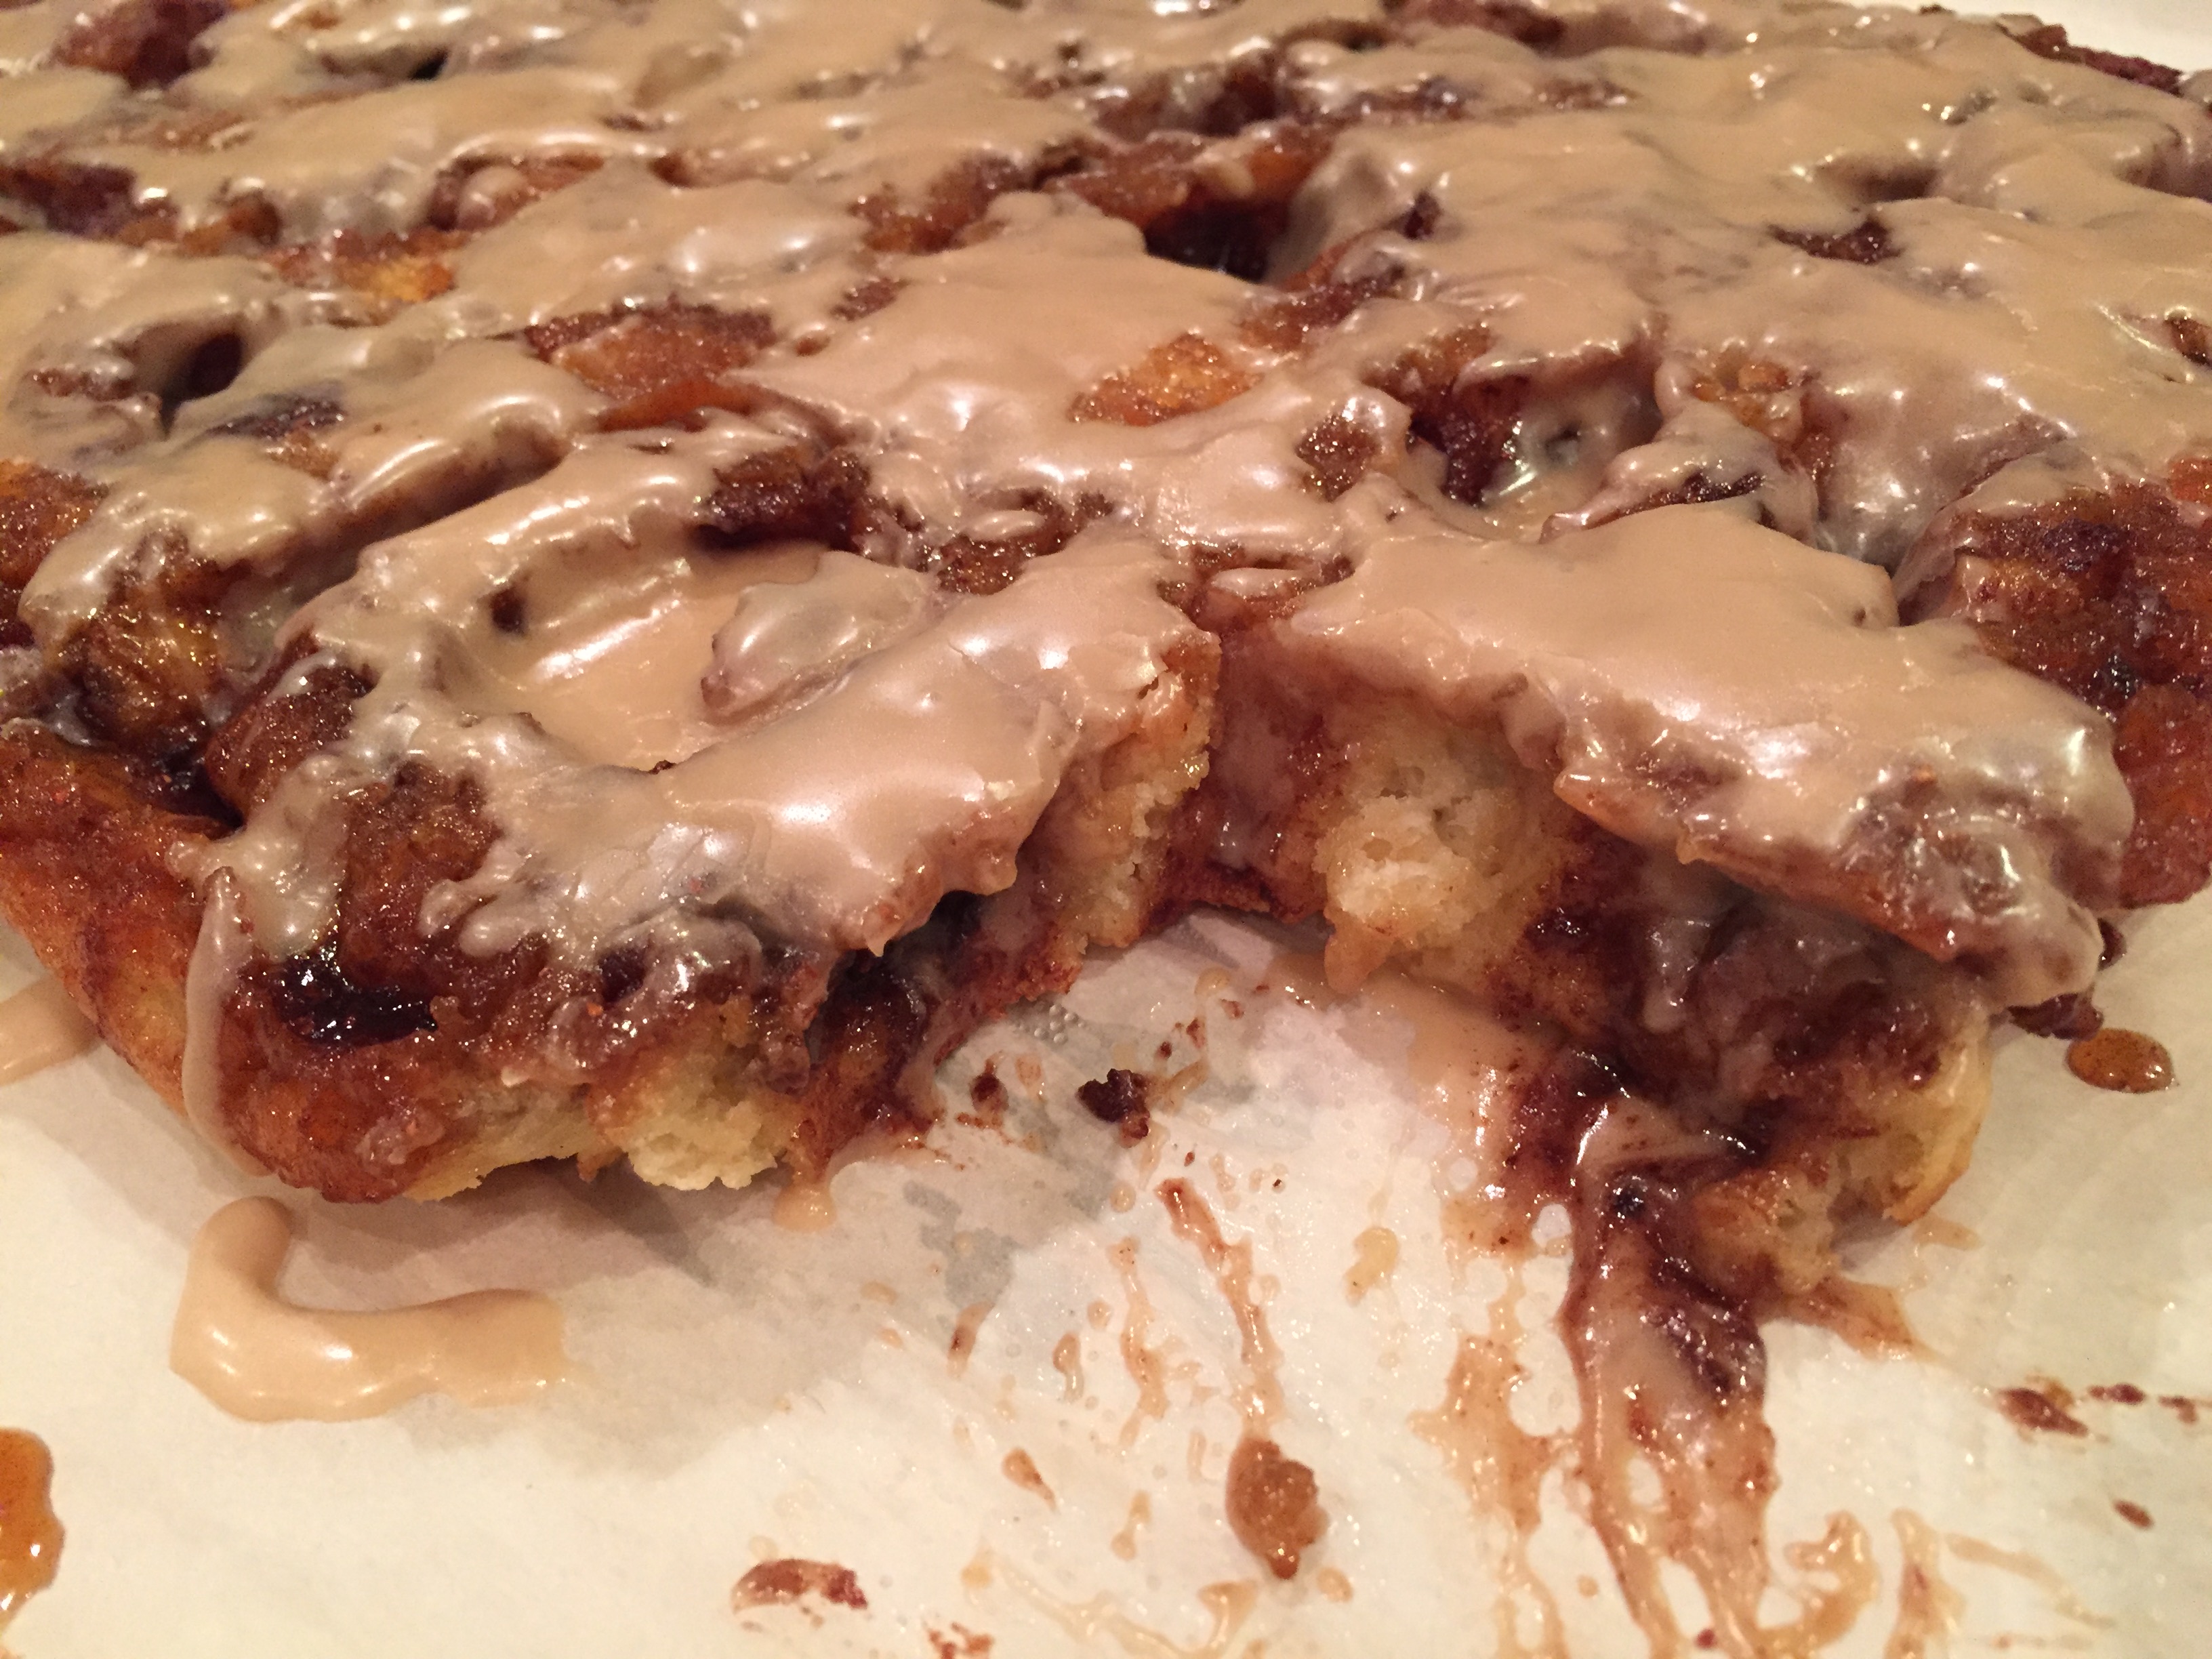
Immediately upon removing from the oven, turn out onto a platter. Sounds easy? Yeah. I still find it intimidating! Here is the trick. I have a full sheet pan. (large lightweight platter works too) I place a piece of parchment on it. I take that sheet pan (or platter if you don’t have a sheet pan big enough) and I invert it onto the top of the hot baking dish. Put on your oven mitts, and with one hand on the sheet pan, one on the bottom of the baking dish, flip. The rolls will slip right out.
Then, while warm, pour frosting over the top. (This is what it looks like flipped over!)

And, here is the final product….after little munchkins have nibbled away at it. By the end of the night, half was gone.

So, I guess that is the best testimony! My daughter says this post will go viral. It will be fun to see if her high marks are agreed upon.
Please, leave any feedback or questions below in the comments. I would love to know how they turned out for you, or if something is not clear enough!