Gluten Free Peanut Butter Stars

P1030031

Well, the wizards of WordPress have some major serious glitches to resolve.
My lovely daughter was making these from the recipe on this website and we realized there were a couple of confusing points. So I went in to edit -and BLAMMO….POOF, IT WAS ALL GONE!

(Here is my daughter following my recipe, which needed modifications)

IMG_3840

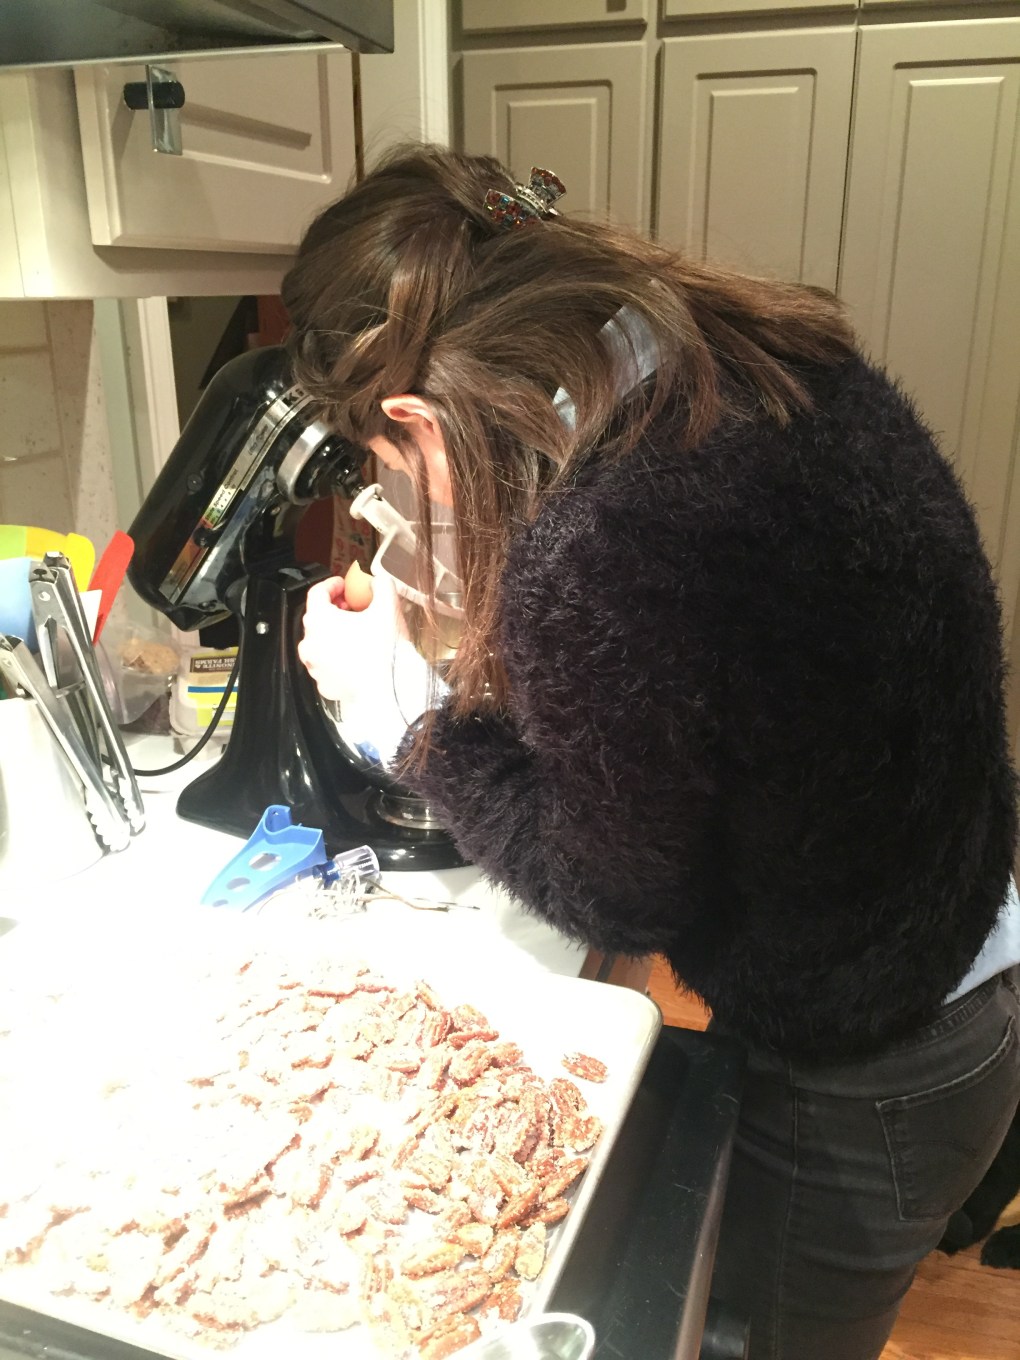
Oh heck, I’ll add another shameless plug for my cutie pie!

IMG_3839

After many, MANY moments of not so happiness, here I am reposting my recipe.

BTW, these are AWESOME cookies. We make them every single Christmas.
Every.
Single.
One.
The recipe is plentiful, so if you are looking for a cookie for a cookie exchange, this is your ‘go to’. They hold up well, you can make them well in advance. They are fun to play with. The traditional is made with a Hershey’s Kiss, but this year we used Rolo’s and Reese’s Peanut Butter Cups (the little ones).

I’m sure my original post had all kinds of wonderful, lovely sentimental reminiscing, but tonight? I just want to get this up so that my readers can also have access to this amazing recipe!

Preheat the Oven to 350 degrees.
Prepare a Sheetpan with a silpat, or parchment paper.
Have cookie cooling racks ready.

Peanut Butter ‘Stars’

1.5 C Creamy Peanut Butter
1 stick Butter Flavor Crisco Shortening (1 cup)
2.5 C Brown Sugar (dark or light. we prefer dark)
6 Tbsp Buttermilk (nut milk is an ok substitute)
2 Tbsp Vanilla (yes, that much!)
2 Eggs
3.5 C All-purpose Gluten Free Flour (My favorite is Pamela’s Artisan Flour)
1.5 tsp salt
1.5 tsp Baking Soda
Hersheys Kisses and/or Rolos, Reeses bits.
Sugar in a pan to roll the dough in.
*I like to add sparkling sugar to the white cane sugar for extra sparkle.

Makes: A lot.

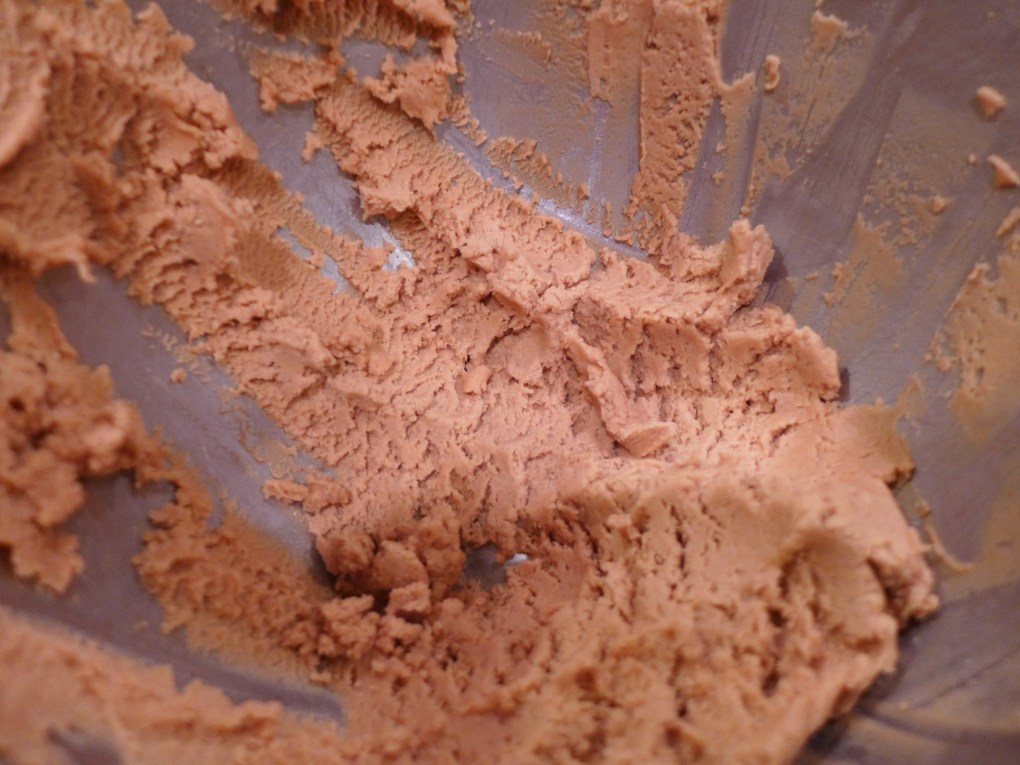
Cream together the Peanut Butter, Crisco, and Sugar together. Add the Eggs, Vanilla and Eggs, then the Buttermilk.
Combine and blend together the dry ingredients.
Slowly add the dry to the wet ingredients.
This is gluten free flour so no worries about toughness. Make sure it is well blended.

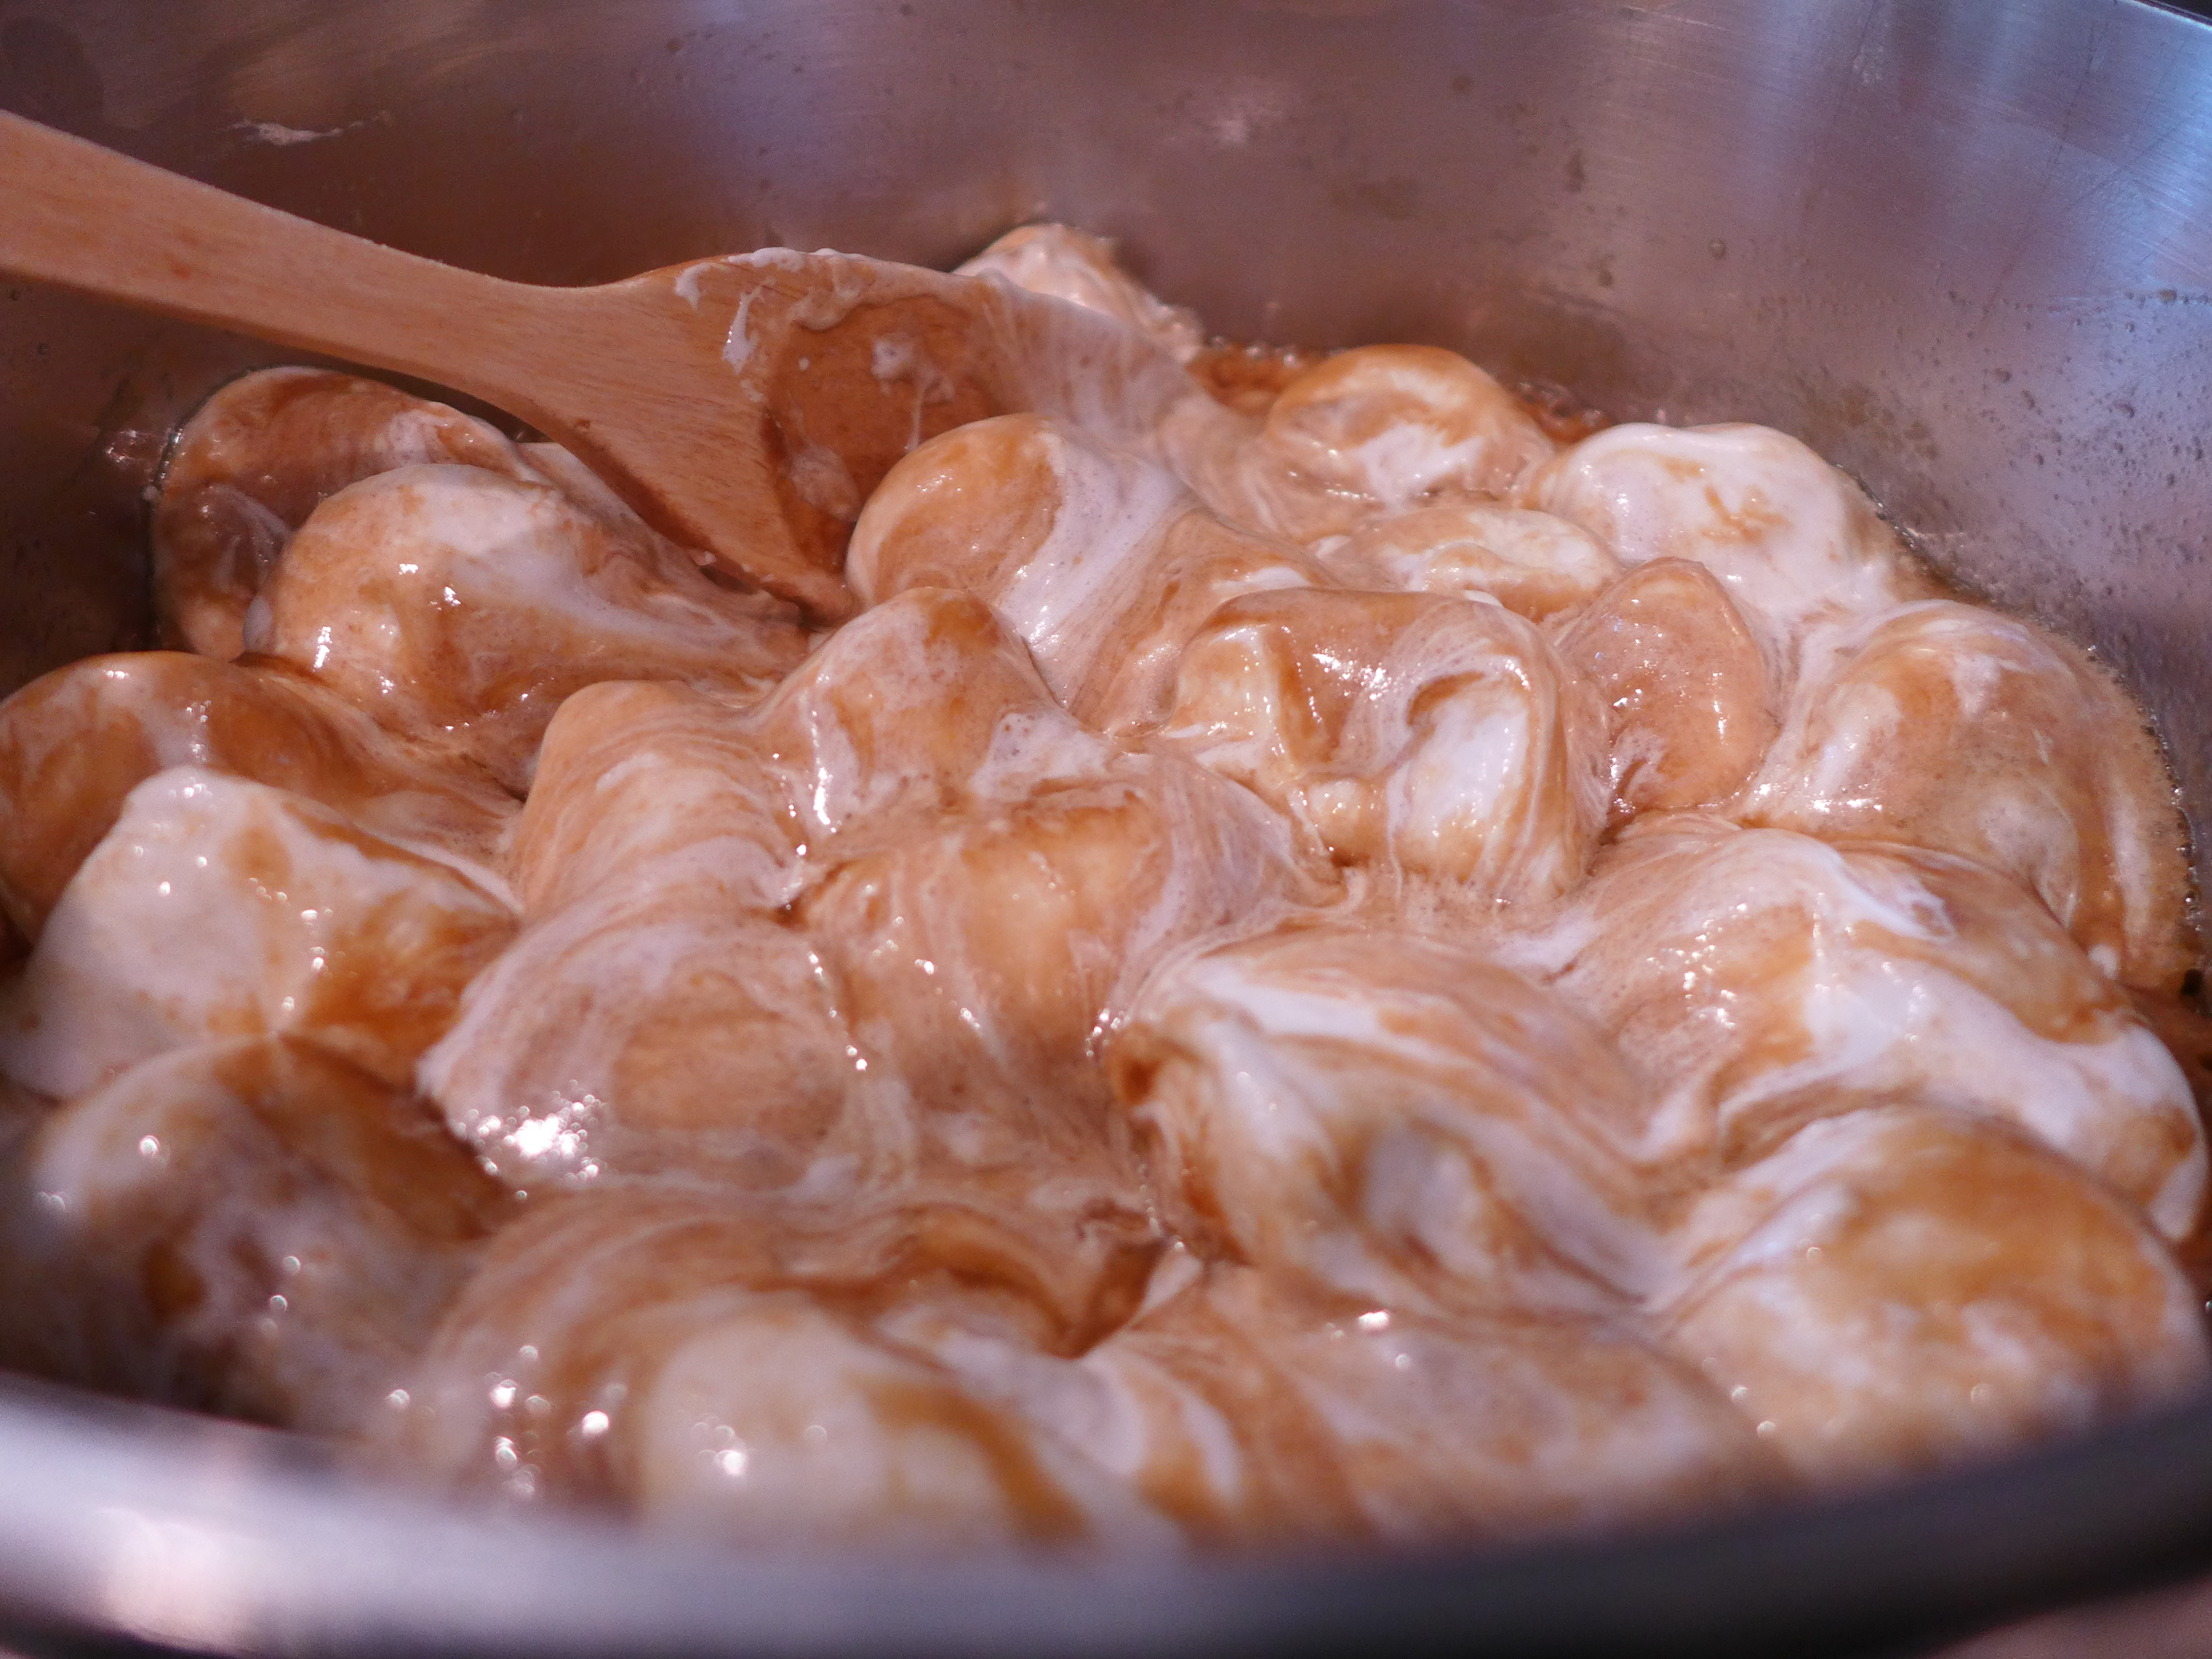
(This photo is in the near-end part of the process…when I realized my website deleted my post! But it gives you the idea of the texture)

P1030027

From the dough, take about 1 generous tablespoon of the dough (approx 1+ inch), roll it into a ball. (this part is flexible, mine run between 1-2 tbsp in size) Then dredge in a pan filled with sugar.

P1030029
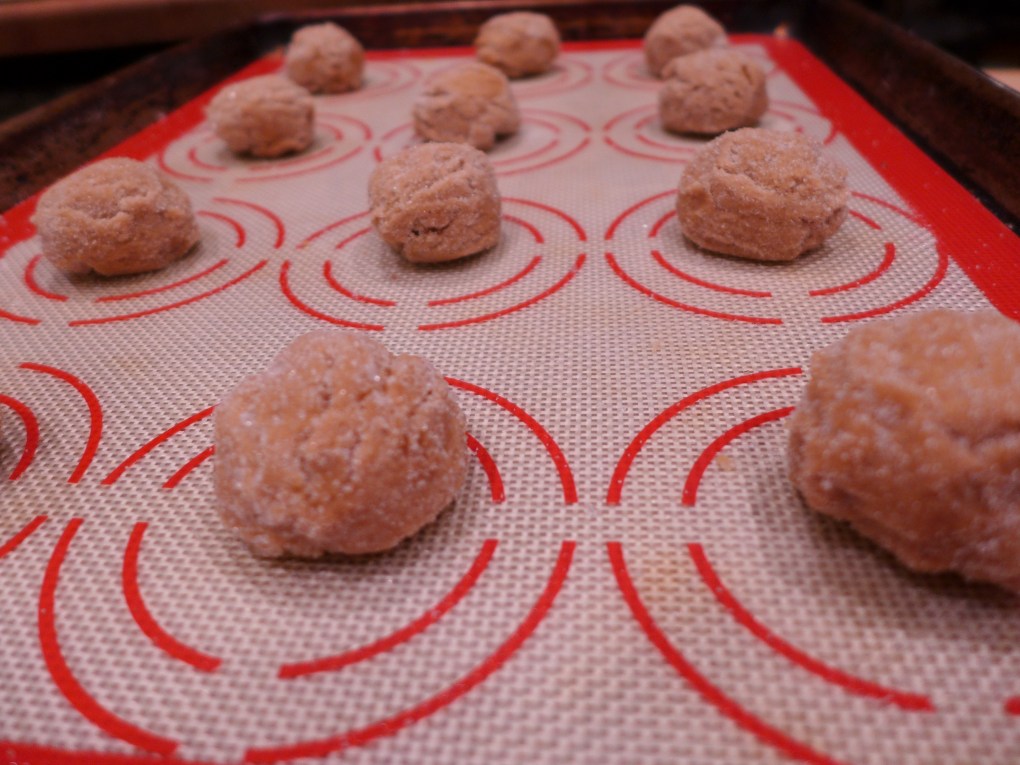
Place on a sheet pan, lined with a silpat, and bake for about 10-12 minutes. They will begin to crack, but will still be moist inside.

While they are still warm, sink a Hershey’s Kiss in the middle.

P1030028

Allow to cool for a few minutes on the sheet pan, then transfer to a cooling rack.
These store amazingly in an airtight container for over a week. Just be sure the chocolate is well set before packing away.

Done.
Please do me a favor.
If there is something that doesn’t make sense, comment below. This was a fly by the pants recipe. I wanted to get it up because Gluten Free is tough and this is DELISH.
But to make my recipes better, I need feedback!
Enjoy!


Cranberry Clusters

What is Christmas without a cookie exchange or two to go to? I’ve hosted my share of them in the past, but this year it is a welcome change of pace to go to a cookie exchange and let someone else take charge. Due to a bible study, I missed one of my favorites, hosted by a lovely woman who truly has the gift of baking. I’m not complaining cause there is a bright side, another friend is hosting one next week. So out come the cookbooks, pouring over and contemplating which treat to bring.

These little gems are my oldest daughter’s absolute favorite. They combine that perfect balance of sweet/tart, crunchy/creamy, juicy/dry. I cannot describe fully enough how delicious these glistening ruby delights are, you will just have to make up a batch and judge for yourself.

They are a little putzy to make, but trust me, they will be the first to fly off that cookie laden table. As I’ve mentioned all to many times before, its cold here. But, cold is only one aspect of living in a place where ‘cold’ is a runner up to the North Pole cold, its bitterly dry also. So, here in my environment, these babies will keep on a cookie platter for a few days at room temperature. Since you are in essence ‘candying’ the berries, humidity is your enemy. If you are in a moist environment, eat them quickly (trust me, not a problem) or store in an airtight container in your fridge for up to 5 days. They will get soft, but the flavor will remain.

Cranberry Clusters
1 cup sugar
1/2 cup water
1 1/4 cup fresh cranberries
1 1/4 cup chopped white chocolate (a good quality white melting bark will do also, and sometimes works better than white chocolate which can seize easily)

Combine the sugar and water together and cook to a hard-ball stage, 250-265 deg.
Remove from the heat. I put my pot on a heat pad to retain its heat for as long as possible.
Working quickly (but carefully, hot sugar burns, badly!) drop 3 cranberries in to the syrup and using 2 forks clump them together and flip to coat. Remove quickly and put on a piece of waxed paper or siliconed parchment. (a silpat mat will also work)

You will likely get about 7-8 clusters out of this batch, the first ones will be clear like glass, the last ones will start to look frosted. Stop when the sugar starts to crystalize. Now, at this point, I suppose there is a way to reheat the sugar and continue on. I have not found a way to do that effectively. I have found, in my experience, that you never get that shiny clear result when you try reheat the sugar. For me, because I’m sort of picky, I just make another batch or two of the sugar syrup, depending on the quantity I need. Play with it yourself and decide. Using a non-stick pan makes all the difference in the world as far as clean up goes!

While your candies are hardening, melt the white chocolate (or bark) in the microwave or in a double boiler. (It is advisable when dealing with all chocolate to be sure not to let any moisture get in to it, as it will cause it to seize)
Then dip the flat side of the cooled clusters in to the white chocolate, leaving the tops uncoated. Set aside on the parchment to harden.

I put these in small candy cups when I give as gifts, but they are just as beautiful scattered on a cookie tray.
Trust me, you want to have all your treats leave first? Make these.

Whether for dessert, cookie exchange or a party, these will please.

Image


Billie Rupp’s Popcorn Balls

IMG_1400

Here is my second attempt to post my godmothers wonderful popcorn balls. It appears wordpress is not exactly easy to navigate for someone who is technologically handicapped. My wonderful, reminiscent ramblings were deleted somehow, some way I’ve yet to comprehend.
So back to old school, type it up in Word and then copy/paste. I’m never going to rely on word-press to save my draft for me, no Sir-E-bob. (UGH! SO FRUSTRATING!)

When I was 6, my parents moved our family up from California to a cul-de-sac in the western suburbs of Portland, Oregon. I have fond memories of that house: riding my banana bike with ‘reins’ (a piece of string) tied to the handlebars of which I had vivid fantasies of riding some great white majestic mare; making mud pies with my brother, digging caves in haystacks of cut drying wheat in the fields next to our housing development, playing on our Jungle Gym; and going over to Mrs. Rupp’s house, a wonderful woman who would become my Godmother.

Mrs. Rupp you see, always had something wonderful going on in her kitchen. My own mother was a stay at home mom, but as we all know, the grass is greener elsewhere, and my mother was a busy woman. My little brother and I would regularly traipse over to see what interesting thing she was working on, and hopefully score a treat.

Mrs. Rupp had the best sarsaparilla ever. She made the syrup from scratch and kept it in a mason jar in her fridge. She’d fill a tall glass with ice, pour the molasses colored brown liquid in, then fill it with old fashioned seltzer water. Half the thrill was holding the glass up and letting the bubbles pop in our noses. Mrs. Rupp’s mother made shrunken apple ‘people’, which created a mixed reaction of ‘neato’ and ‘gross’. But, the memory most fond for me was of her popcorn balls.

You see, every Halloween, Mrs. Rupp handed out homemade popcorn balls. Creamy, sticky, caramel-loaded goodness that we waited a year for. Those were the days eh? When people actually handed out homemade goodies like real candied apples (bright red and shiny), real lollypops, homemade divinity and fudge, real candies. Oh yes, those were the days alright, and lest I start on a rant about the world we live in now…we’ll move on.

My Godmother would hand them out at Halloween, but I make them over the Christmas holidays. I prefer to give baskets of homemade treats over store bought trinkets which end up in the trash. I wrap my popcorn balls up in waxed paper and tie them off with a piece of string or colorful rubber band, and nestle them in with other homemade goodies. So, as we begin the Christmas giving season, here is the gift of my Godmothers famous (at least in my mind) Popcorn Balls:

Pop 1/4 cup of popcorn kernels and pour in to a large bowl.

In a saucepan melt:
1 stick of salted butter (extra for your hands and molding)
30 large marshmallows
1 cup of brown sugar, packed

P1010465

You could use unsalted and add back a bit of salt, but I just use regular salted butter. The marshmallows I buy are Gluten Free, be sure to check the ingredients if you are intolerant. I supposed you could make your marshmallow from scratch, but I don’t bother. If you do, a bag is 10 oz and you don’t use the entire bag, so I’d estimate you need about 9oz.

Once the mixture is all melted and all the marshmallows have turned to goo, pour the whole thing over the popped corn and stir to mix.

P1010468

Then take additional softened butter and liberally rub it all over your hands. Grab a lump and form in to a ball, putting on some waxed paper (or parchment) to cool. Try not to compact them too much. They should be kinda loose, just packed enough to keep them in their shape. See in the photo below? These are not lead balls of sugar. When they cool, you want to be able to pull them apart, its half the fun!

P1010469

You will likely need to reload your hands more than once to keep the mix from sticking and making clubs out of your hands. You’ll want to work fairly quickly to keep the mix from setting up. I recommend for large quantities you make multiple batches instead of doubling. Its easier to work with while warm.
Note: If they are too warm, they will not stick together. Just wait another minute and try again. Keep your hands covered in butter to keep them from sticking to your hands-which can be frustrating!

That’s it! I hope you enjoy them as much as we all do. I hope they become a tradition in your house, and if you have any questions, leave them in the comment section below.