Review: Salt Block Cooking

IMG_0709

My latest fun fad, is salt block cooking. These are also called salt block ‘plates’.
Can I say FUN, FAB, FANTASTIC?
I got my blocks from SaltWorks which is carried by Cooks of Crocus Hill located (conveniently I might add) in my local gourmet grocery store.
I bought one that is larger 8×12 for hot cooking, and 2 small plates – 5×10 – for ‘wet’ cooking and presentation.
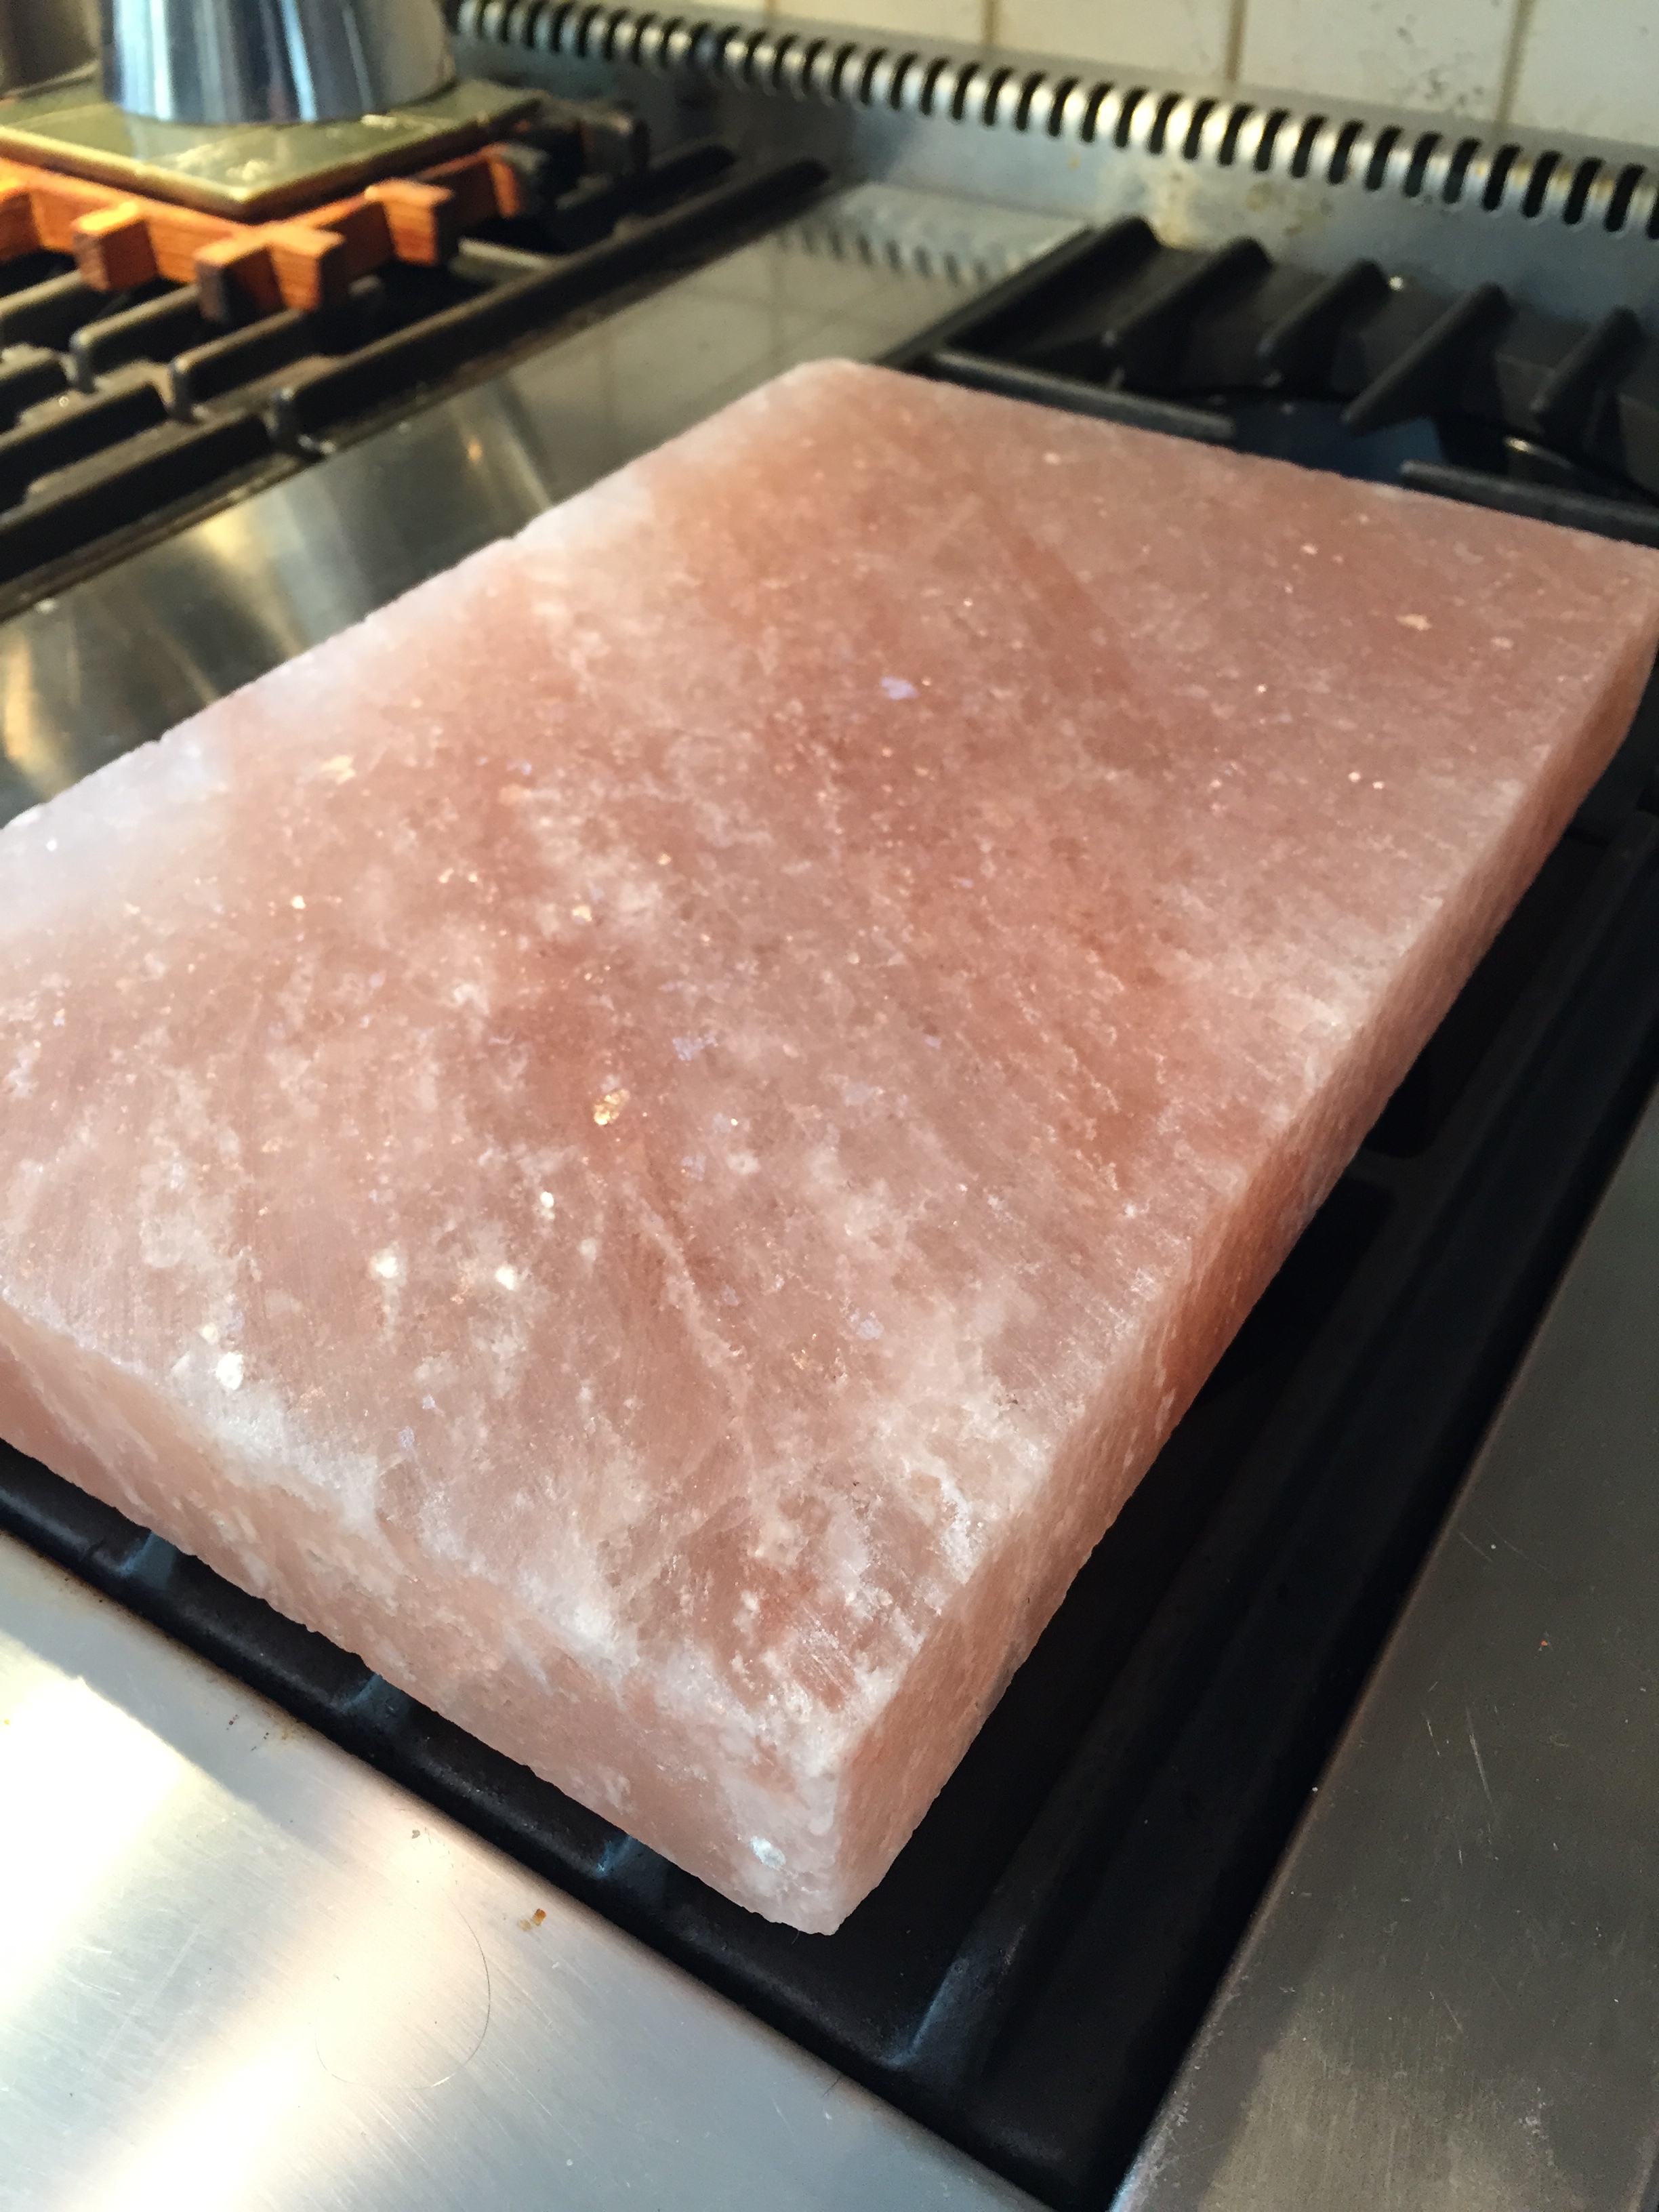
In the photo above you see the 8×12 which I have on my burners ‘curing’. If you wish to cook on your salt block, you really should cure it. I gained my knowledge from the Salt Block Cooking Cookbook by Mark Bitterman. He recommends curing the block initially to rid it of the excess water, which if not done, can lead to the block breaking or absolute worse case, kinda sorta exploding. Well, exploding sounds rather extreme, but let’s just say we avoid any potential damage and cure it first! He also recommends separate blocks for ‘heat’ and for ‘wet’ purposes. That way, you eliminate any excess water being absorbed by the block. And nothing ruins a meal like an ‘incident’.
I put mine on my burner and started it on the lowest possible flame. I waited about 15 minutes and then increased the temp. I continued this process until all the water had rendered out of the block.
As you can see, from those little bubbles appearing 45 minutes after being heated, a block can contain a lot of water!

IMG_0712
Once you have done this, you are ready to cook on it. Put it on the grill, or in the oven, always starting off with a cold grill/oven and bringing up to temp with the device. For more information, I highly recommend Bitterman’s book, it not only has great recipes but tips, advice and purchasing info.

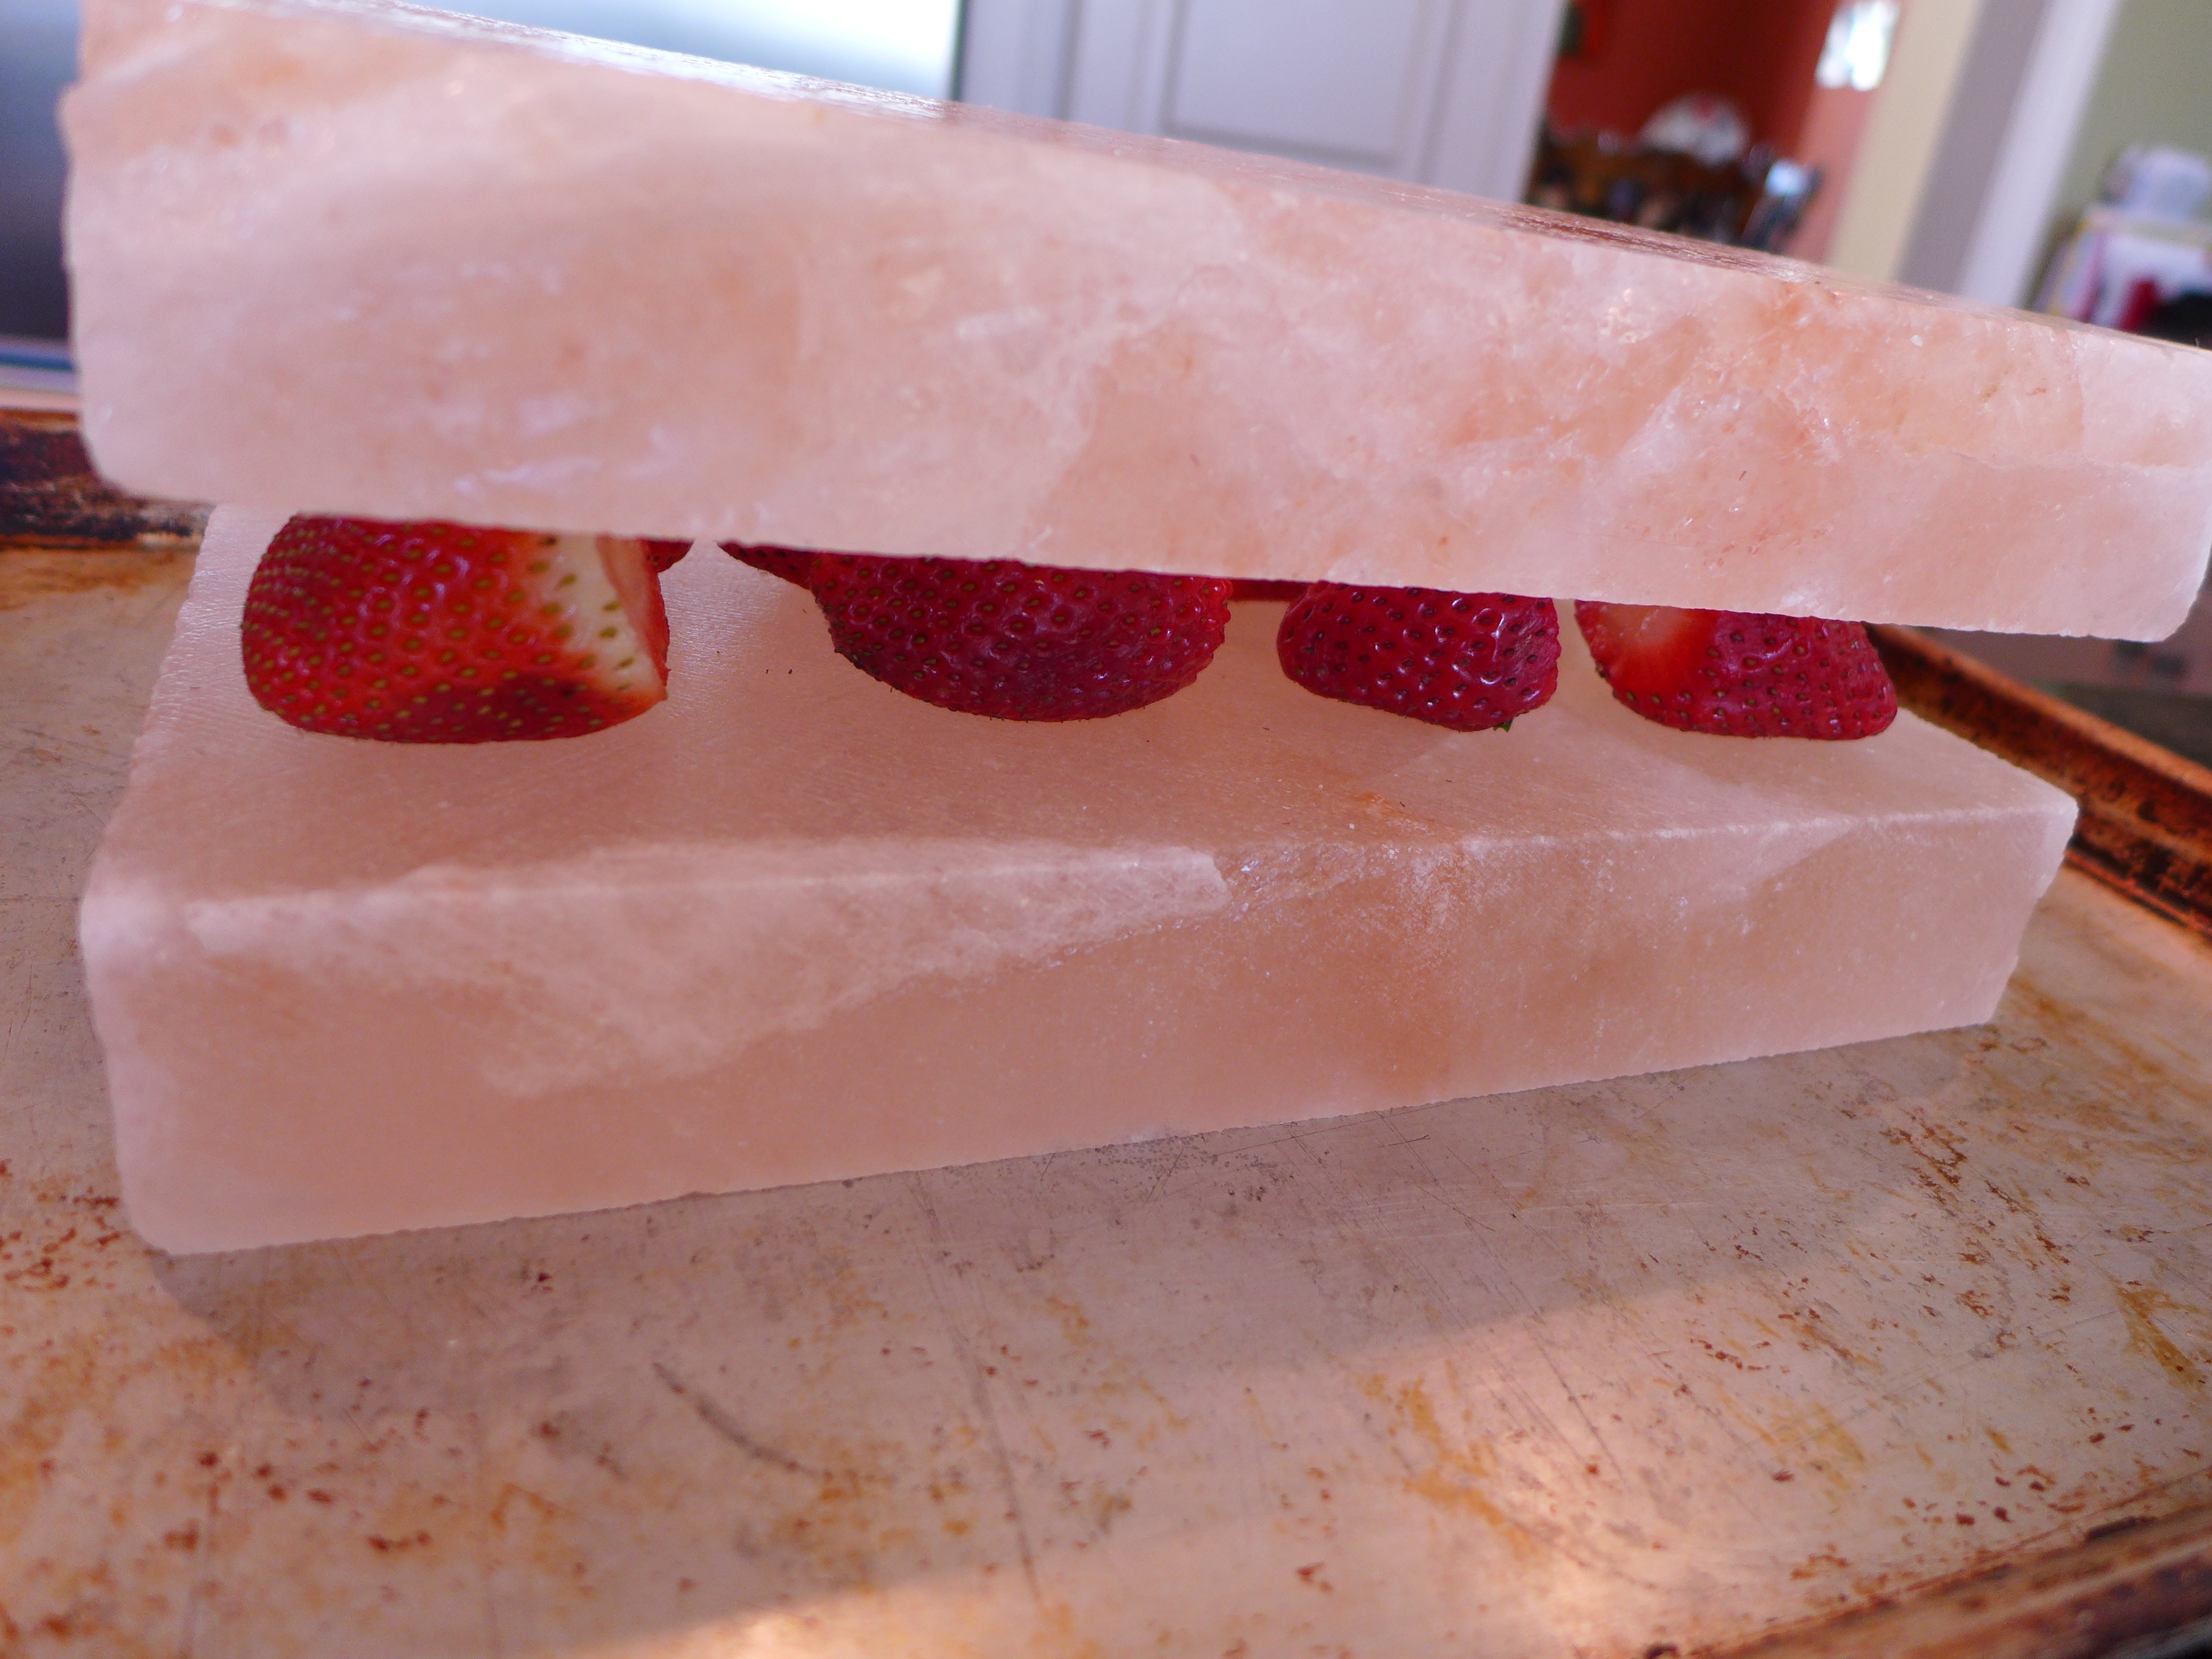
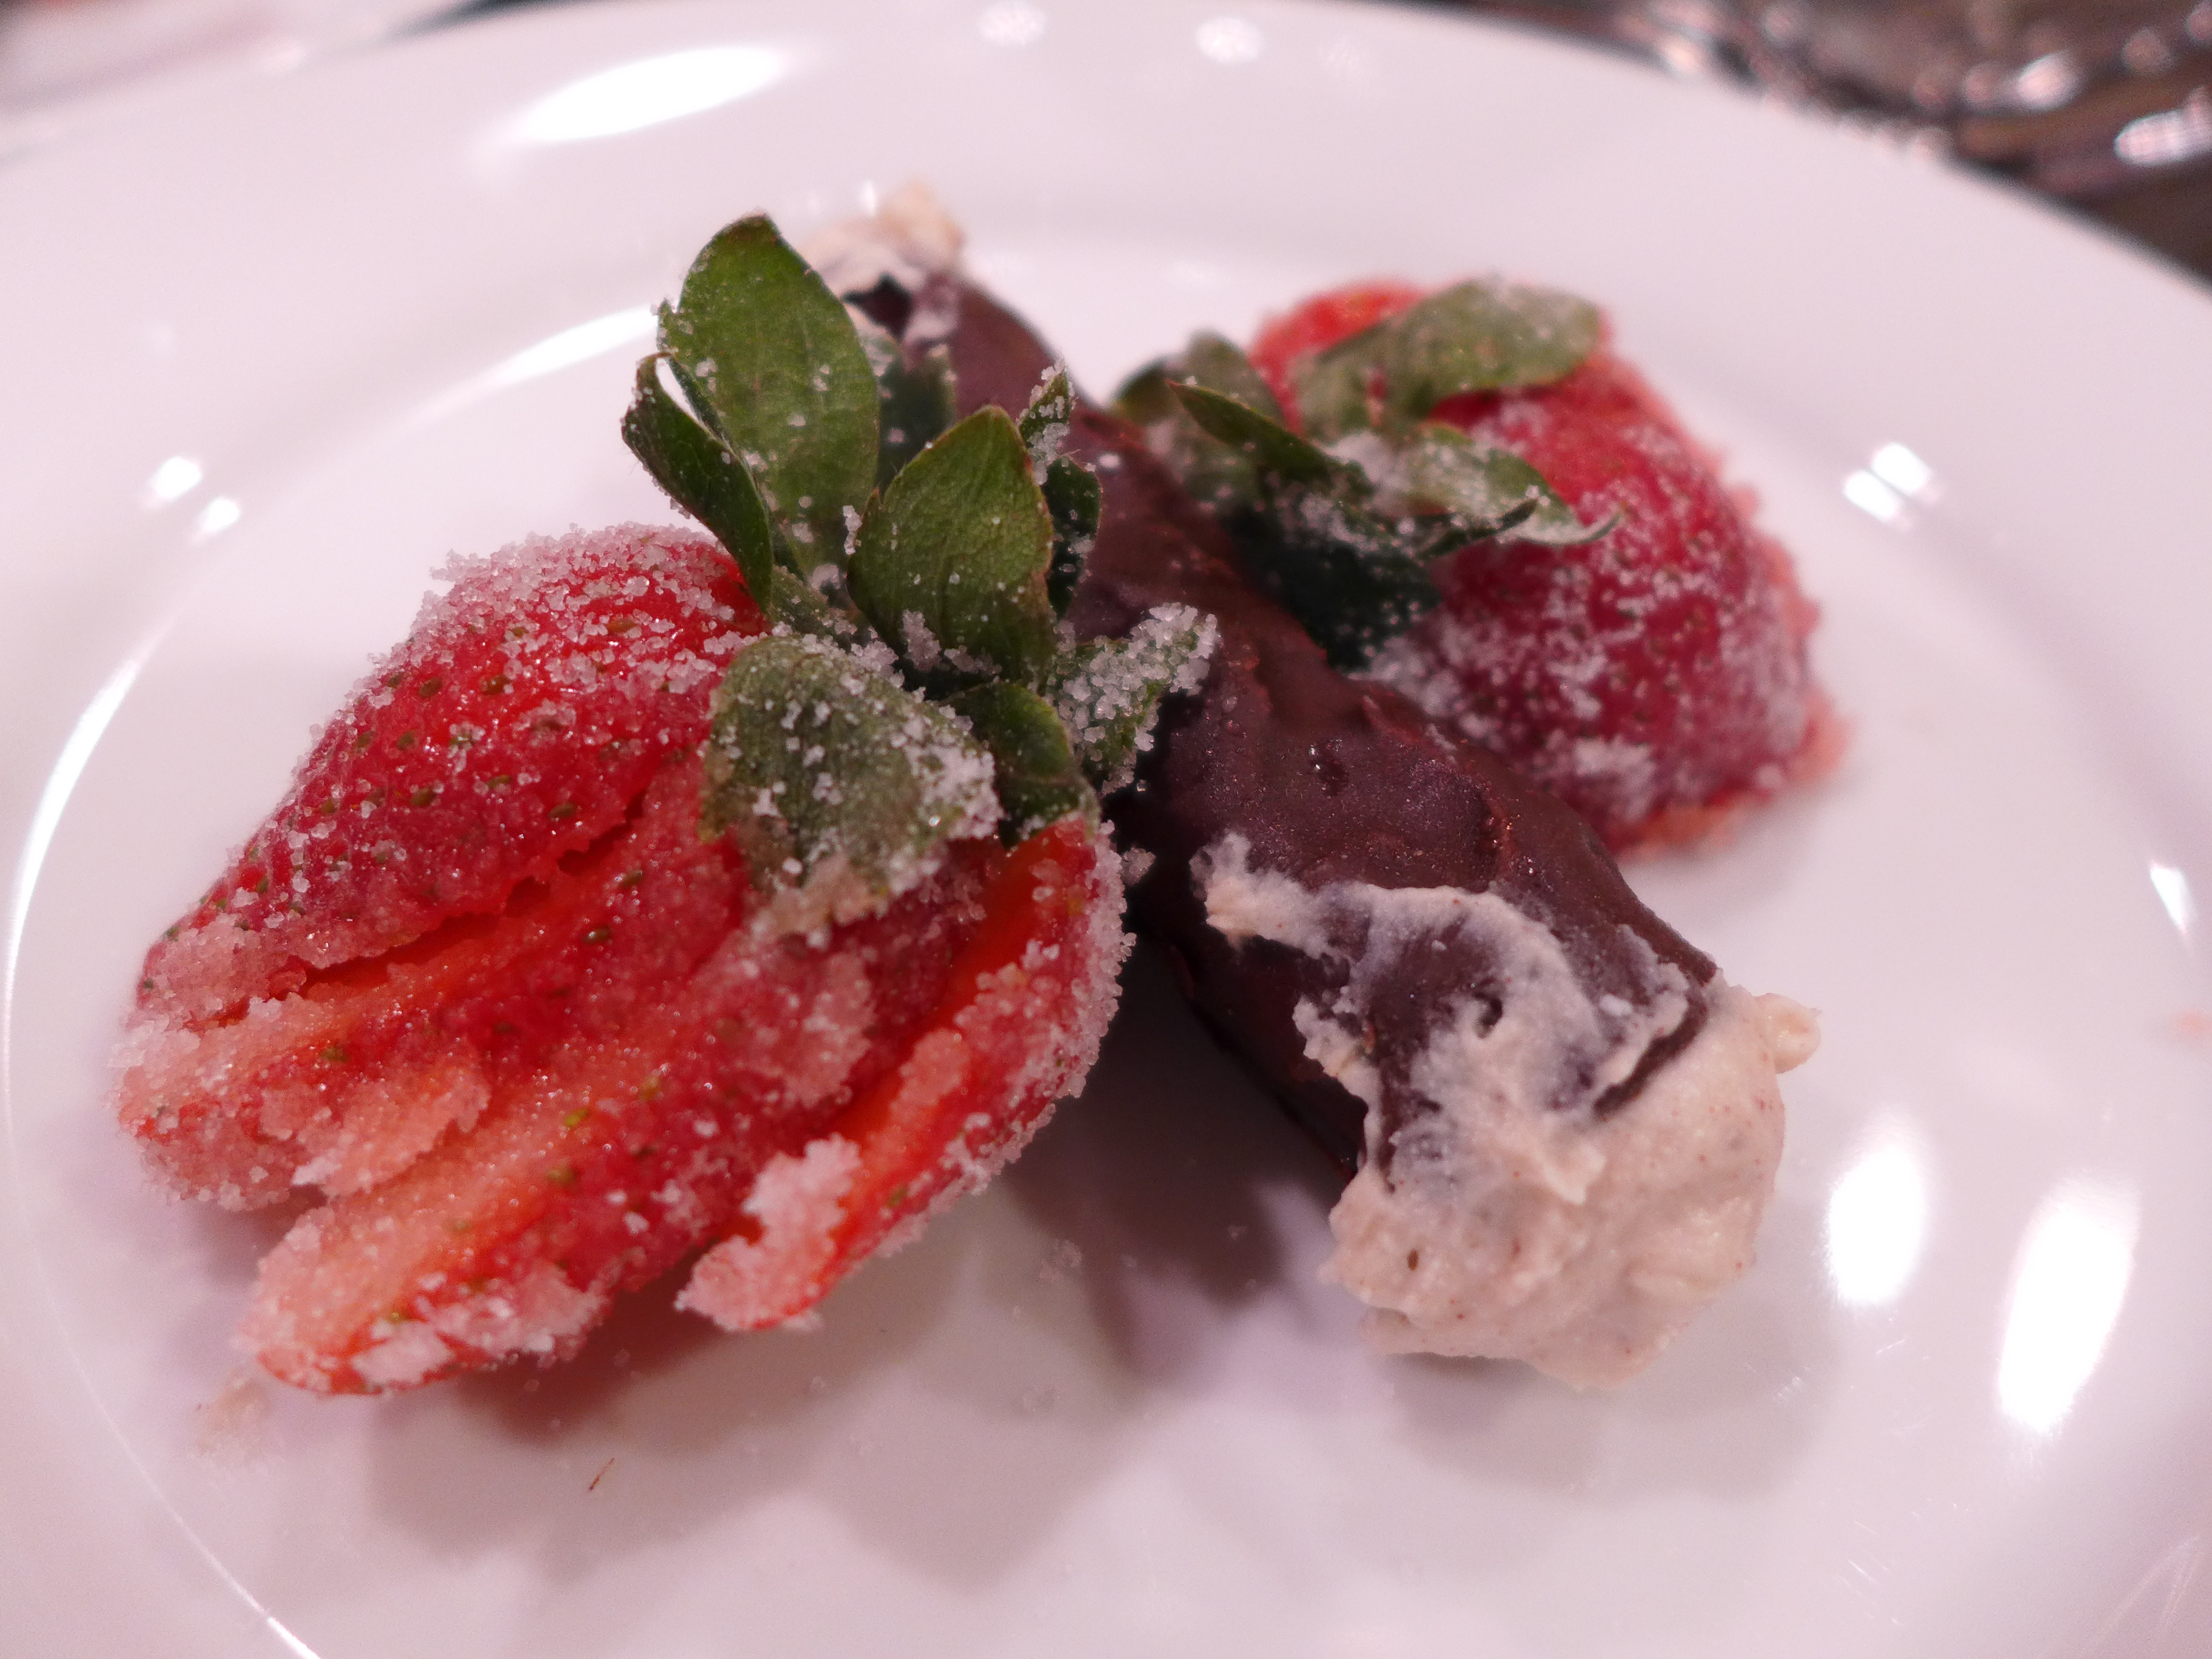
For cold/brining/curing you don’t need to do anything other than a quick rinse of the block. I started with a recipe from the cookbook and did ‘cured’ strawberries.

P1010770

Which I served along side of fresh chocolate covered Cannolis:

P1010773

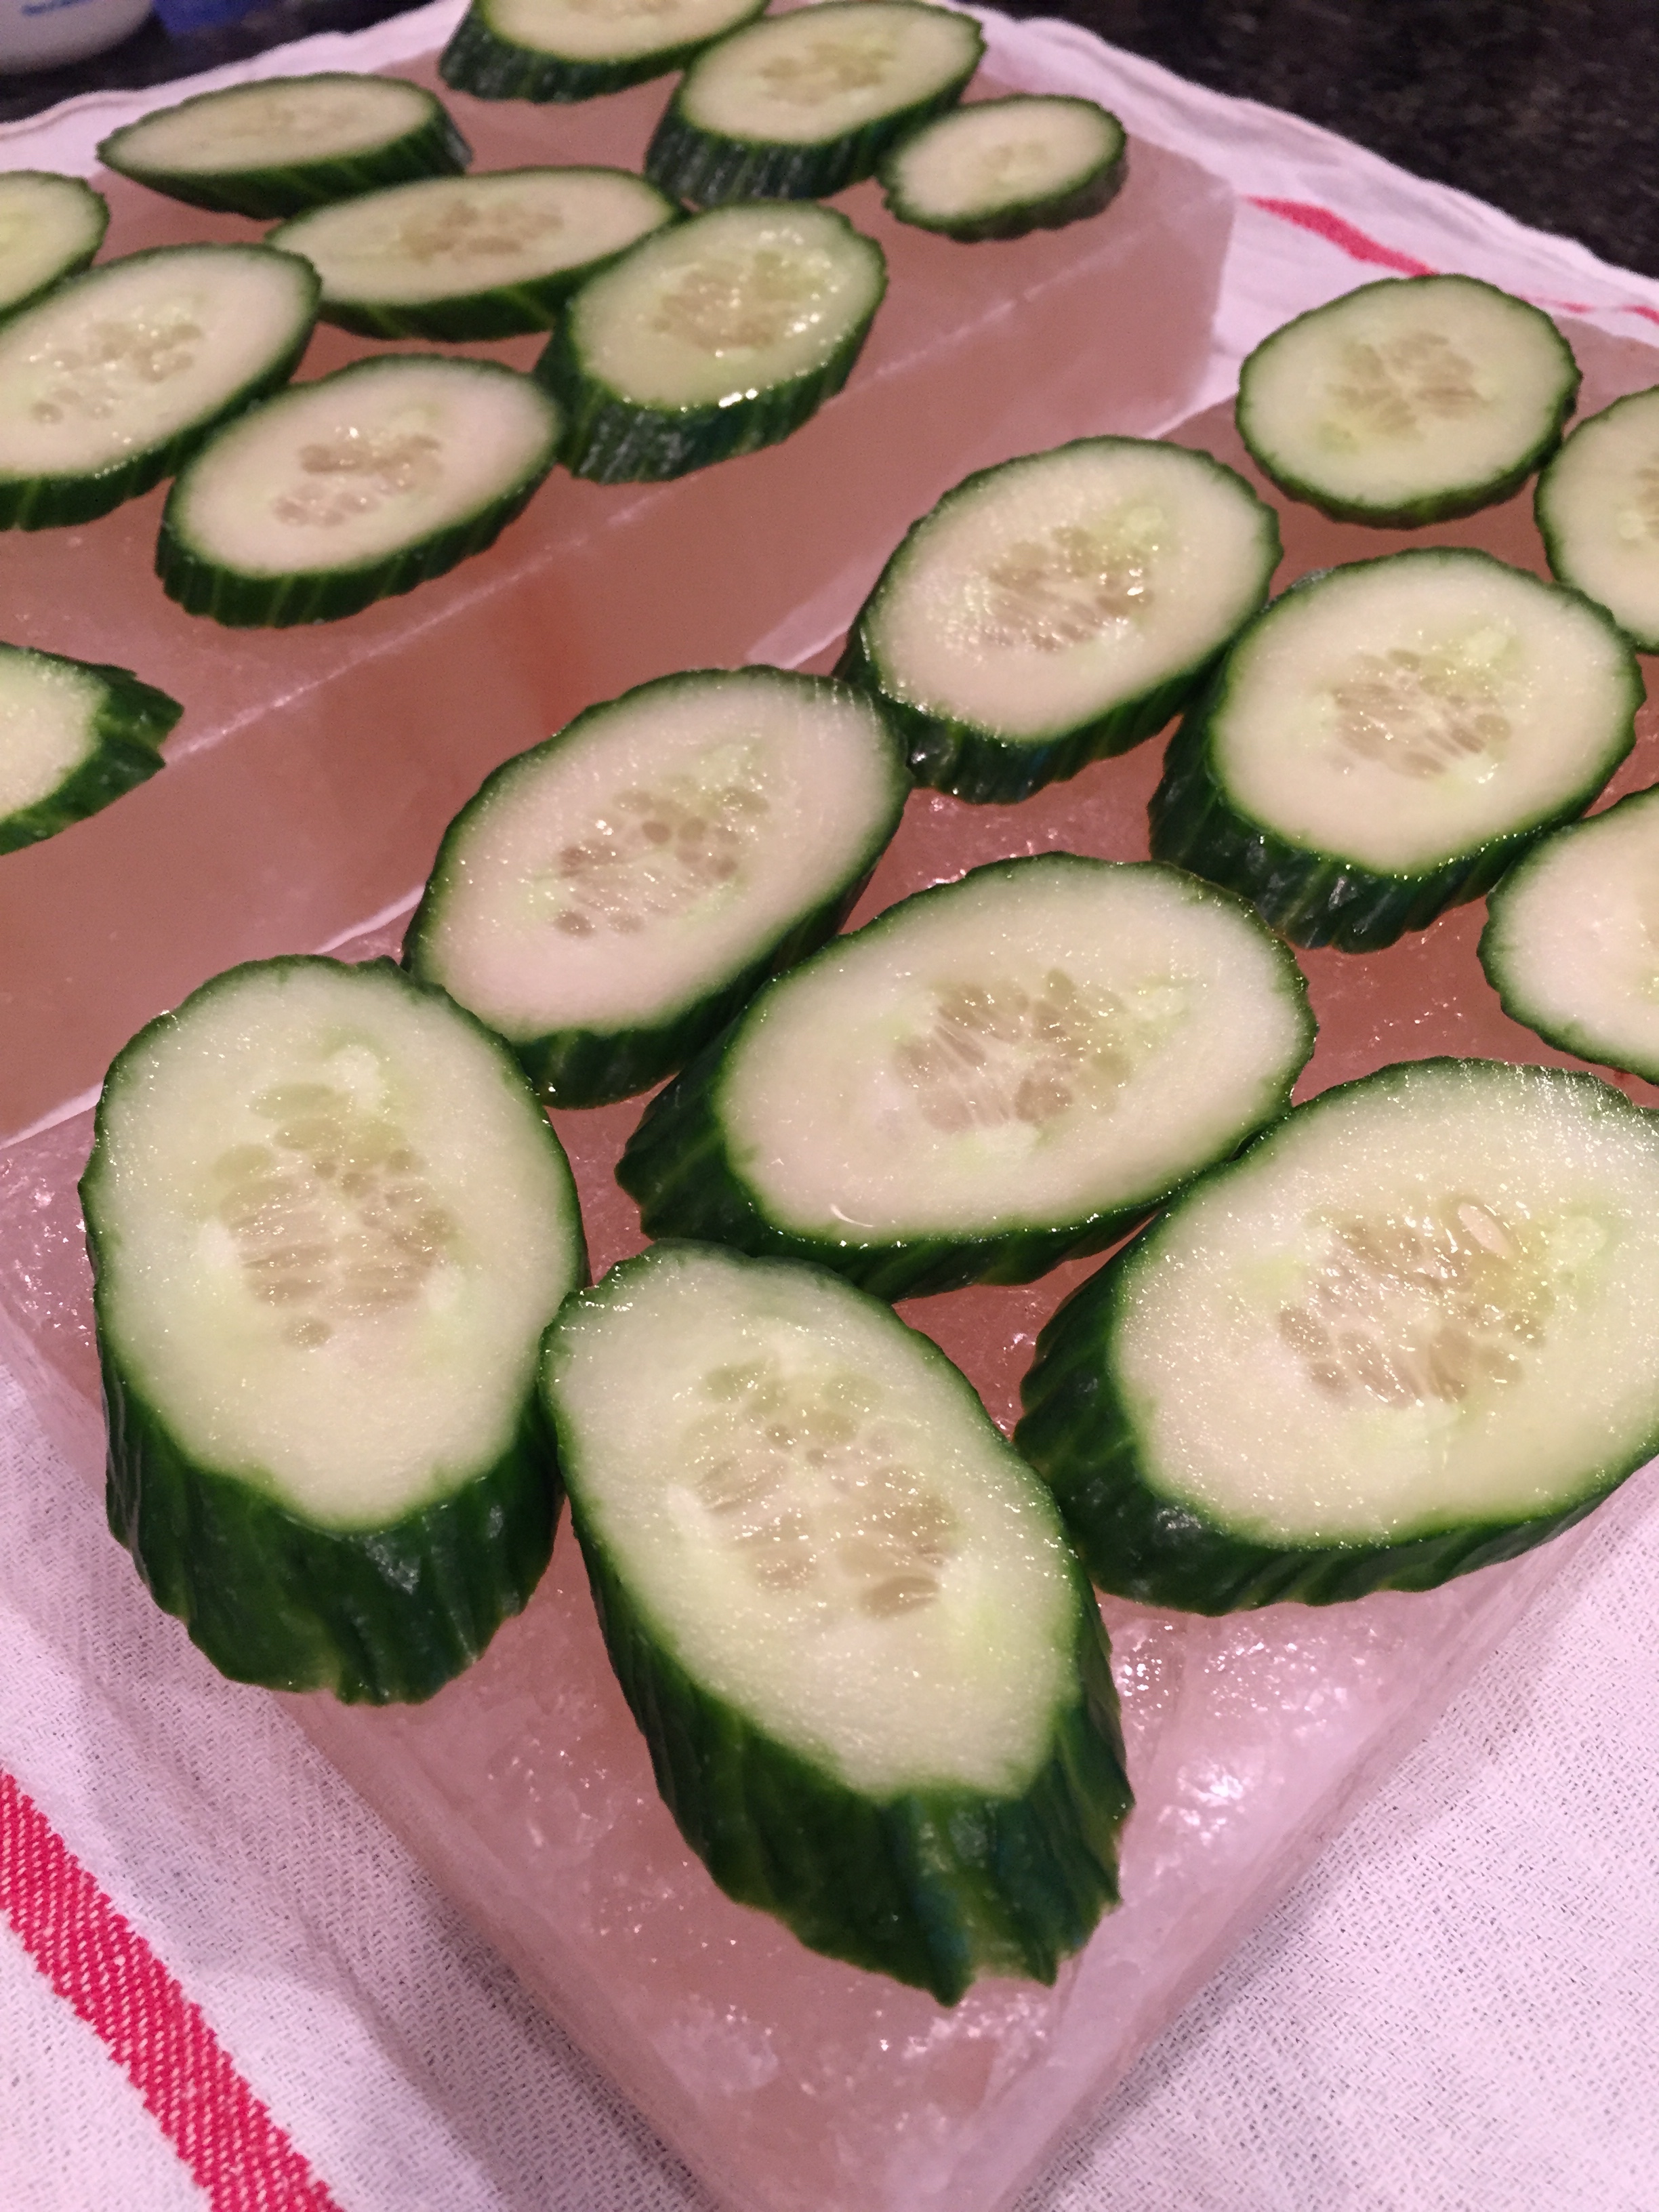
Then I played with a quick cucumber salad:
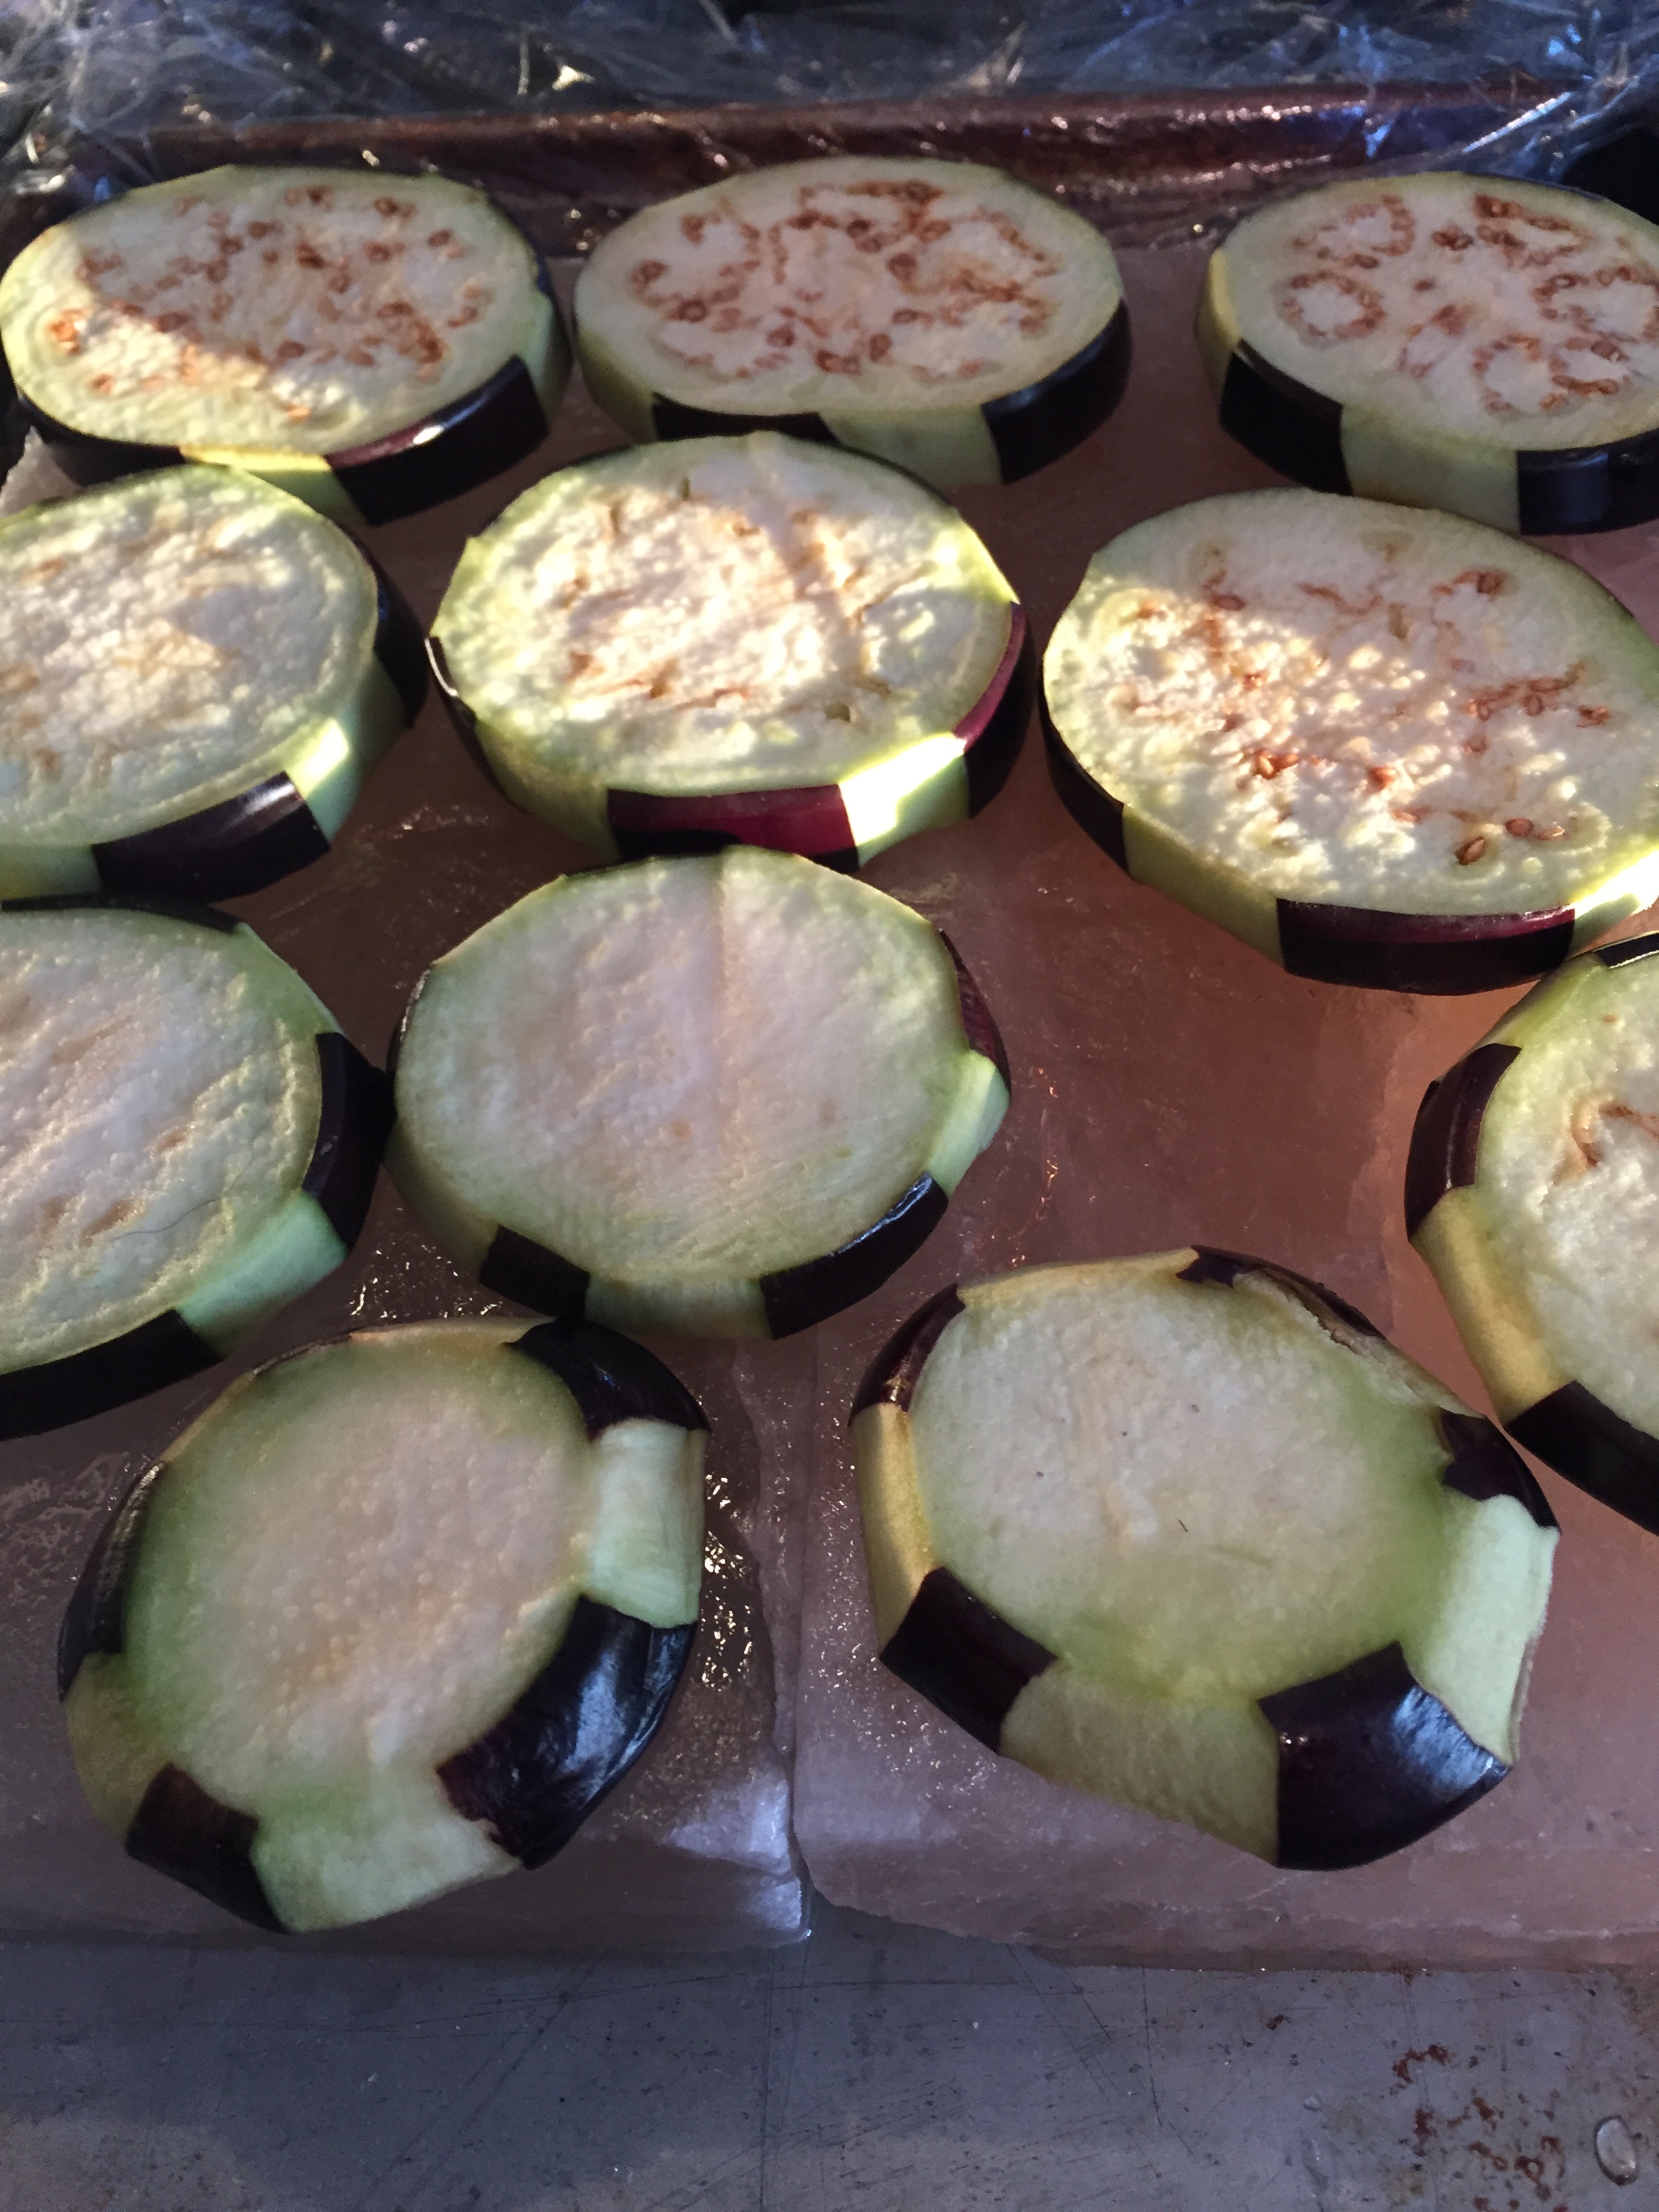
IMG_0718

And eggplant:

IMG_0717

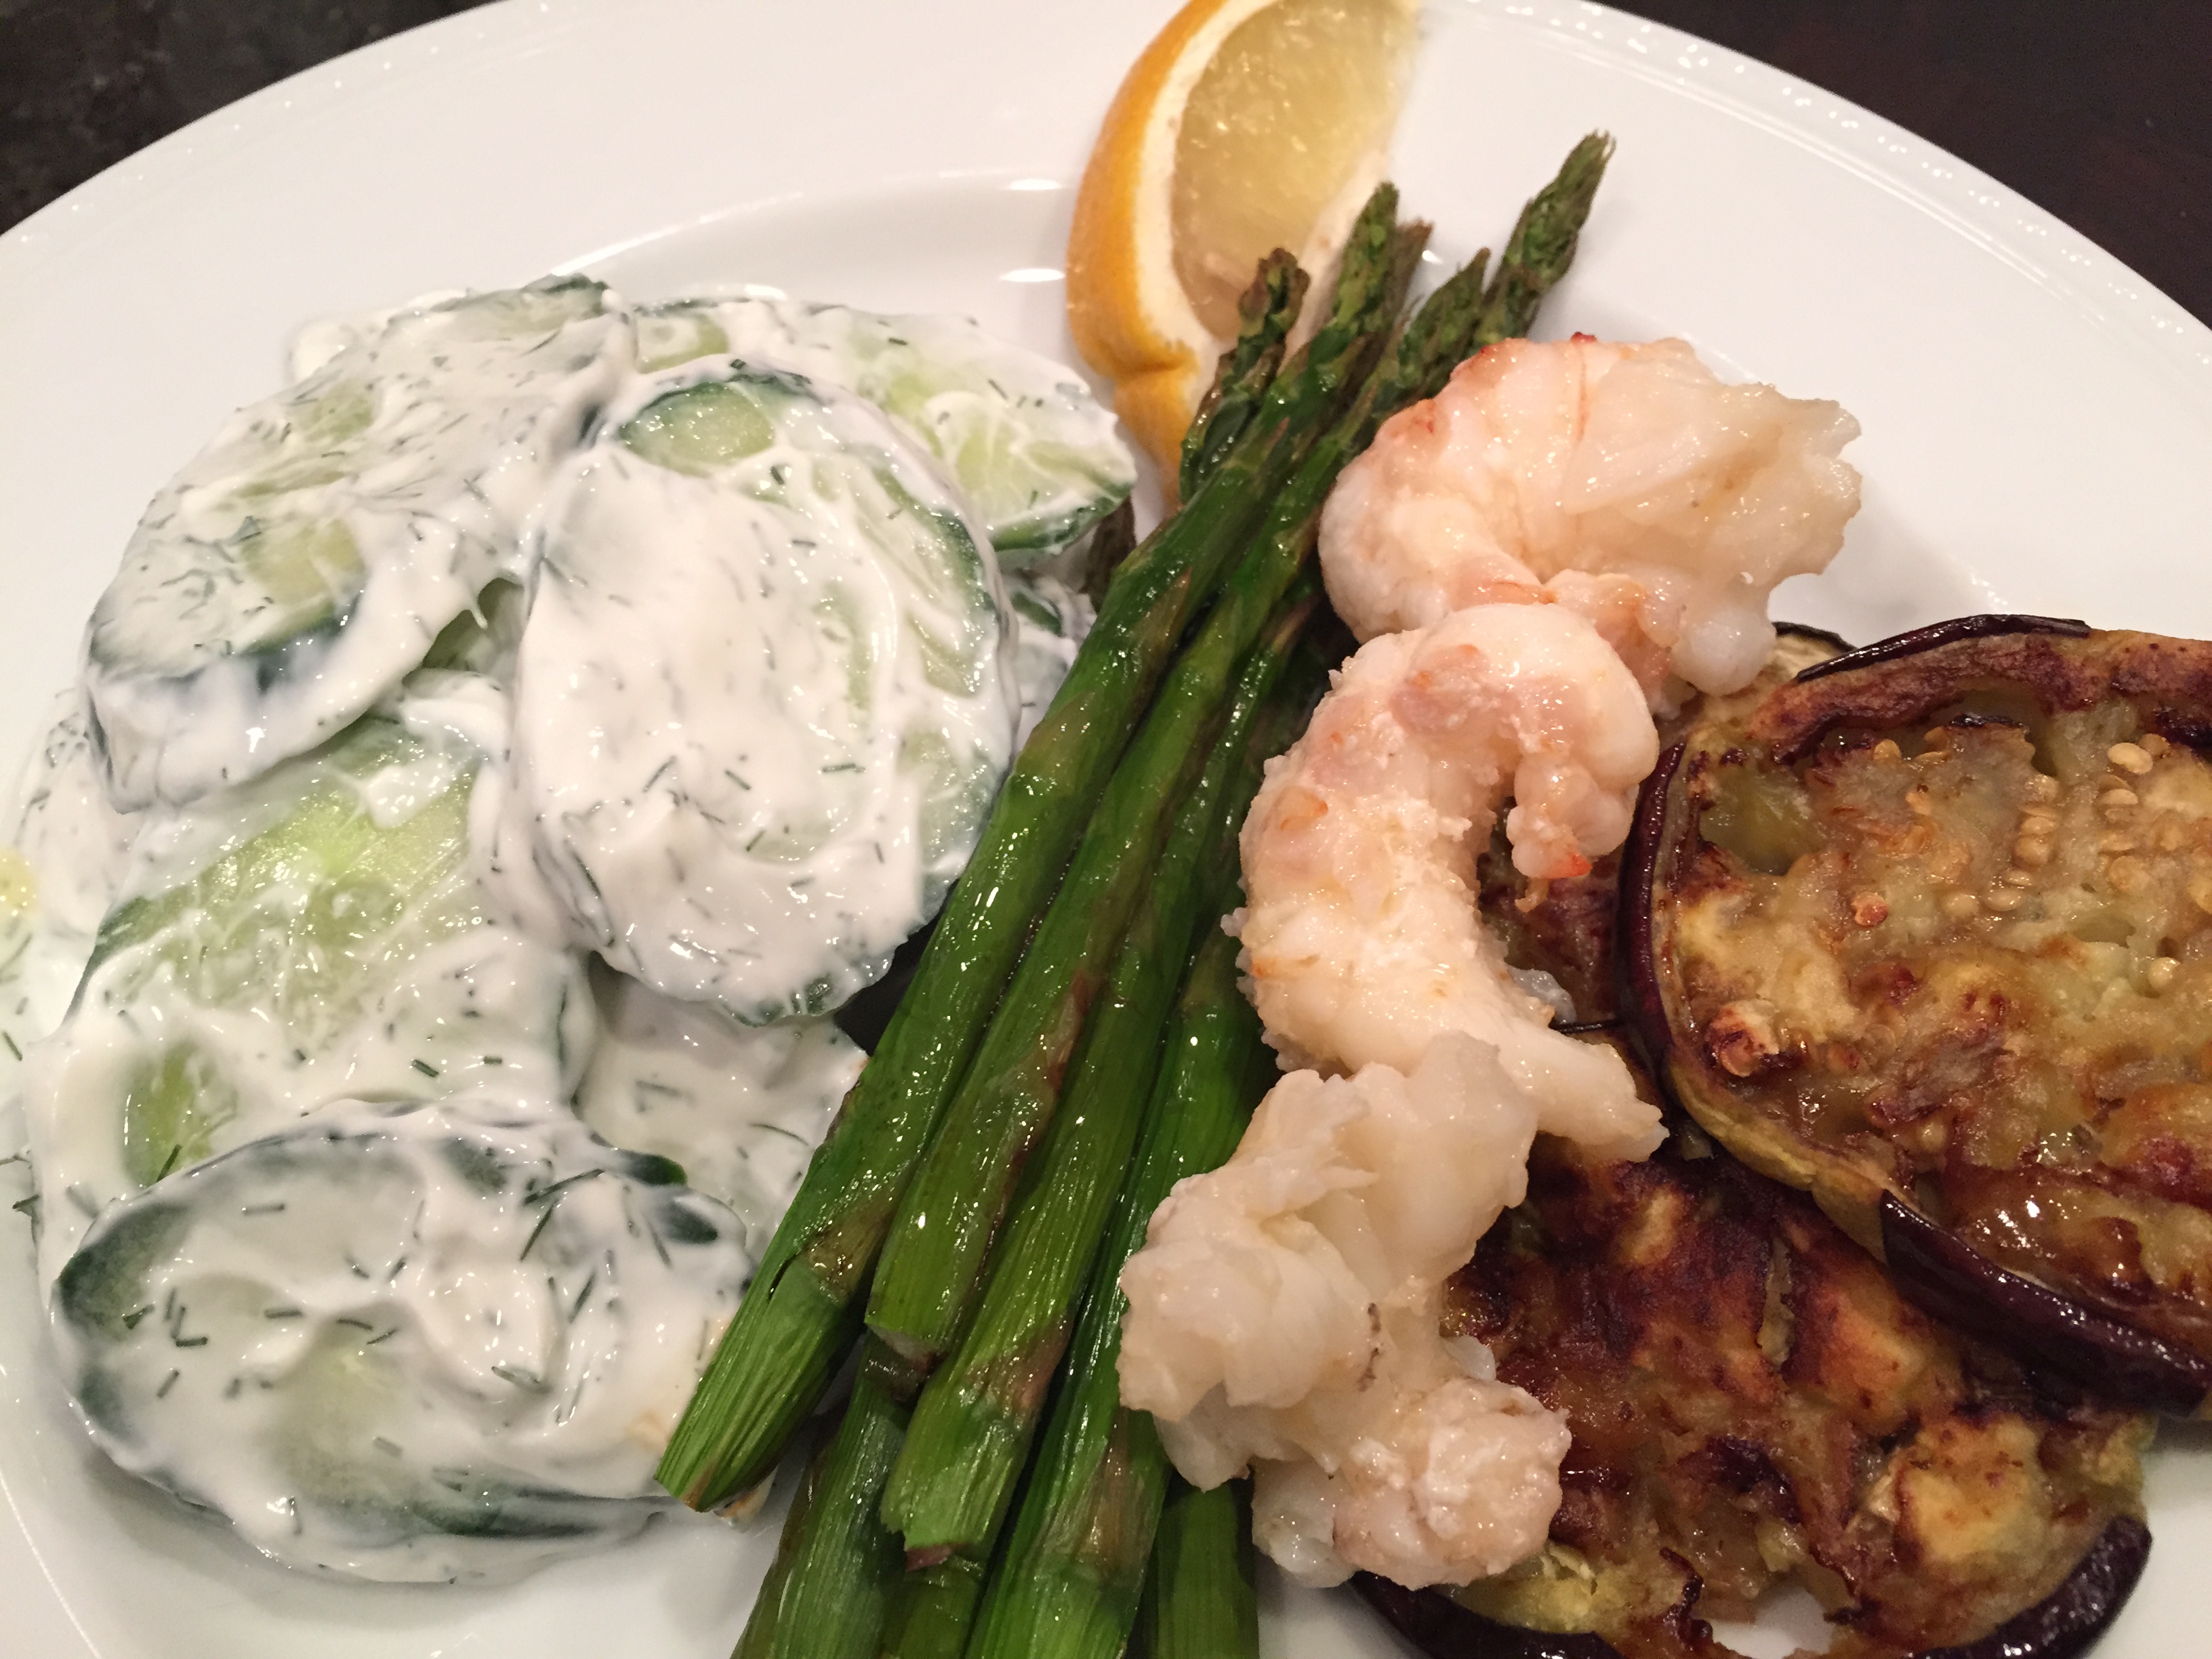
Which I served with my dinner meal.

IMG_0720

A note of caution when using salt blocks: The more water the food contains, the less time it needs on the block. With cucumbers, unless you rinse them thoroughly, a minute is more than enough to season your entire salad. If your desire is to rid the food of water (like eggplant) rinse thoroughly after the cure. When starting out, take the advice of the recipe author, since this technique is entirely different than regular salting.

My next adventure in cooking will be hot cooking with my block. I’m thinking, scallops or shrimp would be awfully yummy!

One last note: This is GREAT for empty nesting cooking. Because of the size of the block, which if were much bigger would be HEAVY and cumbersome to store, you fit enough for 1-2 people. If you were cooking for a family or a group, I would recommend investing in additional blocks so that you can accommodate the increased amounts.

I have a feeling I will be investing in more of these for amazing and entertaining summertime grilling.

Feel free to share your favorite dishes, tips and techniques in the comment section below, I’d love to read them!


Gluten Free Butterscotch Pumpkin Bread

P1010311

Fall finally gave way to the nudges of winter here in the arctic tundra. What better way to embrace the long, dreary winters here than to whip up a batch of tasty, moist, full of warming spices, gluten free quick bread? With my girls coming and going between college and work, its always nice to have a loaf on hand for them to a slice, grab and go. With the turning of the weather, I really wanted to be inspired by the fall/winter spices and comforting moisture of pumpkin. I modified a tried and true banana bread recipe given to me by my daughters Godmother, Auntie Barbara, who received it from her grandmother.

When my kids were born, we lived in a small neighborhood just on the outskirts of Portland. It was an older neighborhood with a wonderful mixture of small, entry level sized homes as well as some a bit larger and more established. We happened to one of the first families to move in as the neighborhood began to turn over. As a stay at home mom, I was blessed to have so many wonderful, loving retirees who absolutely doted on my children. That is how we met ‘Auntie’ Barbara and ‘Uncle’ Bruce. They took us under their wing, supported us, loved us and mentored us. They accepted the responsiblity to become my children’s GodParents. Every time I make this banana bread (which has been passed on to my own daughters) I reminisce over our shared times together. I think that is why I love to cook so much. I associate so many wonderful memories with food shared, the telling of the history behind precious recipes passed down, along with celebrations and holidays enjoyed. This recipe has sentimental meaning to me and my family. I hope that by making it, it will create wonderful memories of your own.

Gluten Free Pumpkin Bread
(this recipe is so simple, don’t over think it!)

1/2 cup Butter (unsalted) melted
1 cup Sugar
1 cup Pumpkin (plain pumpkin, NOT pie mix)

2 Eggs slightly beaten

2 cups Gluten Free Flour (i recommend Pamelas Artisan Flour)
1/2 tsp Salt
1 tsp Baking Soda
Spices : 1.5 tsp Cinnamon; 1/2 tsp Nutmeg; 1/4 tsp Allspice; 1 tsp Ginger; optional:1/4 tsp clove

1/2 cup Hot Water

Handful of Butterscotch Chips. (Hershey’s is Gluten Free. Nestles is NOT!)

Preheat the over to 350 degrees if using a metal bread loaf pan, or 325 for glass. Grease the pan with cooking spray or butter.

Mix melted butter together with the sugar, stir in the pumpkin with a wooden spoon. Lightly beat your eggs, then add in to the pumpkin mixture and stir to combine.

Mix dry ingredients together alternately with the hot water. Stir just to combine. Pour into prepared bread loaf pan and sprinkle the top with butterscotch chips.

Bake 1 hour 15 minutes. Check at 1 hour and continue to bake until a toothpick comes out clean in the center. A few moist bits may cling but it should not be raw.

****In the original recipe, replace 3 mashed bananas for the pumpkin and eliminate the spices. Optional add-in are your favorite nuts.
*******The original recipe does not call for vanilla but you can add 1 tsp if desired.


Traveling in Florence? Try the Lampredotto!

Traveling in Florence? Try the Lampredotto!

Traveling with my daughters, we pretty much stuck to sitting down to eat, due to the difficulty of finding any gluten free street food. It just doesn’t exist. However, while in Italy, my daughter was telling me, an adventurous eater, that I would enjoy trying the Lampredotto, which is sold on the streets in the piazzas around town. So, we made a point in our exploration of the city to stop at a street side kiosk. I bought mine in the Piazza della Signoria.

If you question whether boiled cow gut can be delish, yes it can! If you like beef short ribs, with the unctuous and savory gelatinous cartilage, you will love this. It isn’t quite gelatinous like cooked cartilage can be, and it definitely has a soft, but chewy texture. The vendor asked me how I wanted it, I just told him to do it like the locals eat, that means with the green salsa and chili sauce. I’m always astounded at how simple food can be so incredibly complex. The pairing of the savory, soft and chewy Lampredotto was balanced out by the sharp, green and fresh taste of the salsa and the very slight bite of the chili. The bread was crunchy crispy on the outside, but soft and sturdy on the inside, sturdy enough not to fall apart while walking and eating.

I marvel at the talent and resourcefulness of other cultures who do not let any part of the animal go to waste, taking what we Americans see as discards or only fit for dog food, and turning it into a cultural treat. Centuries of testing out culinary methods to make tripe terrific is a testament to the people of this town! (well, not exactly tripe, tripe is the first stomach, Lampredotto is made from the last stomach in the digestive tract)

So if you get to Florence, which is known for this simple street sandwich, I recommend giving it a try. If you click on the photo, it will take you to a youtube video of a chef explaining how to make one.

Mangia!