I spent the day cleaning up after my little pig pens after they blew in from college like a whirlwind, and when the dust settled, the house was in dire need of some TLC.
It was quickly approaching the dinner hour and I needed something quick and easy to whip up.
My answer? Open the fridge and see what the options are.
A head of organic cauliflower? I can use that.
I always have basics on hand, onions, frozen shrimp, butter, cream, parsley, stock, and grated parmesan. A well stocked pantry is a saving grace.
That, and my girlfriend just came back from New Orleans with a gift of Cajun Seasoning!
(Ingredients List is at the bottom)
First? Get the shrimp thawing.
The FDA will not approve of my method, but I’ve been cooking for decades, have a degree in Microbiology, and I have more than a few food safety courses under my belt. So, my ‘official’ recommendation is for you is to defrost your shrimp in the fridge, as per the government protocols. (Which is fine if you are planning out this meal in advance)
But for me? All too many of my dishes in the summertime are impromptu. I use a ‘quick-defrost’ I’ve come up with over the years. I put down some parchment paper onto my granite, lay the shrimp out in a single layer and flip after the ice melts off the bottom. I wait until the same happens on the other side, peel any excess ice off (they are still nice and cold, but flexible) and I always pull the vein out of the bottom. I know that many bags of shrimp are labeled ‘deveined’ but honestly? I think they just starve the shrimp so there is less poop. As the resident super taster, I can taste it, and I don’t like it. So I remove it. With a nice sharp pairing knife. I always sanitize my surface after. I highly recommend you do too. No one wants to ruin a good meal (and night) by offering it to the porcelain gods later.
Then, pop those little shrimps into the fridge to wait until you’re ready to use. This whole process takes about 10, maybe 15 mins max. The key is to never let them get cool. They must still be cold. If you have any concerns: DO NOT USE THIS METHOD!
Next up grab a container of chicken stock and get that chopped up head of cauliflower cooking in a pot. My pot was a 1.5 quart because my head of cauliflower was small. (While your shrimp is thawing the cauliflower is simmering) Add some salt to the stock.
While that is burbling away, slice some onions. I happened to have a yellow onion on hand, but a red, white or sweet would all work.
When the cauliflower is tender, drain really well. (You can save the stock and make a soup, or feed it to your dogs in their bowl. Not saying that’s what I did (wink, wink)….but its an option.)
Take that drained cauliflower (I always think of Arnold Schwarzenegger and his KALI-for-nia, and giggle a bit) and mash it. Don’t puree it, just mash it with a potato masher. I like it kinda textural, because it reminds me of grits, but mash it so there are no big pieces. Small, and granular is what you are going for. Back in the pan, cook it just a bit to reduce and concentrate the liquids that remain. Then, when looking a smidge dry, add a little dollop of cream and a sprinkle of parmesan, season to taste and set aside, covered.
Heat up a 12 inch saute pan to med-high heat. Add a little olive oil (regular, don’t waste extra virgin on cooking) and throw in the onions. You are just giving the onions a little color, not cooking until they are limp, especially if they are sweet onions. Take your shrimp out of the fridge, season to taste with your favorite Cajun seasoning and throw those in a single layer over the top of the onions. Toss and cook, flipping the shrimp as needed. You want them cooked through, not over-cooked, otherwise they turn to rubber. The cooking time will depend upon the size shrimp you use. I used 21-25 count (21-25 shrimp to a pound) and it took about 3 minutes or under. The smaller the shrimp, the faster they cook. They will be pink with no grey to them.
(**I say ‘season to taste’ because the Cajun seasoning I have is HOT. We like spicy, but some do not. If your seasoning is too hot, be sure to add a little salt before cooking. The less seasoning you use, the less salt you are adding, unless its a salt-less mix)
Garnish with the parsley near the end of cooking and again just before serving. Some will wilt and some will be fresh.
While the shrimp is cooking, turn on the flame for your ‘grits’ to warm them back up, uncovered. The pan is on only for a few minutes, just enough to warm it back up. You are not cooking the grits, just reducing that cream a bit and making sure the consistency is pudding-like, not soupy. The chefs call this ‘tightening up’. I call it – concentrating the flavors and improving the texture! You can also microwave if you make these in advance or have leftovers from another meal.
Plate like the photo above and ENJOY!
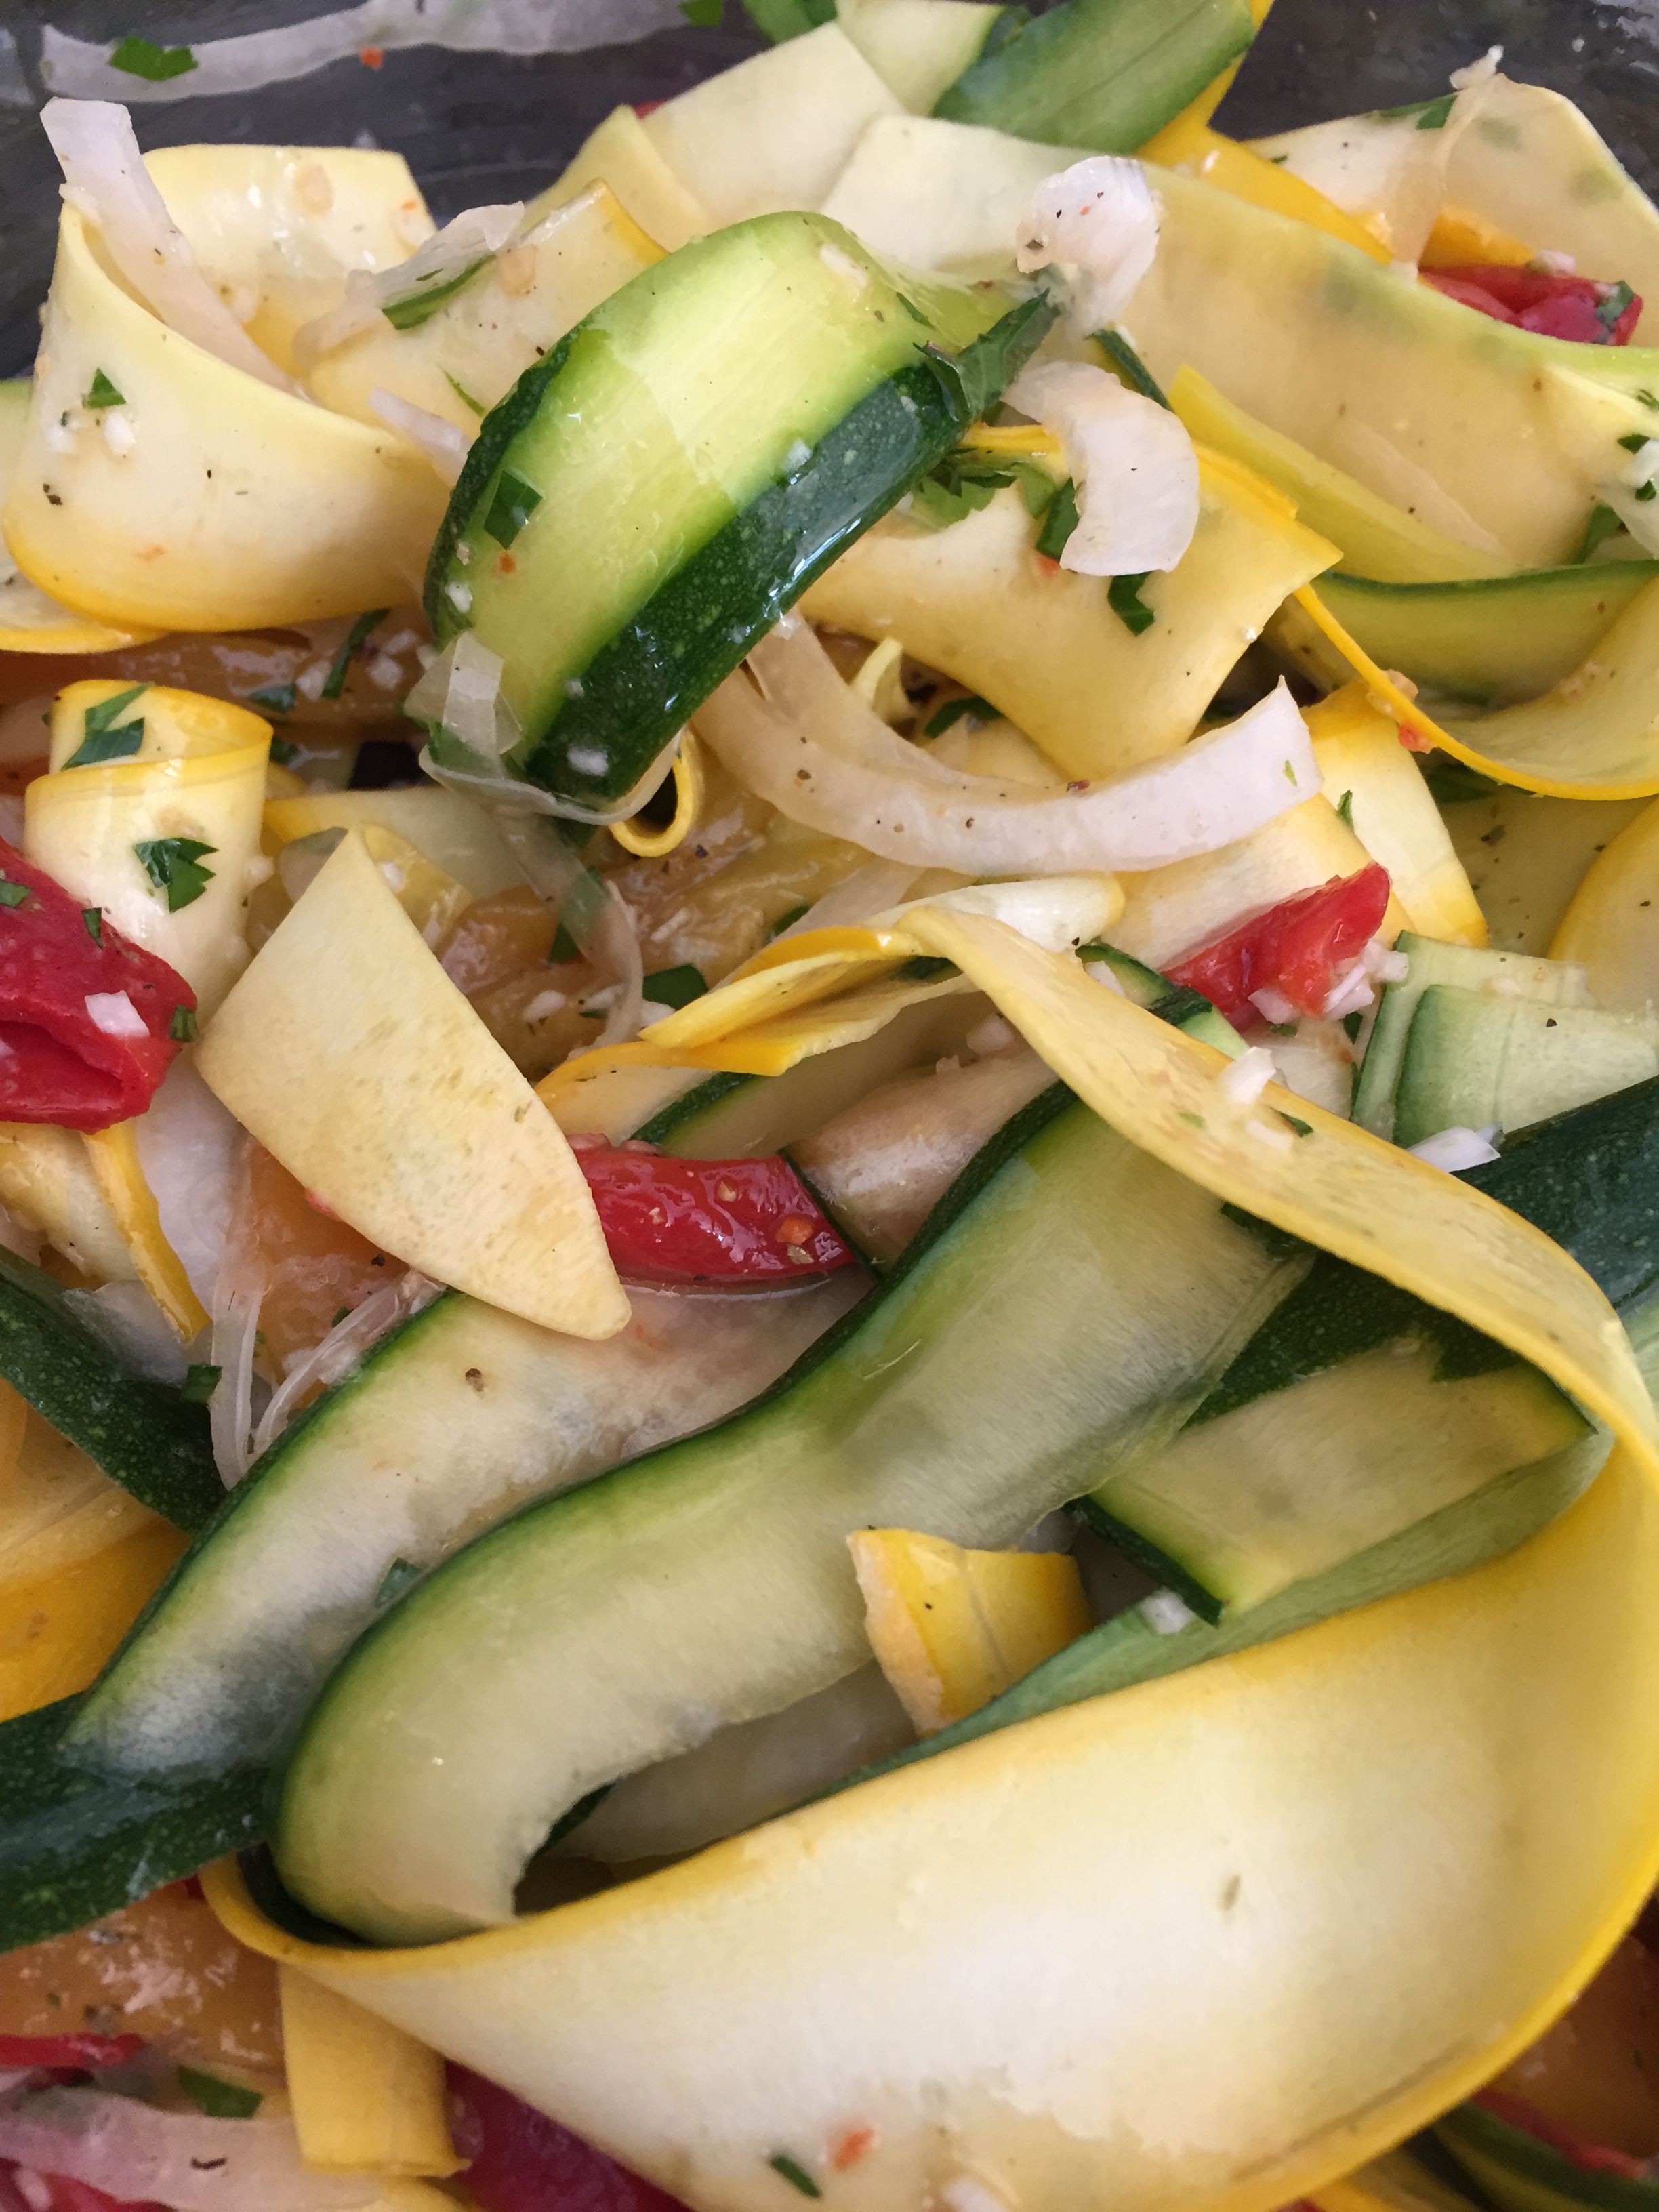
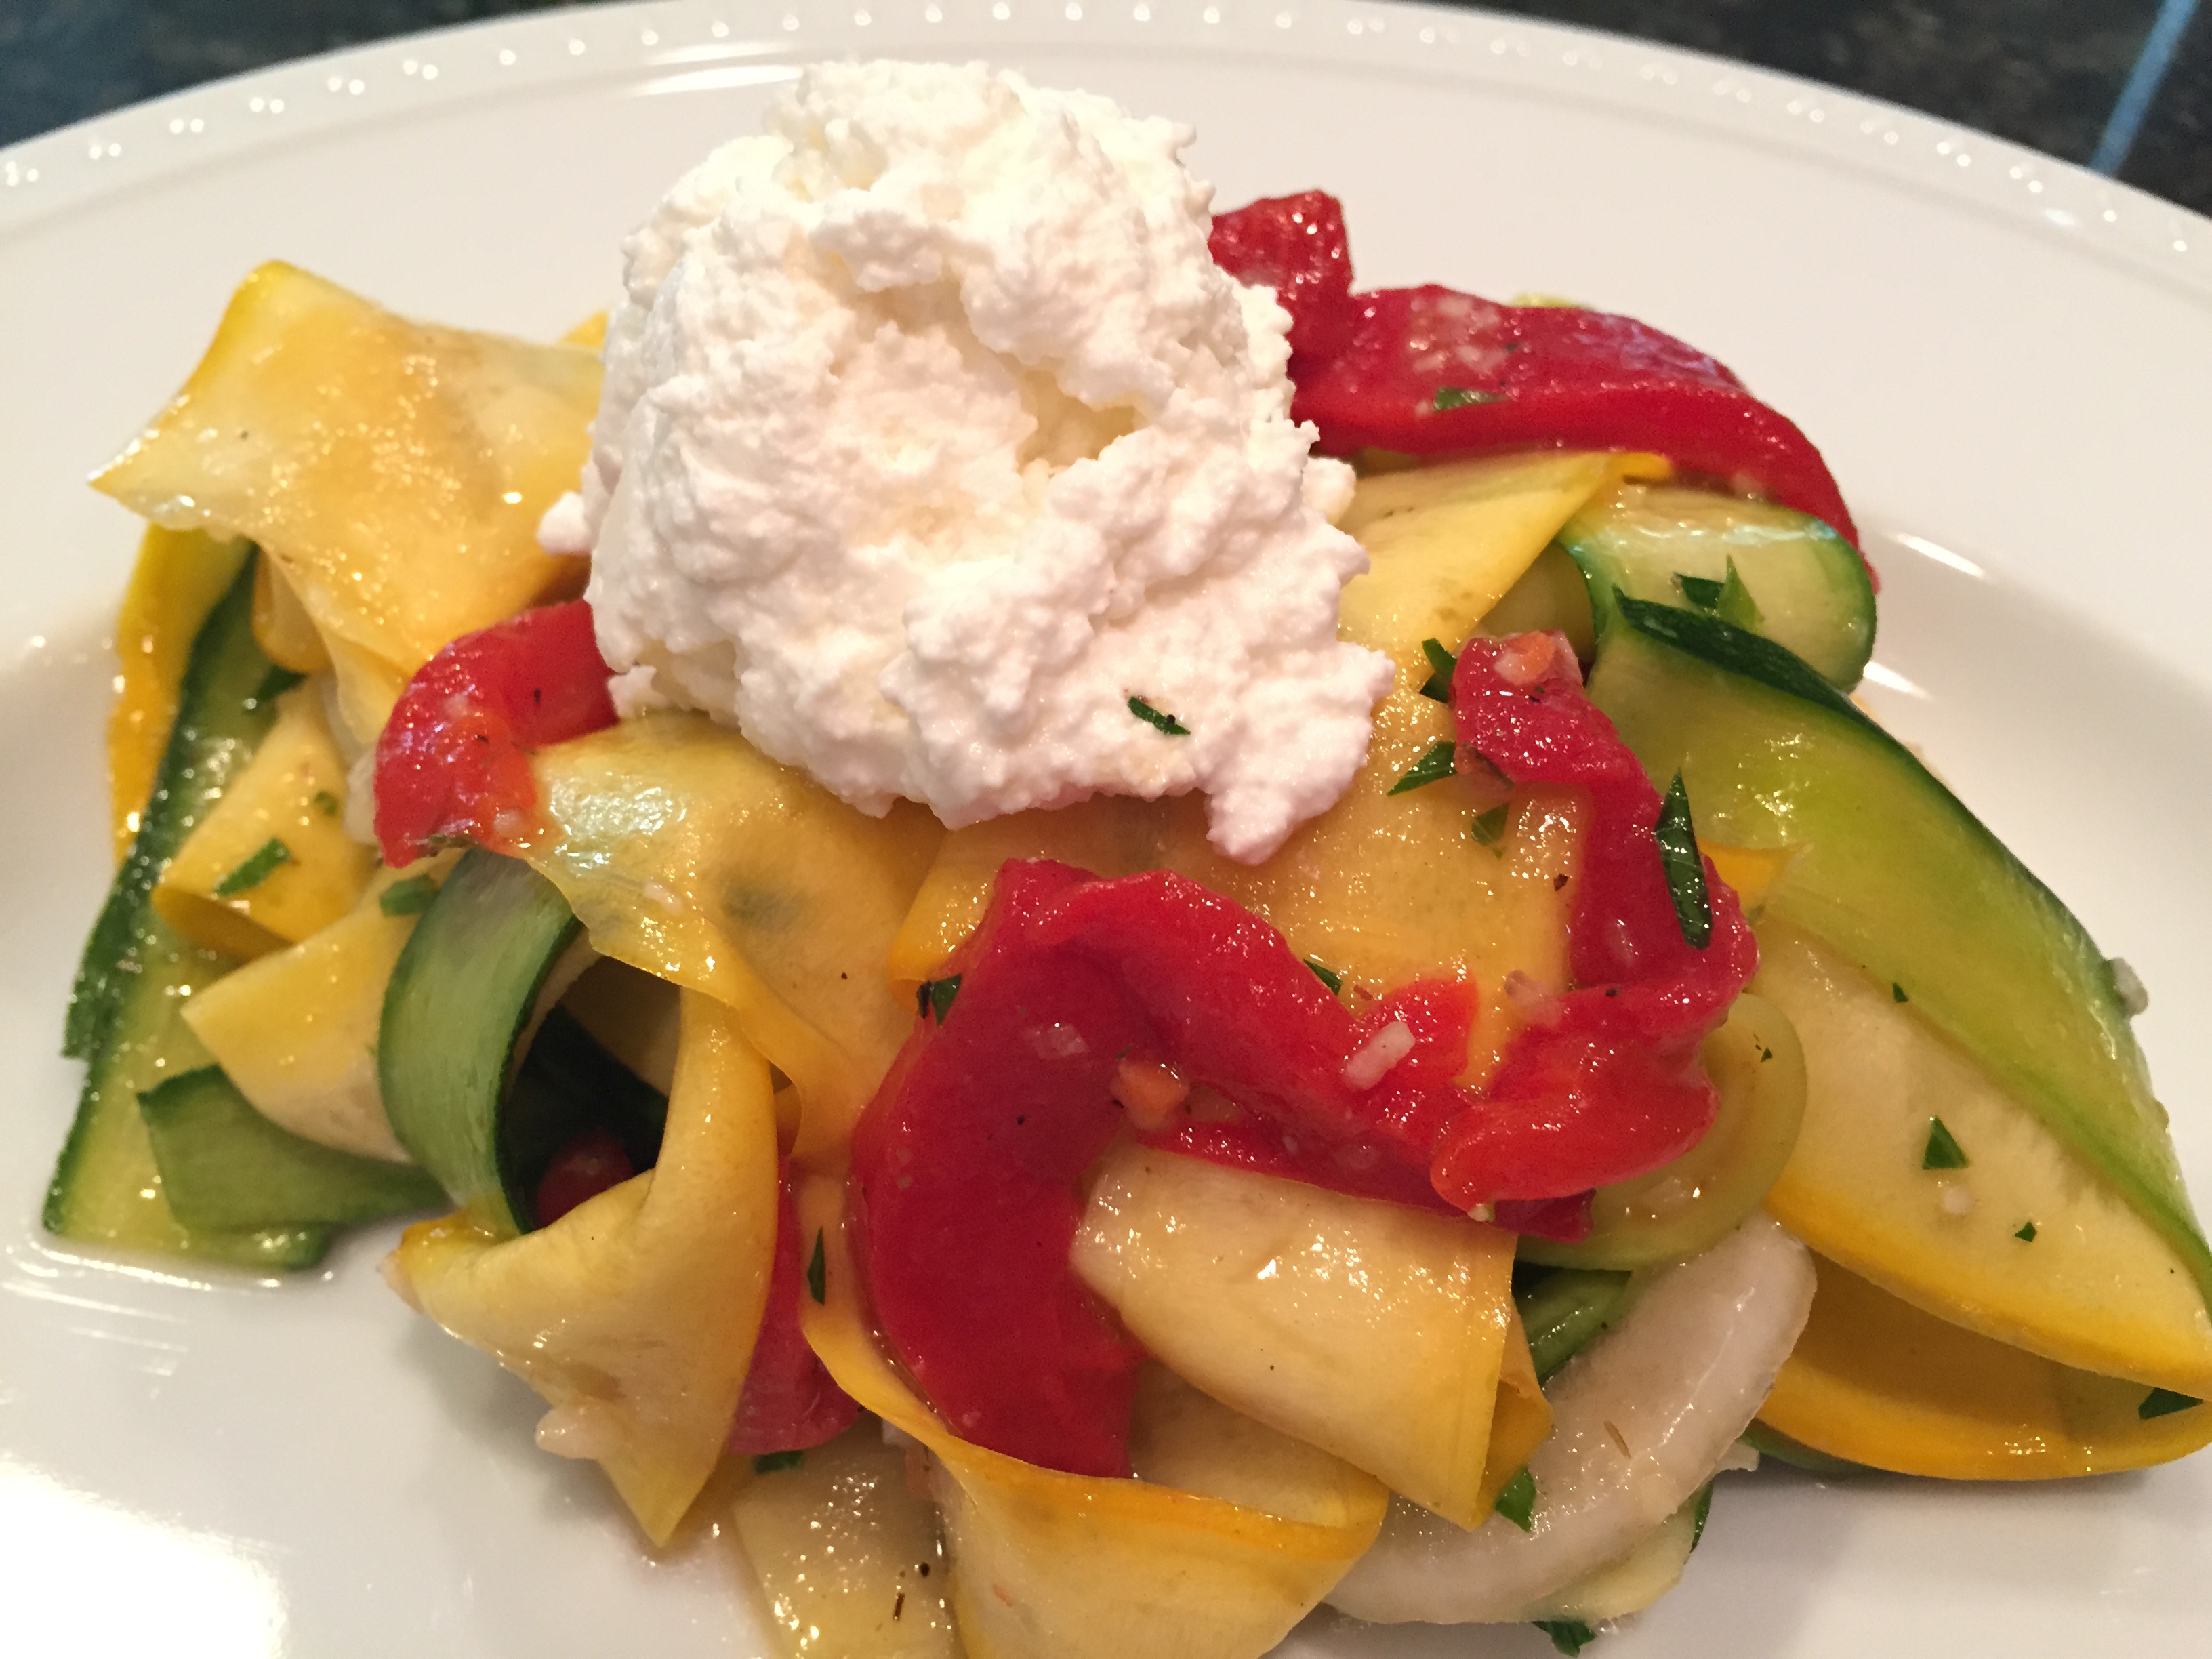
To balance the heat, I made a creamy, quick-cucumber salad with diced cucumbers, sweet onions, lots of dill weed (yes, simple dried and jarred), dash of onion granules (Penzeys), and a couple spoonfuls of Creme Fraiche. (Ok, so i have a REALLY well stocked pantry) Season to taste. You can also use Fage Plain yogurt, or sour cream. When you salt the cucumbers, they release some water, so you want something a little thick, because the water released will thin it, quite a bit.
That’s it. It really is that simple to throw together a quick meal at the end of the day, and an even easier option to entertain in style…without spending your day in the kitchen!
With dishes as easy as this…there is no reason to keep good food and easy entertaining only for the weekends!
(If you make this ‘recipe’, please give me feedback. I’m always trying to make cooking easier, and more understandable.)
Shrimp n’ Grits for 2
Grits:
1 Head Cauliflower
4 cups (1 box) chicken stock
1 tbsp salt
2 tbsp cream (optional-dont cook off water if eliminating this)
1tbsp parmesan cheese (this is also optional for those cutting dairy or fat)
Shrimp:
1/2 pound Shrimp
1/2 onion, medium sized, sliced
2 Tbsp Parsley, chopped
Cajun Seasoning, to taste
Olive Oil to cook-likely 2tbsp or 3.
Parsley to garnish, chopped (this does add nice bright freshness, so I don’t think its optional)