Macadamia Nut Butter Crunch Toffee – Updated

Image

(**Please note a 2014 update at the bottom)

My family has been munching on this since I made it earlier this week. It honestly is the most delicious, creamy, stick to your teeth, perfectly balanced toffee I’ve ever had. I seriously love this recipe for the compliments, faces of obvious enjoyment, and groans of gratitude it elicits.

I found this recipe years back. A friend of mine and I used to get together before Christmas for a number of years, and bake up treats in vast amounts to give to friends and ship to family. It was so much fun to share the chore, catch up on our busy lives, and celebrate a completed task with a bottle of wine. Some of our treats did not make the ‘repeat’ cut list, but this one has. I make it every single year now. Every. Single. Year. And no, I don’t gain a pound. (wink, wink)

Some tips and tricks for safety and success:

1. Anytime you are making candies, it is a good idea to have a bowl of ice water nearby in case some of hot liquid splashes on you. This stuff is cooked HOT and can do some serious damage to skin. Please, this is not a recipe for kids to be attempting, although, it’s fun to watch. (The boiling sugar looks like lava, even as an adult, I find myself mesmerized)

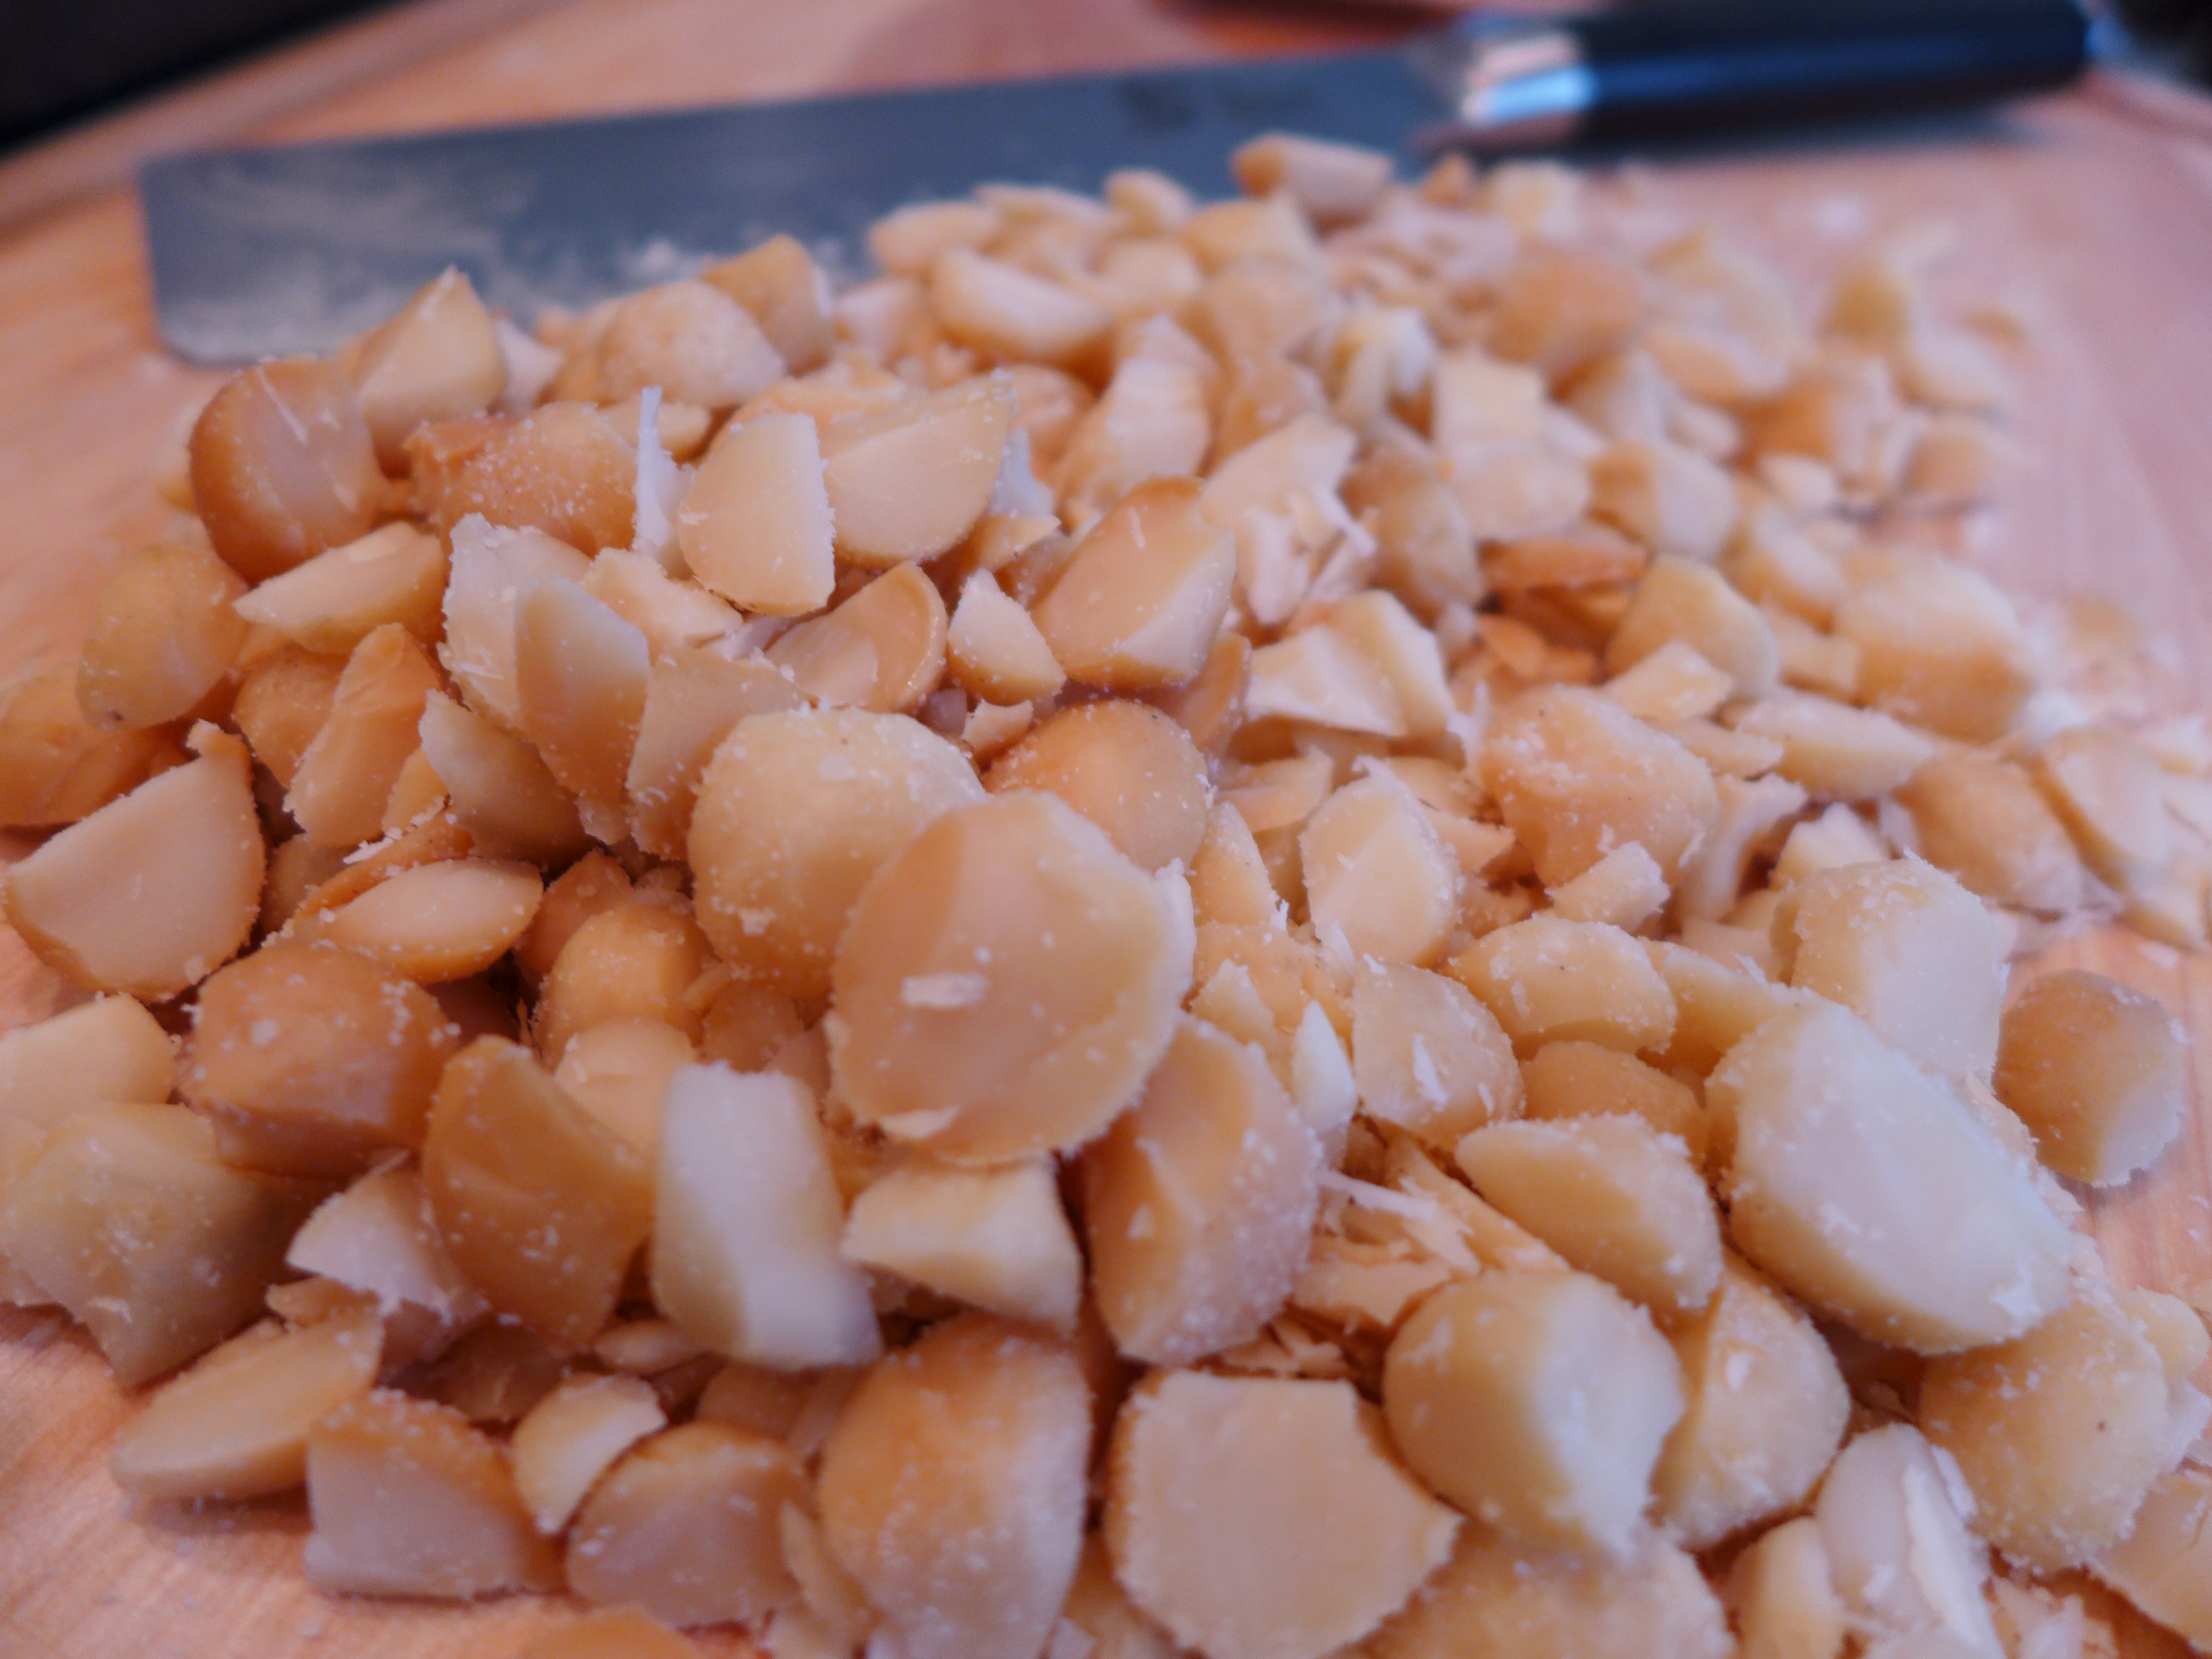
2. I use macadamia nuts. I prefer them over all other nuts as they lend just that slightly salty/creamy aspect that I personally feel balances perfectly with the toffee. You may use any other nut your prefer, or use no nuts. I know that macadamias are spendy, but it’s once a year, and it’s Christmas, so I splurge. Don’t skimp on the macadamia nuts. You’ll want all that creamy nutty goodness to shine through. I have tried off brands, but in my experience, Mauna Loa is a superior brand. (I am a macadamia nut snob….I fully confess)

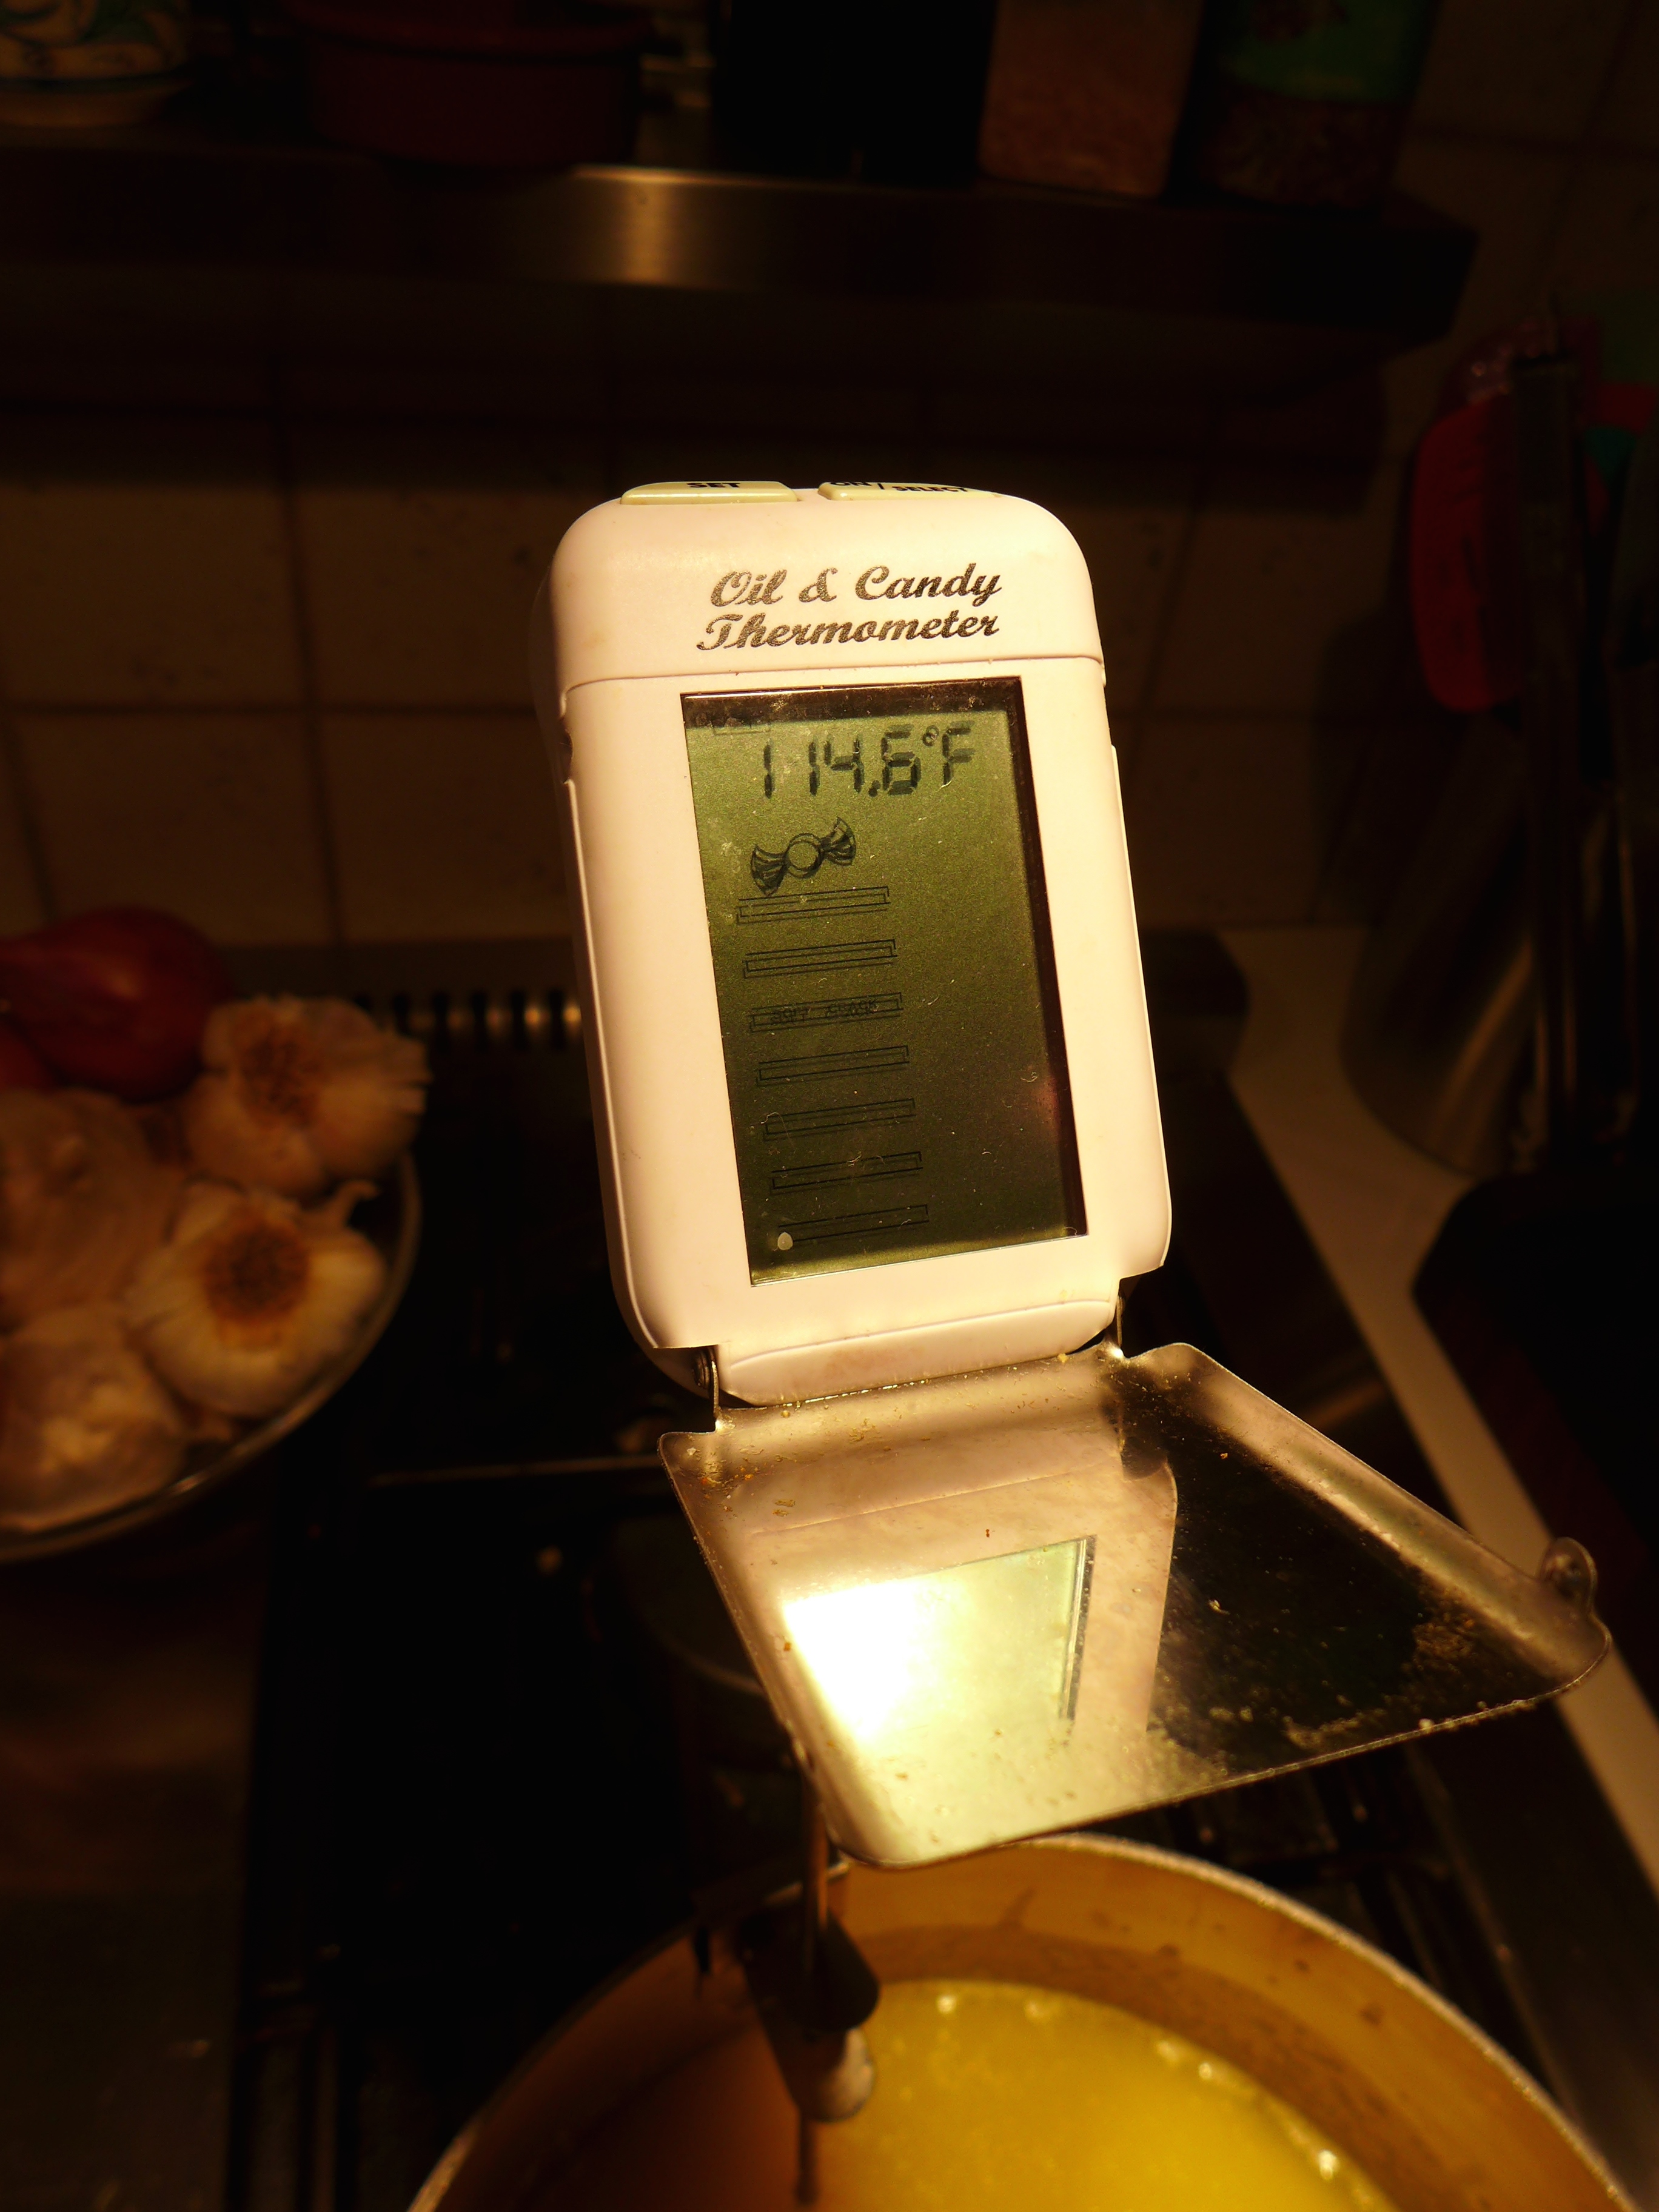
3. You must have a candy thermometer for this. I know that there are the old fashioned ways to test by dropping a ball in to very cold water and ‘feeling’ it’s stage. In this case, we are looking for hard crack stage. I cook mine to exactly 300 degrees, and I’ve had great success. I consider myself still a novice in the candy making realm, but if you are a candy expert and can eyeball ‘hard crack’, my hat is off to you.

4. The original recipe calls for a chocolate layer, which is melted on the hot toffee as it cools. I skip the chocolate. Honestly? I think chocolate would be distracting to the simple purity of this toffee. Don’t get me wrong, I love chocolate.  But there are times it can overshadow the star and, this is one of those times. I’ll let you decide whether or not you want to add chocolate or not. If you do, take chopped chocolate and sprinkle on top of the freshly poured toffee and let sit. The heat of the toffee will melt the chocolate, then you can take an offset spatula and smooth it out.

5. Lastly, you will need a Silpat mat (silicone) or parchment paper. I invested in a Silpat years and years ago and it has been a loyal workhorse in my kitchen. If you don’t have one, its Christmas…..

Macadamia Nut Butter Crunch

1 lb butter. (I use regular old salted butter)(***See 2014 update below)
2 C sugar
1 tbsp LIGHT corn syrup
1 tbsp vanilla
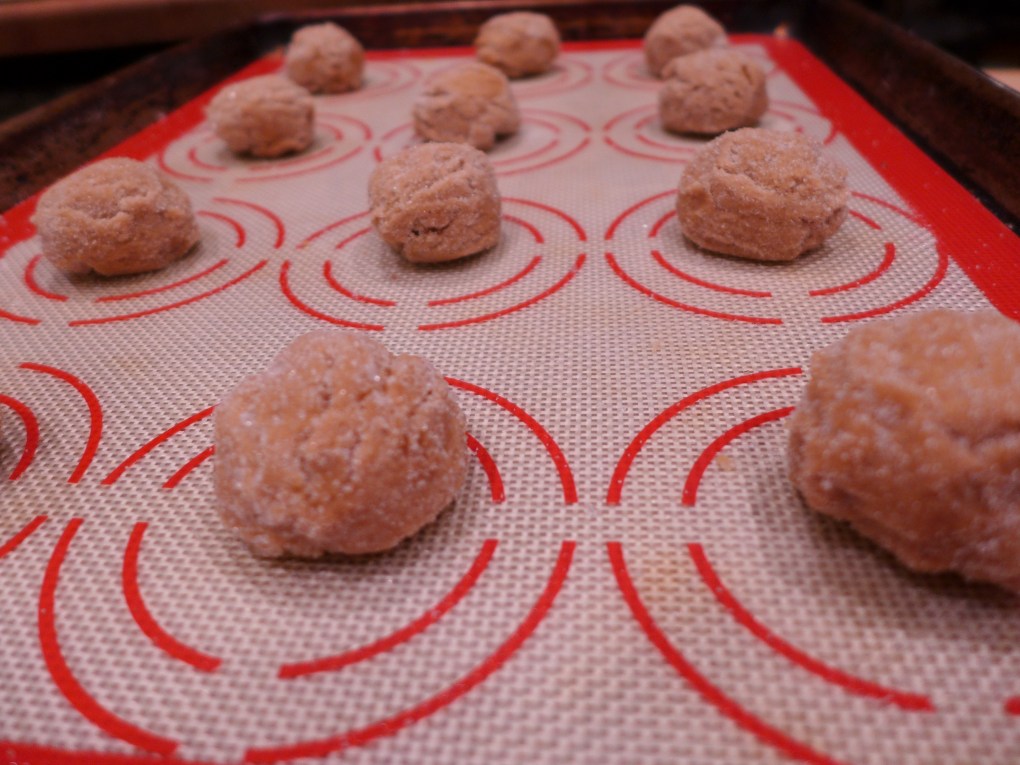
1 cup chopped macadamia nuts.
(8 oz chopped chocolate–as i’ve said, optional. I don’t use it)

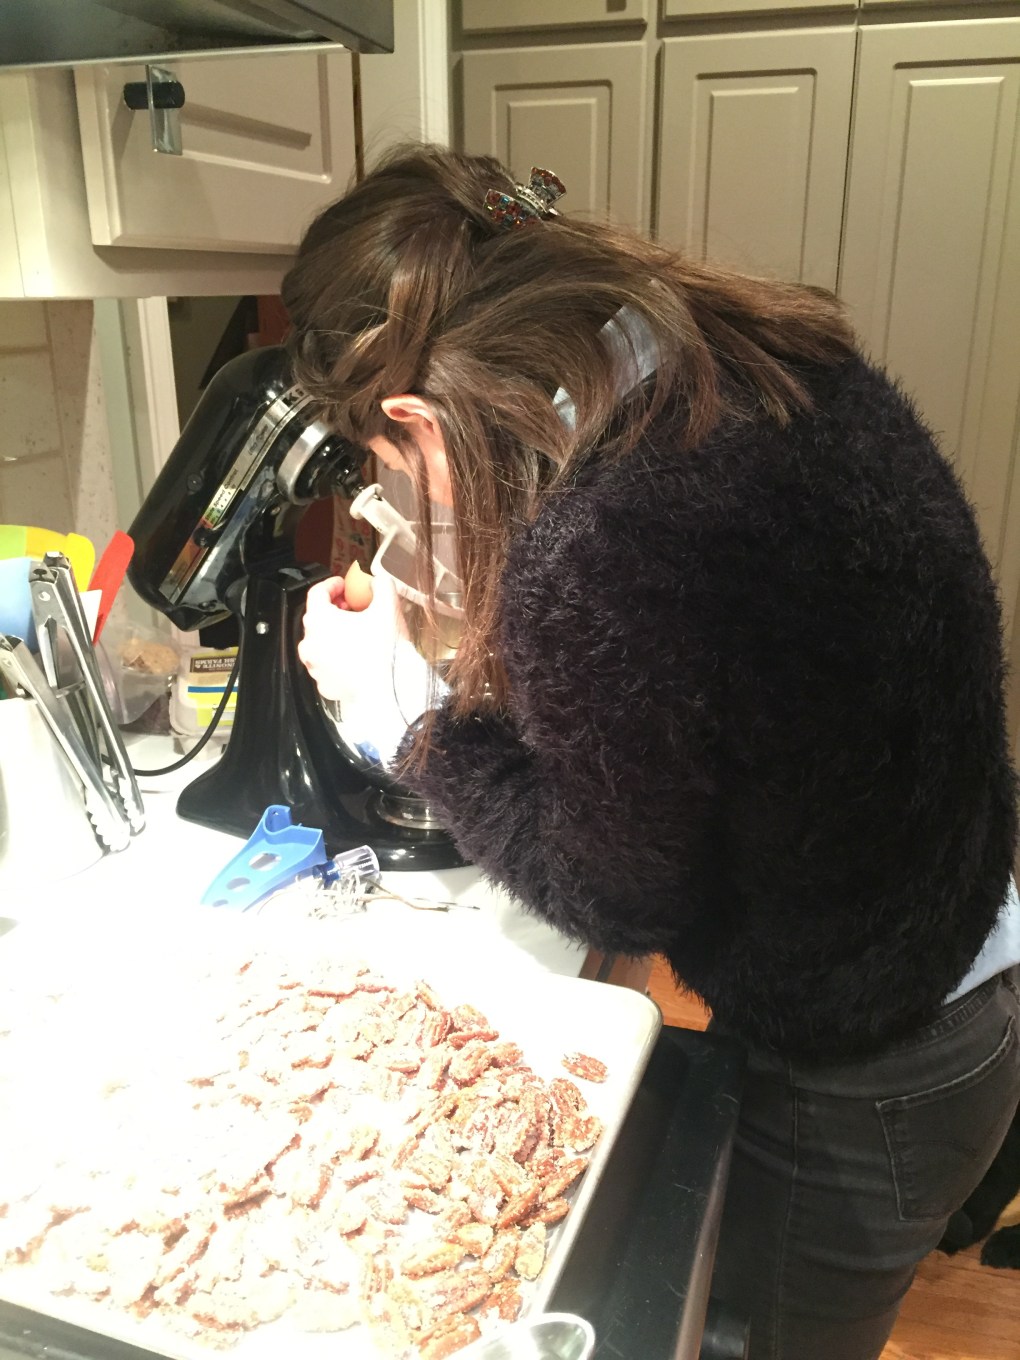
Line a sheet pan, using the above tip. I use a sheet pan that restaurants use – Jelly Roll pans – they are rimmed. It keeps the toffee contained and reduces the mess!

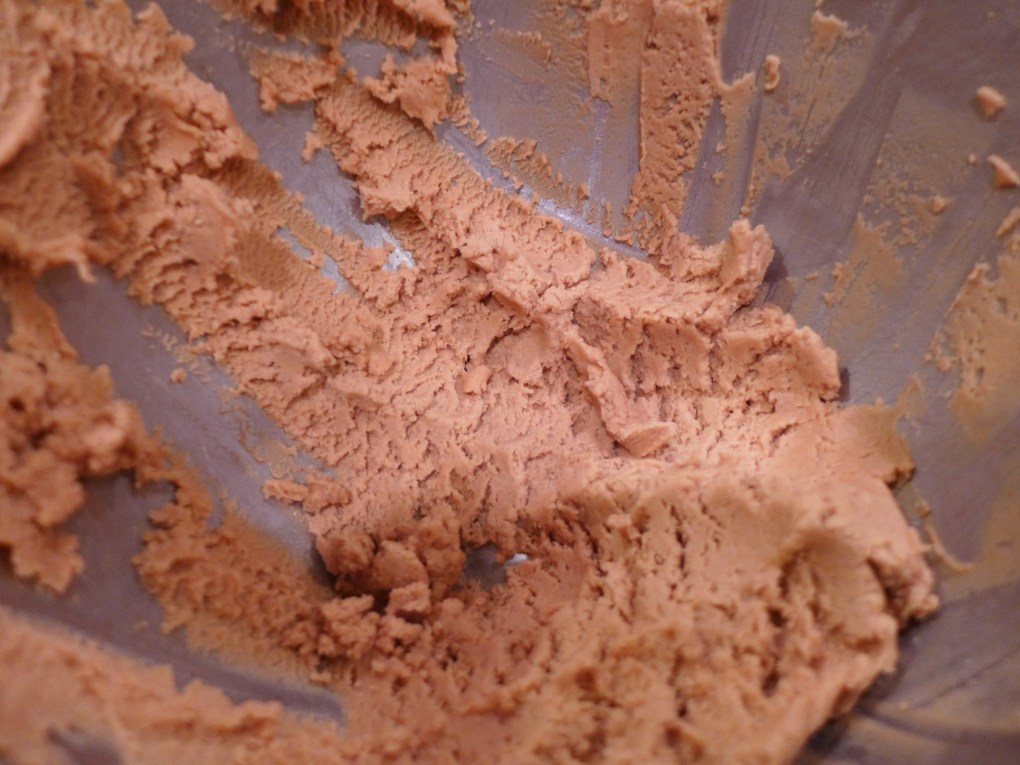
Combine your butter, sugar, corn syrup in a heavy bottomed 4 quart sauce pan. You can use a non-stick pot for easier clean up. Get the butter melting first, then add the other two ingredients. Place over medium to high heat, stir with a wooden spoon and bring the mixture to a boil (*see note below), and reaches 300 degrees (hard crack stage) on a candy thermometer.

P1010450

P1010449

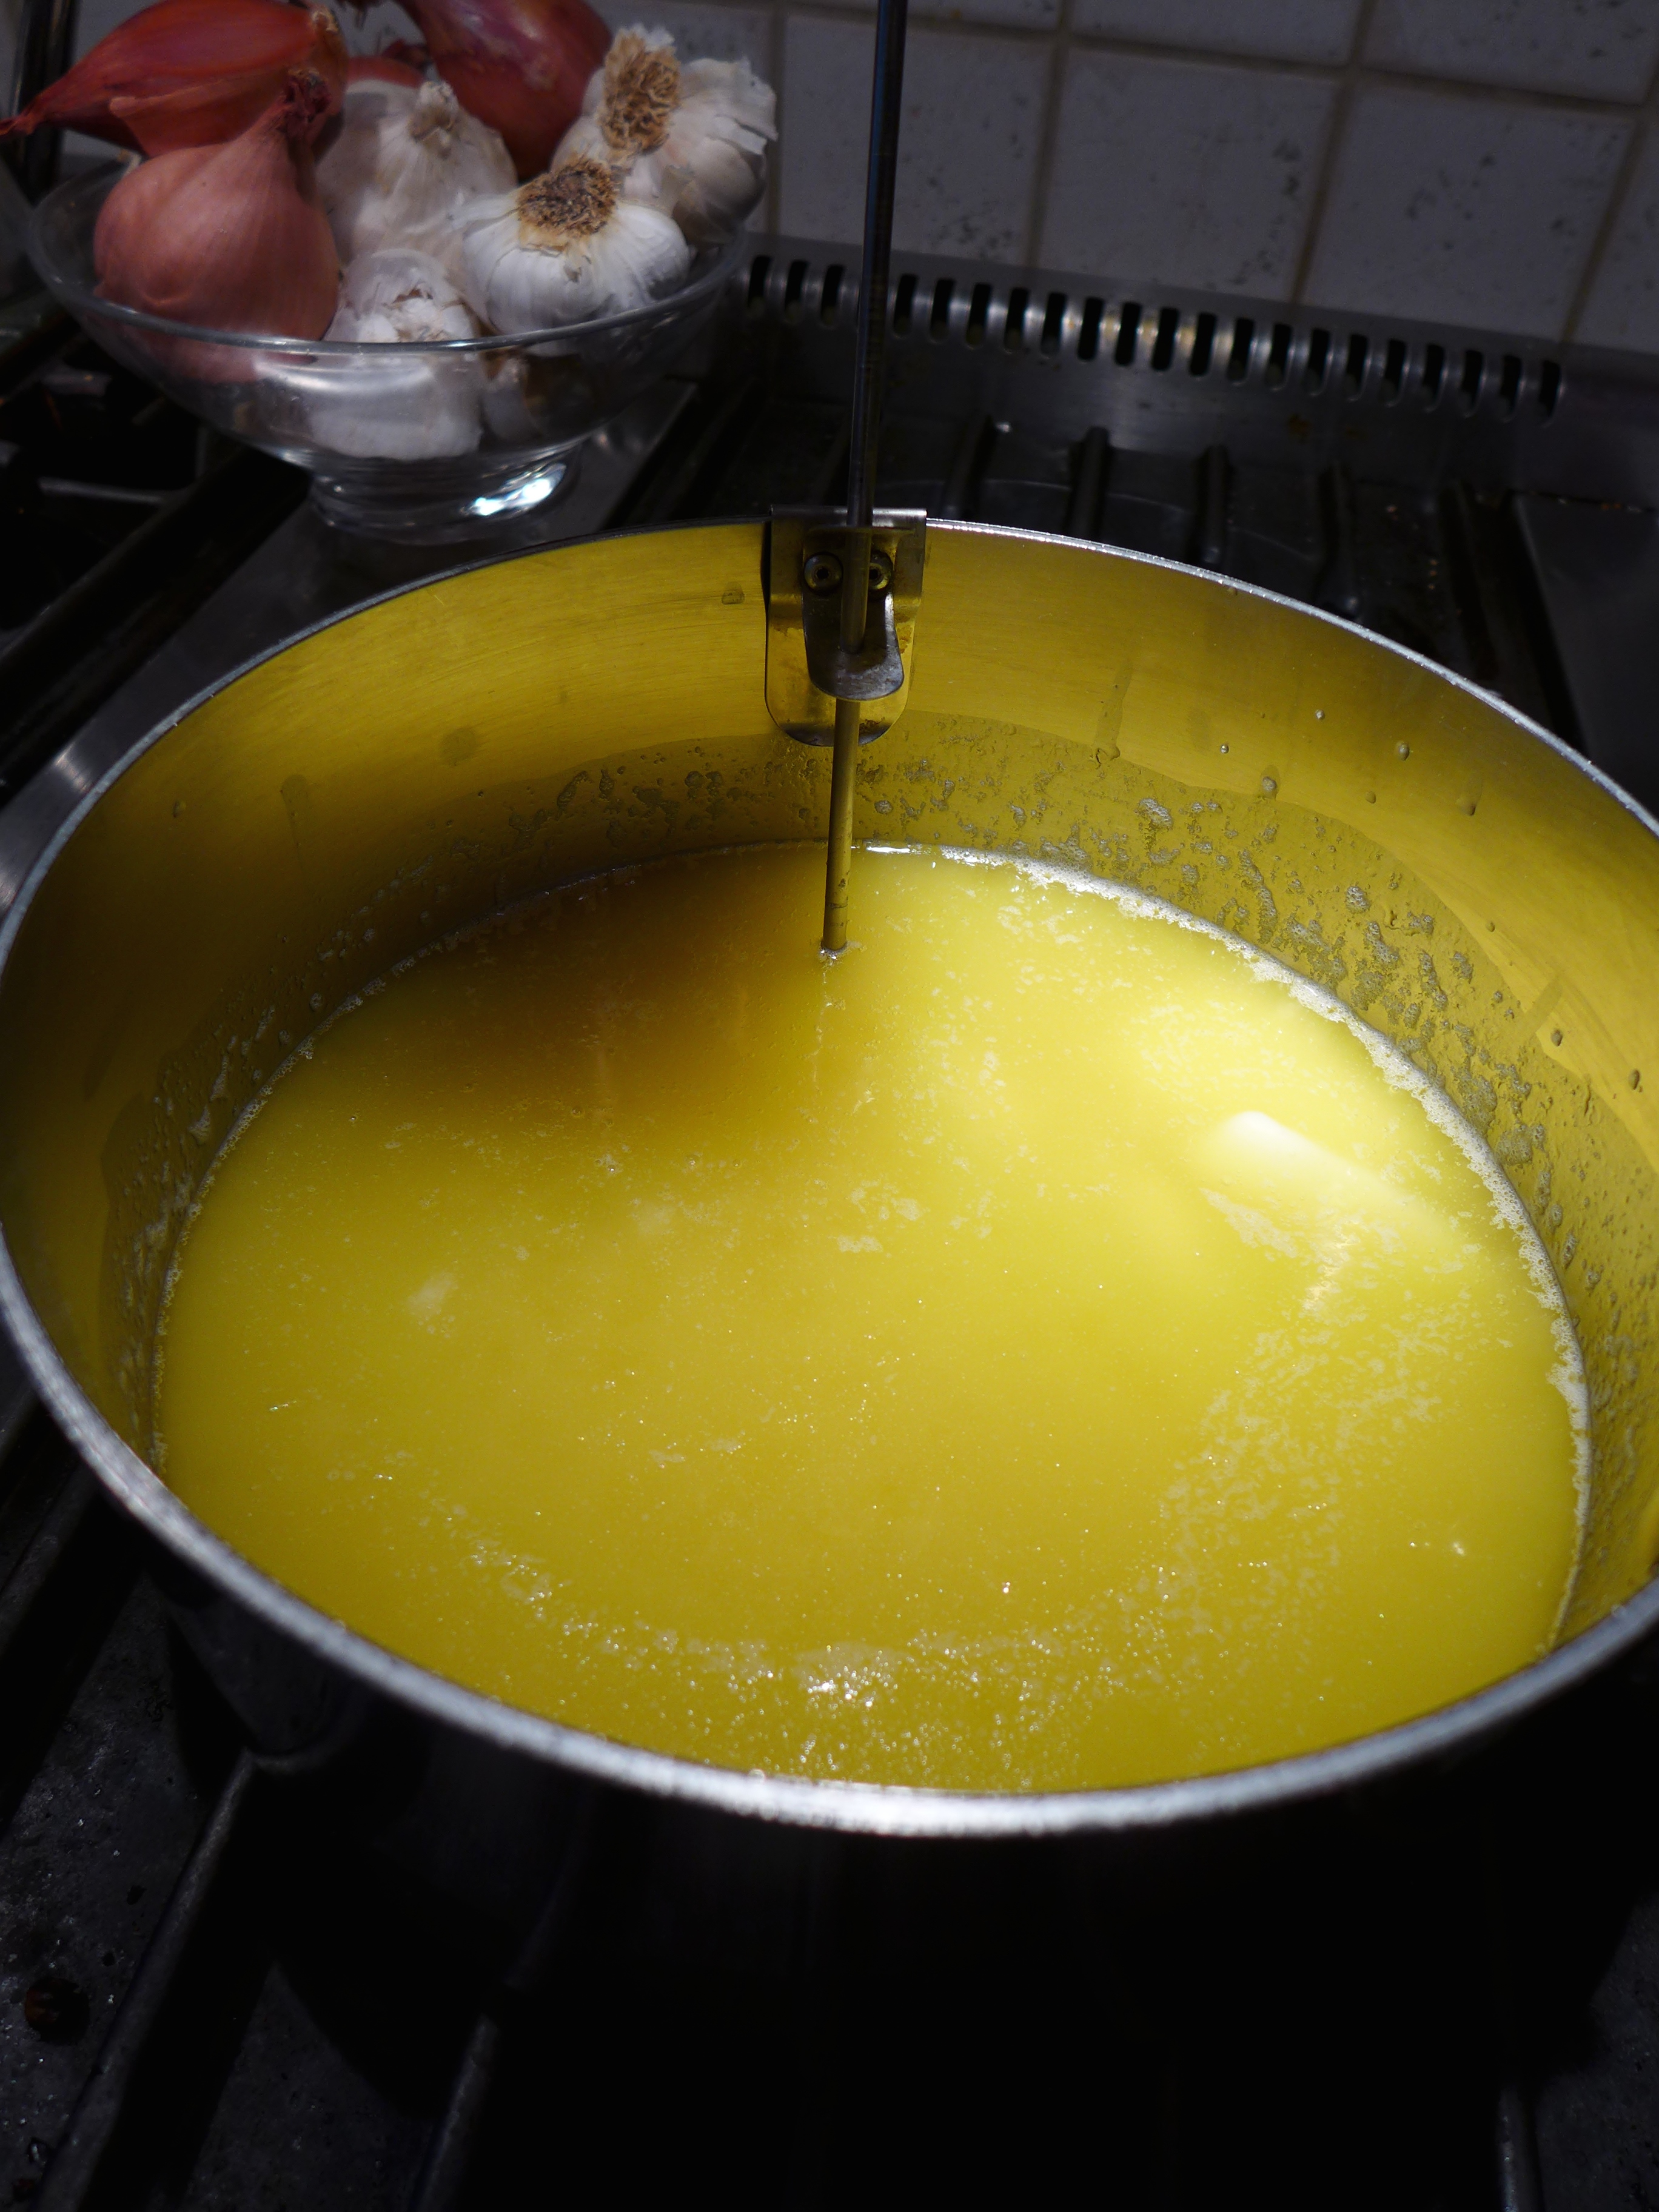
Remove the pan from the heat and carefully stir in vanilla and nuts. (be careful, at this point it will bubble furiously!)

P1010451

Pour on to your silpat IMMEDIATELY, and help even it out towards the edges. The nuts can be a bit stubborn and want to clump. Try to do your best to even them out, but don’t sweat it if there are parts with no nuts. It’s still awesomely delish.

P1010453

Wait about 5 minutes for toffee to cool slightly. It should be still firm but not sticky. I say that because at this point, excess butter will likely break from the toffee. (**See 2014 update below ) No need to panic, simply blot up the excess with paper towels. Carefully test with your finger around 3 mins to see if it’s set or not. If the toffee is still too hot, blotting will end up with a ruined mess and the consumption of paper. At this point, after blotting, add your chocolate if you wish.

Let it cool until its firm, then crack and store in an airtight container. I layer it in between waxed paper in a ziploc bag or plastic food storage container. Stored at room temperature.

IMG_0254

*I am very careful when stirring to not slosh the sugar/butter mixture up on the sides of the pan. Sugar can be temperamental and you don’t want the toffee to end up sugary in texture, you want it creamy. So, to prevent the re-forming of crystals, once the butter is melted I give the mixture a gentle whisk, then I leave it alone.

***2014 Update:
This year I made this with Hope Creamery Unsalted Hi-Fat Butter. The results were amazing! Because the butter was unsalted, I added a hearty ‘pinch’ (about 1/2 tsp) of Himalayan salt while it was cooking. Using the Hi-Fat butter created a more glossy surface and the butter did NOT break out of the toffee, eliminating the whole blotting step. You can use a less expensive butter and this recipe will still yield great results. But if you really want to kick it up a notch, give the High Fat butter a whirl.
Note: The photo at the top is with traditional store brand butter. The lower photos (added this year) are with the new Hi-Fat butter. (There are other brands, Plugra is one) As you can see, there is a marked difference in the look. Its less grainy, the color richer and more glossy. That said…trust me. Both will be gone in the blink of an eye!


Gluten Free Peanut Butter Stars

P1030031

Well, the wizards of WordPress have some major serious glitches to resolve.
My lovely daughter was making these from the recipe on this website and we realized there were a couple of confusing points. So I went in to edit -and BLAMMO….POOF, IT WAS ALL GONE!

(Here is my daughter following my recipe, which needed modifications)

IMG_3840

Oh heck, I’ll add another shameless plug for my cutie pie!

IMG_3839

After many, MANY moments of not so happiness, here I am reposting my recipe.

BTW, these are AWESOME cookies. We make them every single Christmas.
Every.
Single.
One.
The recipe is plentiful, so if you are looking for a cookie for a cookie exchange, this is your ‘go to’. They hold up well, you can make them well in advance. They are fun to play with. The traditional is made with a Hershey’s Kiss, but this year we used Rolo’s and Reese’s Peanut Butter Cups (the little ones).

I’m sure my original post had all kinds of wonderful, lovely sentimental reminiscing, but tonight? I just want to get this up so that my readers can also have access to this amazing recipe!

Preheat the Oven to 350 degrees.
Prepare a Sheetpan with a silpat, or parchment paper.
Have cookie cooling racks ready.

Peanut Butter ‘Stars’

1.5 C Creamy Peanut Butter
1 stick Butter Flavor Crisco Shortening (1 cup)
2.5 C Brown Sugar (dark or light. we prefer dark)
6 Tbsp Buttermilk (nut milk is an ok substitute)
2 Tbsp Vanilla (yes, that much!)
2 Eggs
3.5 C All-purpose Gluten Free Flour (My favorite is Pamela’s Artisan Flour)
1.5 tsp salt
1.5 tsp Baking Soda
Hersheys Kisses and/or Rolos, Reeses bits.
Sugar in a pan to roll the dough in.
*I like to add sparkling sugar to the white cane sugar for extra sparkle.

Makes: A lot.

Cream together the Peanut Butter, Crisco, and Sugar together. Add the Eggs, Vanilla and Eggs, then the Buttermilk.
Combine and blend together the dry ingredients.
Slowly add the dry to the wet ingredients.
This is gluten free flour so no worries about toughness. Make sure it is well blended.

(This photo is in the near-end part of the process…when I realized my website deleted my post! But it gives you the idea of the texture)

P1030027

From the dough, take about 1 generous tablespoon of the dough (approx 1+ inch), roll it into a ball. (this part is flexible, mine run between 1-2 tbsp in size) Then dredge in a pan filled with sugar.

P1030029
Place on a sheet pan, lined with a silpat, and bake for about 10-12 minutes. They will begin to crack, but will still be moist inside.

While they are still warm, sink a Hershey’s Kiss in the middle.

P1030028

Allow to cool for a few minutes on the sheet pan, then transfer to a cooling rack.
These store amazingly in an airtight container for over a week. Just be sure the chocolate is well set before packing away.

Done.
Please do me a favor.
If there is something that doesn’t make sense, comment below. This was a fly by the pants recipe. I wanted to get it up because Gluten Free is tough and this is DELISH.
But to make my recipes better, I need feedback!
Enjoy!


Stacy’s Dip

As we race in to the Christmas season, I begin to look ahead to my families annual Christmas Day Open House. Since my husband and I were first married, we’ve never really had family living near us, so we have been free to celebrate as we wish. Many, many years ago, (too many to disclose!) we started the tradition of having other ‘orphans’ over for Thanksgiving dinner. This has now extended to our christmas morning Open House. For a few hours in between the flurry of package opening and Christmas dinner, we open our home to those who would like to stop by for one of my husbands famous Bloody Marys, and a snack or two.

I put out various homemade cocktail nuts, a veggie tray, some sweet treats and an absolute must is Stacys Dip.

Stacy was a gal who lived across the street from us when we first moved here to the iceberg they call Minnesota. She and her family were from Georgia (and subsequently moved back there) and had brought with her that warm, generous and welcoming southern hospitality. (something i think the natives here could learn a thing or two from) I am reminded of the afternoon our children were playing together outside, I had stopped in for a chat and she presented me with a glass of wine and in mere moments pulled together this dip. It warmed my heart to have someone so willing to stop what they were doing to spend time just sipping, noshing and chatting. It is a reminder to me, and I hope for others, that sometimes we need to stop the clock for a moment and take the time to smell the roses before speeding off again.

I think that is why it is the perfect appetizer to put out on Christmas afternoon, right smack in between presents and prime rib roast. It’s reminiscent of that ‘bus stop’ in time that was given as a gift to me from a wonderful woman across the street.

Stacy Dip

1 package of Jimmy Dean sausage, cooked, crumbled and drained (**GF see note at end of post)

1 package of cream cheese

1 can of Rotels tomatoes

After draining the sausage, add the brick of cream cheese and melt over a low heat. Add the canned tomatoes and continue to stir until it is melted and combined.

*I serve this with tortilla chips (gluten free), but it can be served with sliced baguettes or crackers also.

*I use the ‘hot’ jimmy dean sausage (see updated note below). In a pinch, you could use any seasoned breakfast sausage, but for it to be ‘authentic’ jimmy deans is the brand to use.

*You can substitute any market brand of tomatoes that are like rotels. The sizes of the generic brands vary, some being a little bigger. It just makes the dip a little looser, but will be just as good. I prefer the spicier version of rotels, because we like it spicy.

*Keep the dip warm in a little mini warmer of some sort. Mini-fondue pots, mini-crock pots or those little dip warmers that are set above a tea light will do nicely.

****(2014 note! Jimmy Dean Sausage is NOT certified Gluten Free. Substitute your favorite gluten free breakfast sausage for a GF option)


IMG_0103