Gluten Free Buffalo Style Chicken Finger Lettuce Wraps

Image

Last week I was cleaning and reorganizing my cookbook library shelves. Some people collect dishes, spoons or other knick knacks, I collect cookbooks. Sure, I use the gift of the internet just as well as anyone for cooking recipes and inspiration, but I love the tactile feel of a cookbook. I love to read the recipes, flip through the pages and let my mouth water with the photographs. Let’s face it, even in this high technology world we live in, there will never be a replacement for the touch and feel of a cherished, worn, food stained and well loved cookbook. (This goes for all books in my opinion) 

I took the opportunity, while cleaning (all 140 of them, yes I have issues!) to check their condition, relevance, and thumb through the color pictures when I stumbled upon one of my more recent purchases that I’ve yet to make something from. It is The American Test Kitchens HEALTHY Family Cookbook. I have the regular version (see here) that I adore and use all the time. They both are the same format, ringed binder books that come with the tabs separating the sections. When you get the book, you have to place the tabs in between the pages. It’s a great concept actually, because it forces you to thumb through the pages and well, it’s hard not to be inspired not to cook SOMETHING after looking at all that great food! This particular book was still in it’s plastic wrap, so I took the time to put the tabs in place. While thumbing through, I noticed a cute section in the back labeled “Kid Friendly”. Curious, I looked through the section and found a recipe for chicken fingers. Nowadays, I always look at recipes through the lens of Gluten Free. How can I modify, what can I switch out, ect? This recipe is a baked chicken fingers which uses Panko bread crumbs to get that crunchy ‘fried’ texture/taste without having to deep fry them. Bummer. Panko is wheat, and so I moved on finishing my project for the day. 

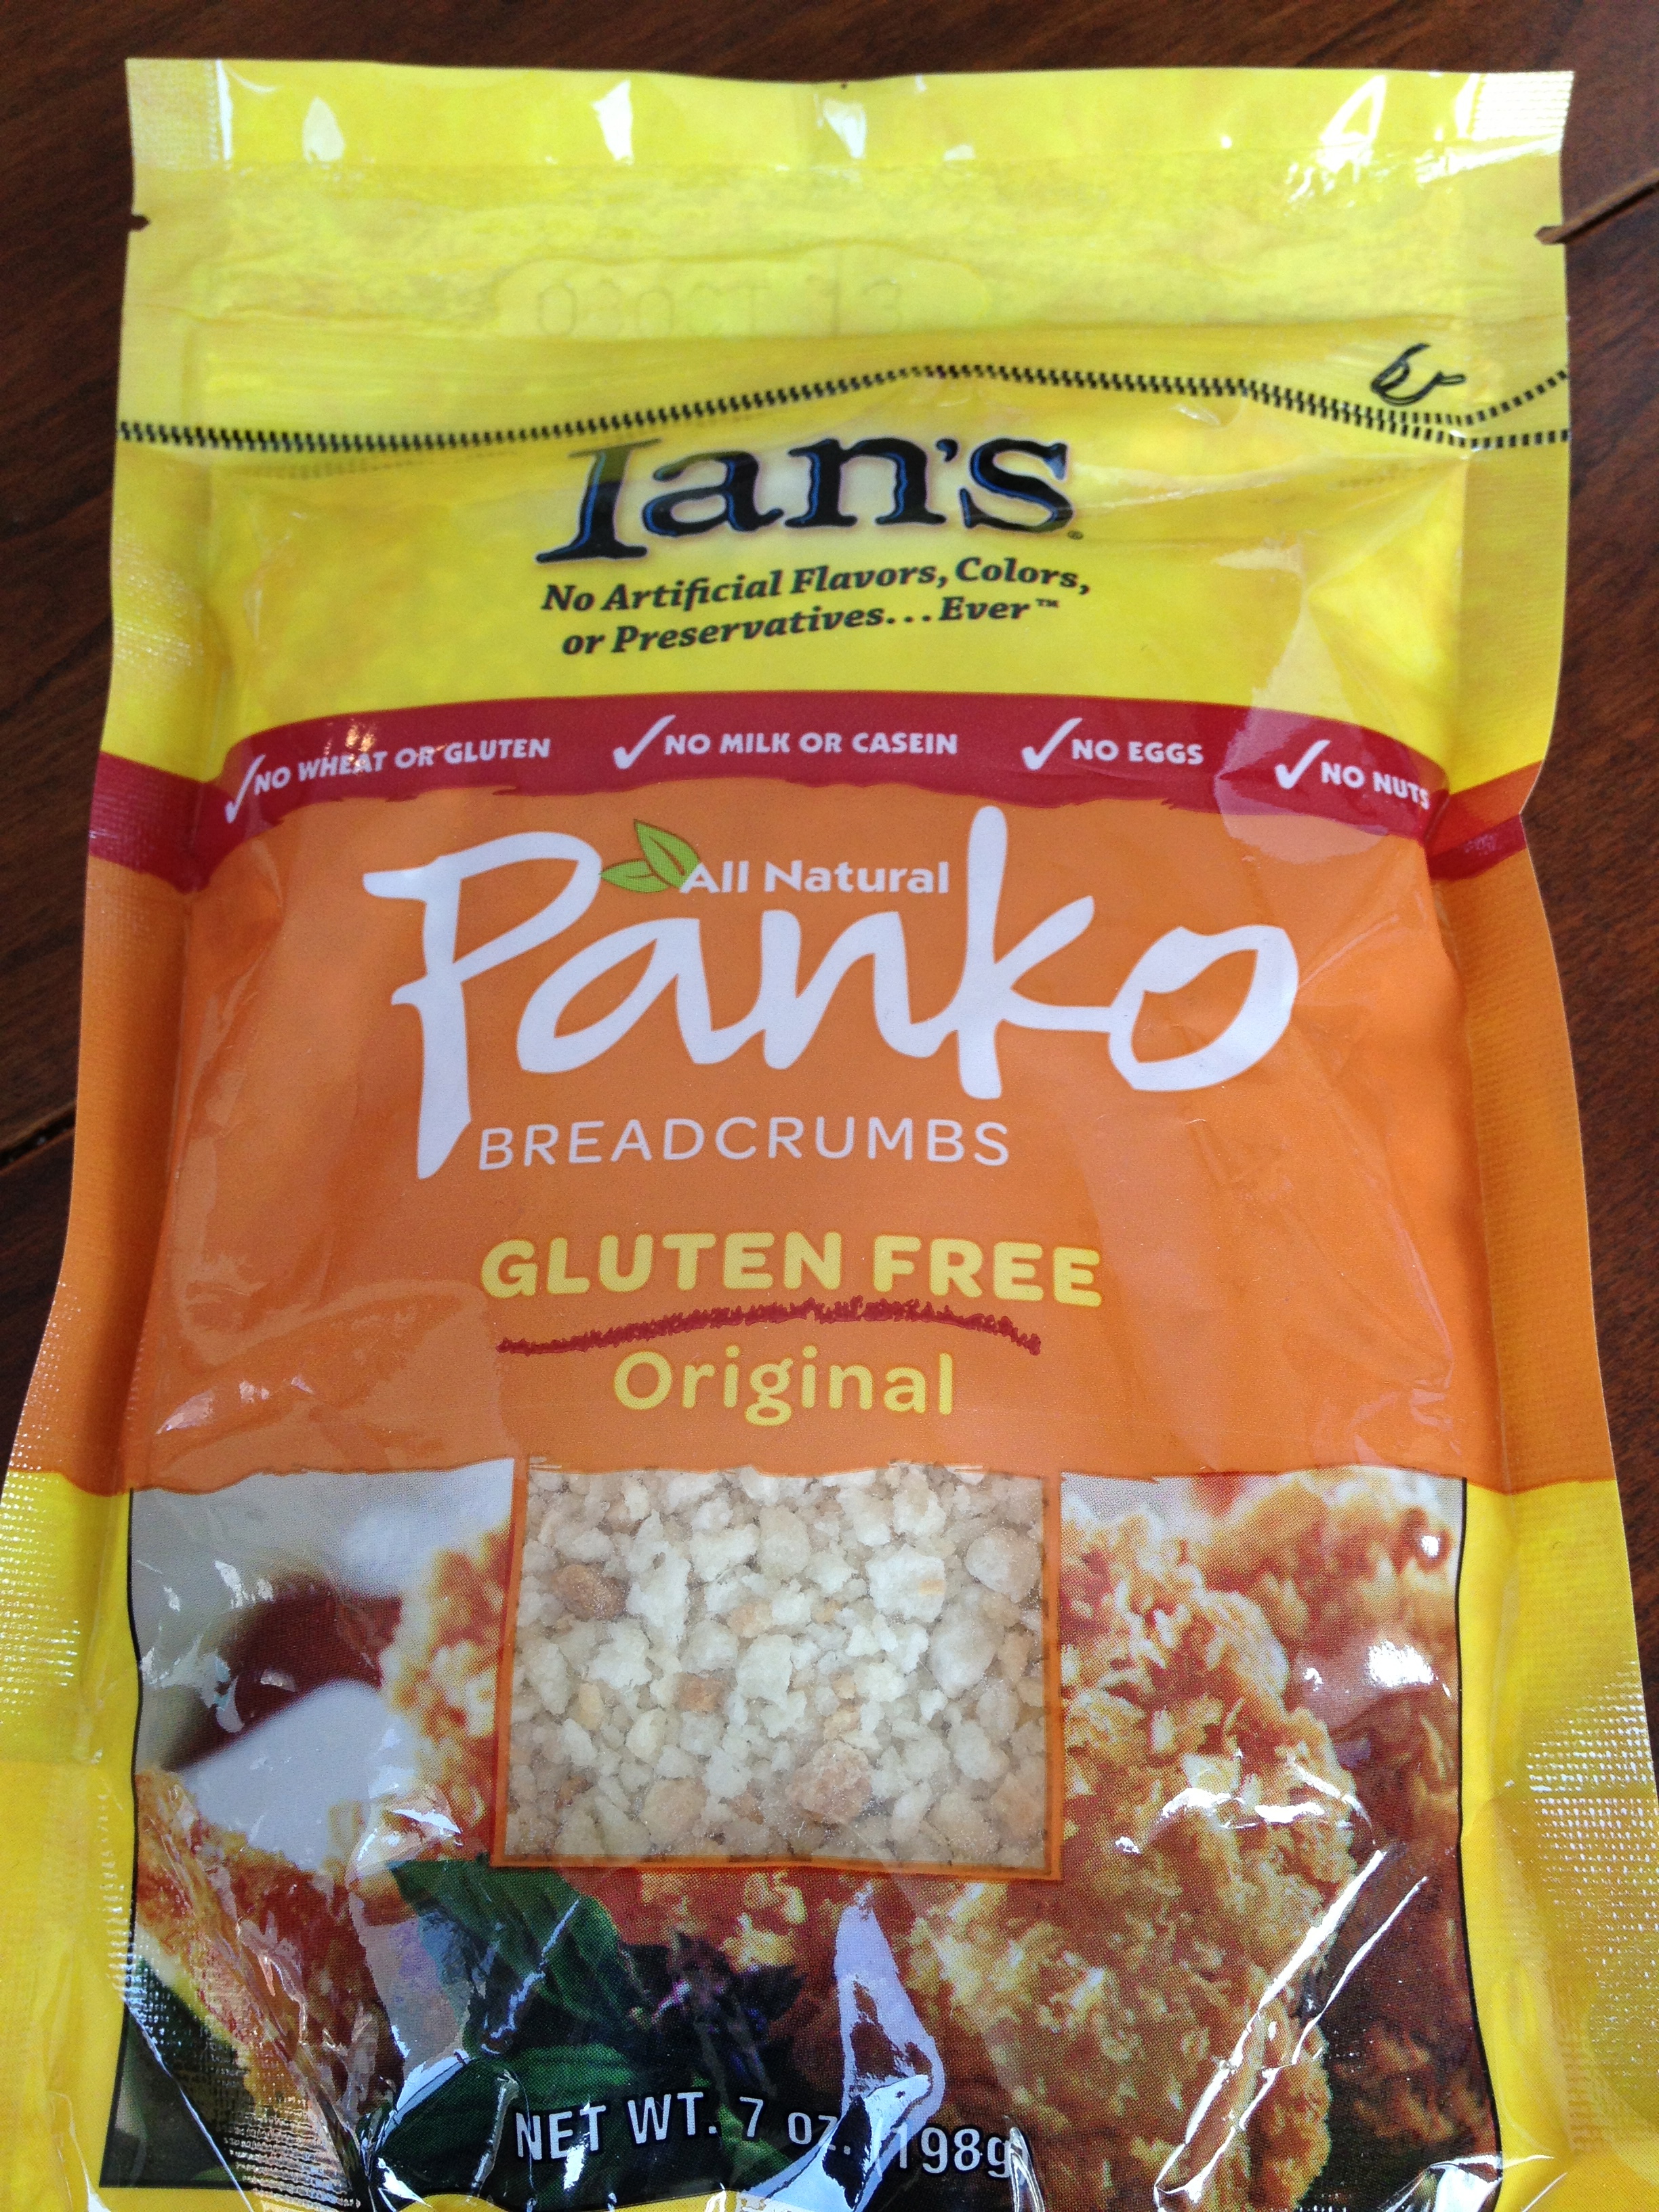
Providentially, that next week while shopping at the little grocery I frequent, I was scanning the shelves as I walked the aisles. This is something I love to do. Some people window shop at the mall, I window shop at the grocery. There, next to the regular Panko was Gluten Free Panko!!! Those chicken fingers were still on my mind, so I snatched the last bag (I learned they cannot keep them in stock, they are THAT popular) and headed home to whip up a batch for my gluten intolerant daughter. 

Image

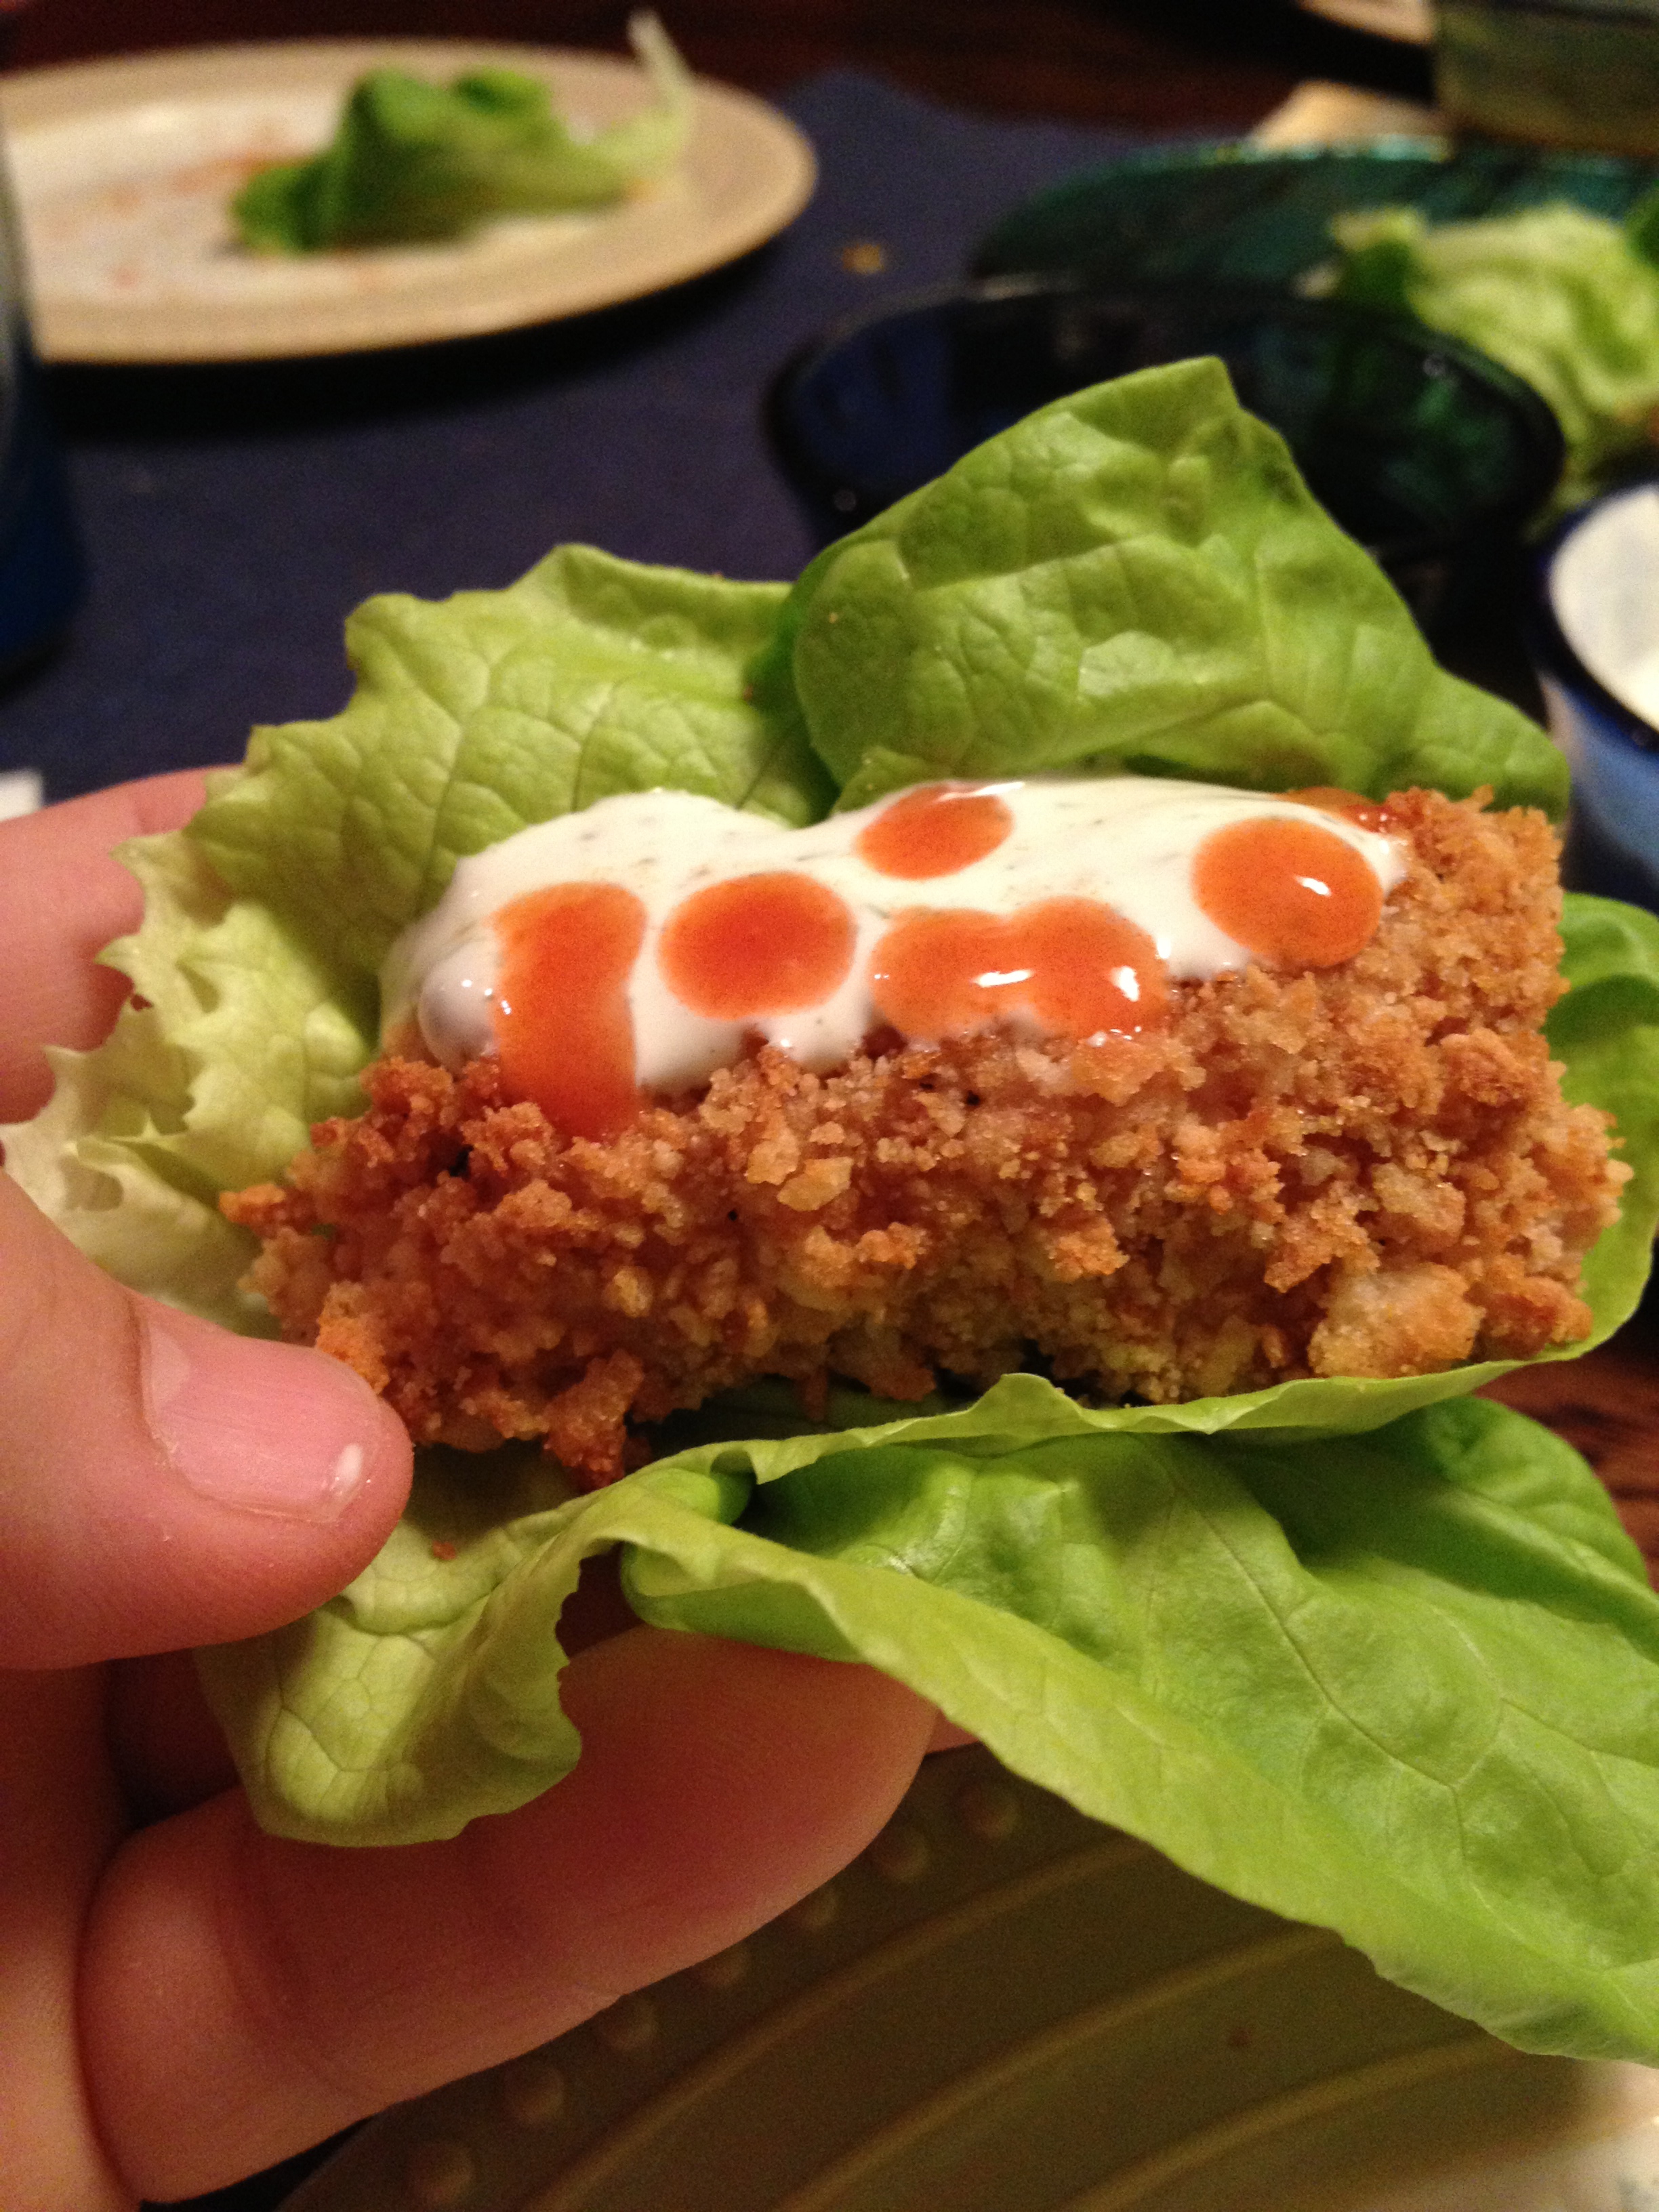
That night for dinner we had, what I can best describe as a hybrid between buffalo wings and chicken lettuce wraps, and they were AMAZING. I served the chicken with side sauces of homemade honey mustard (gluten free), homemade low-fat ranch, Franks Red Hot Sauce, and gluten free BBQ sauce. I had Butter Lettuce leaves on hand, so that is what I used as a vehicle to get it in to our mouths! A side of carrots, celery and radishes, and it was really a fun and tasty meal. Below is the recipe which I have modified from the original to be gluten free. 

My daughter was tickled pink and remarked how she had not had a chicken finger for over a year, since she was diagnosed, and honestly it had never occurred to me to make them! I forget how much out there is breaded, floured or deep fried with wheat products. As an adult who doesn’t eat at fast food joints anyway, I hadn’t noticed on our new gluten free diet. But as a teenager who goes out with her friends to eat at places like that, she had missed being able to have something as simplistic as a breaded chicken finger. Well, no more. This recipe is a keeper. Now make a double batch and freeze the rest, so she can microwave them up and have chicken fingers anytime. 

Gluten Free Baked Chicken Fingers

2 cups gluten free Panko (if you are not gluten free, you can use regular)

2 tablespoons vegetable oil (you could use olive oil but it will change the taste)

1/2 cup gluten free flour (i used Pamela’s Artisan Flour); 1 tsp garlic powder; 1/8 tsp cayenne powder (this is your dredge, combine them together)

3 large egg whites; 1 tbsp water; 1 tablespoon gluten free Dijon mustard; 1 tsp fresh minced Thyme, or 1/4 tsp dried.  (this is your wash, whisk these together)

1.5 lbs boneless, skinless chicken breasts cut in to 3/4in wide strips

Preheat the oven to 475 deg. Line a low rimmed jelly roll pan with foil and put a metal (heat safe) cookie cooling rack inside or across the top. (this allows the airflow to cook the chicken evenly) Toss the Panko with the oil, and in a skillet, toast the Panko till it looks golden, stirring often. Remove to cool. Mix up your dredge and wash and put in shallow pans or bowls that you can easily toss the chicken pieces in. Cut your chicken breasts in to strips, season with salt and pepper. 

Spray your wire rack with Pam (or any vegetable oil spray). Working with a few pieces of chicken at a time, dredge in the flour, then the egg wash, then in the Panko and lay on the wire rack. When done with all the chicken, spray the tops of the chicken pieces with Pam and bake for about 10-12 minutes until cooked through. 

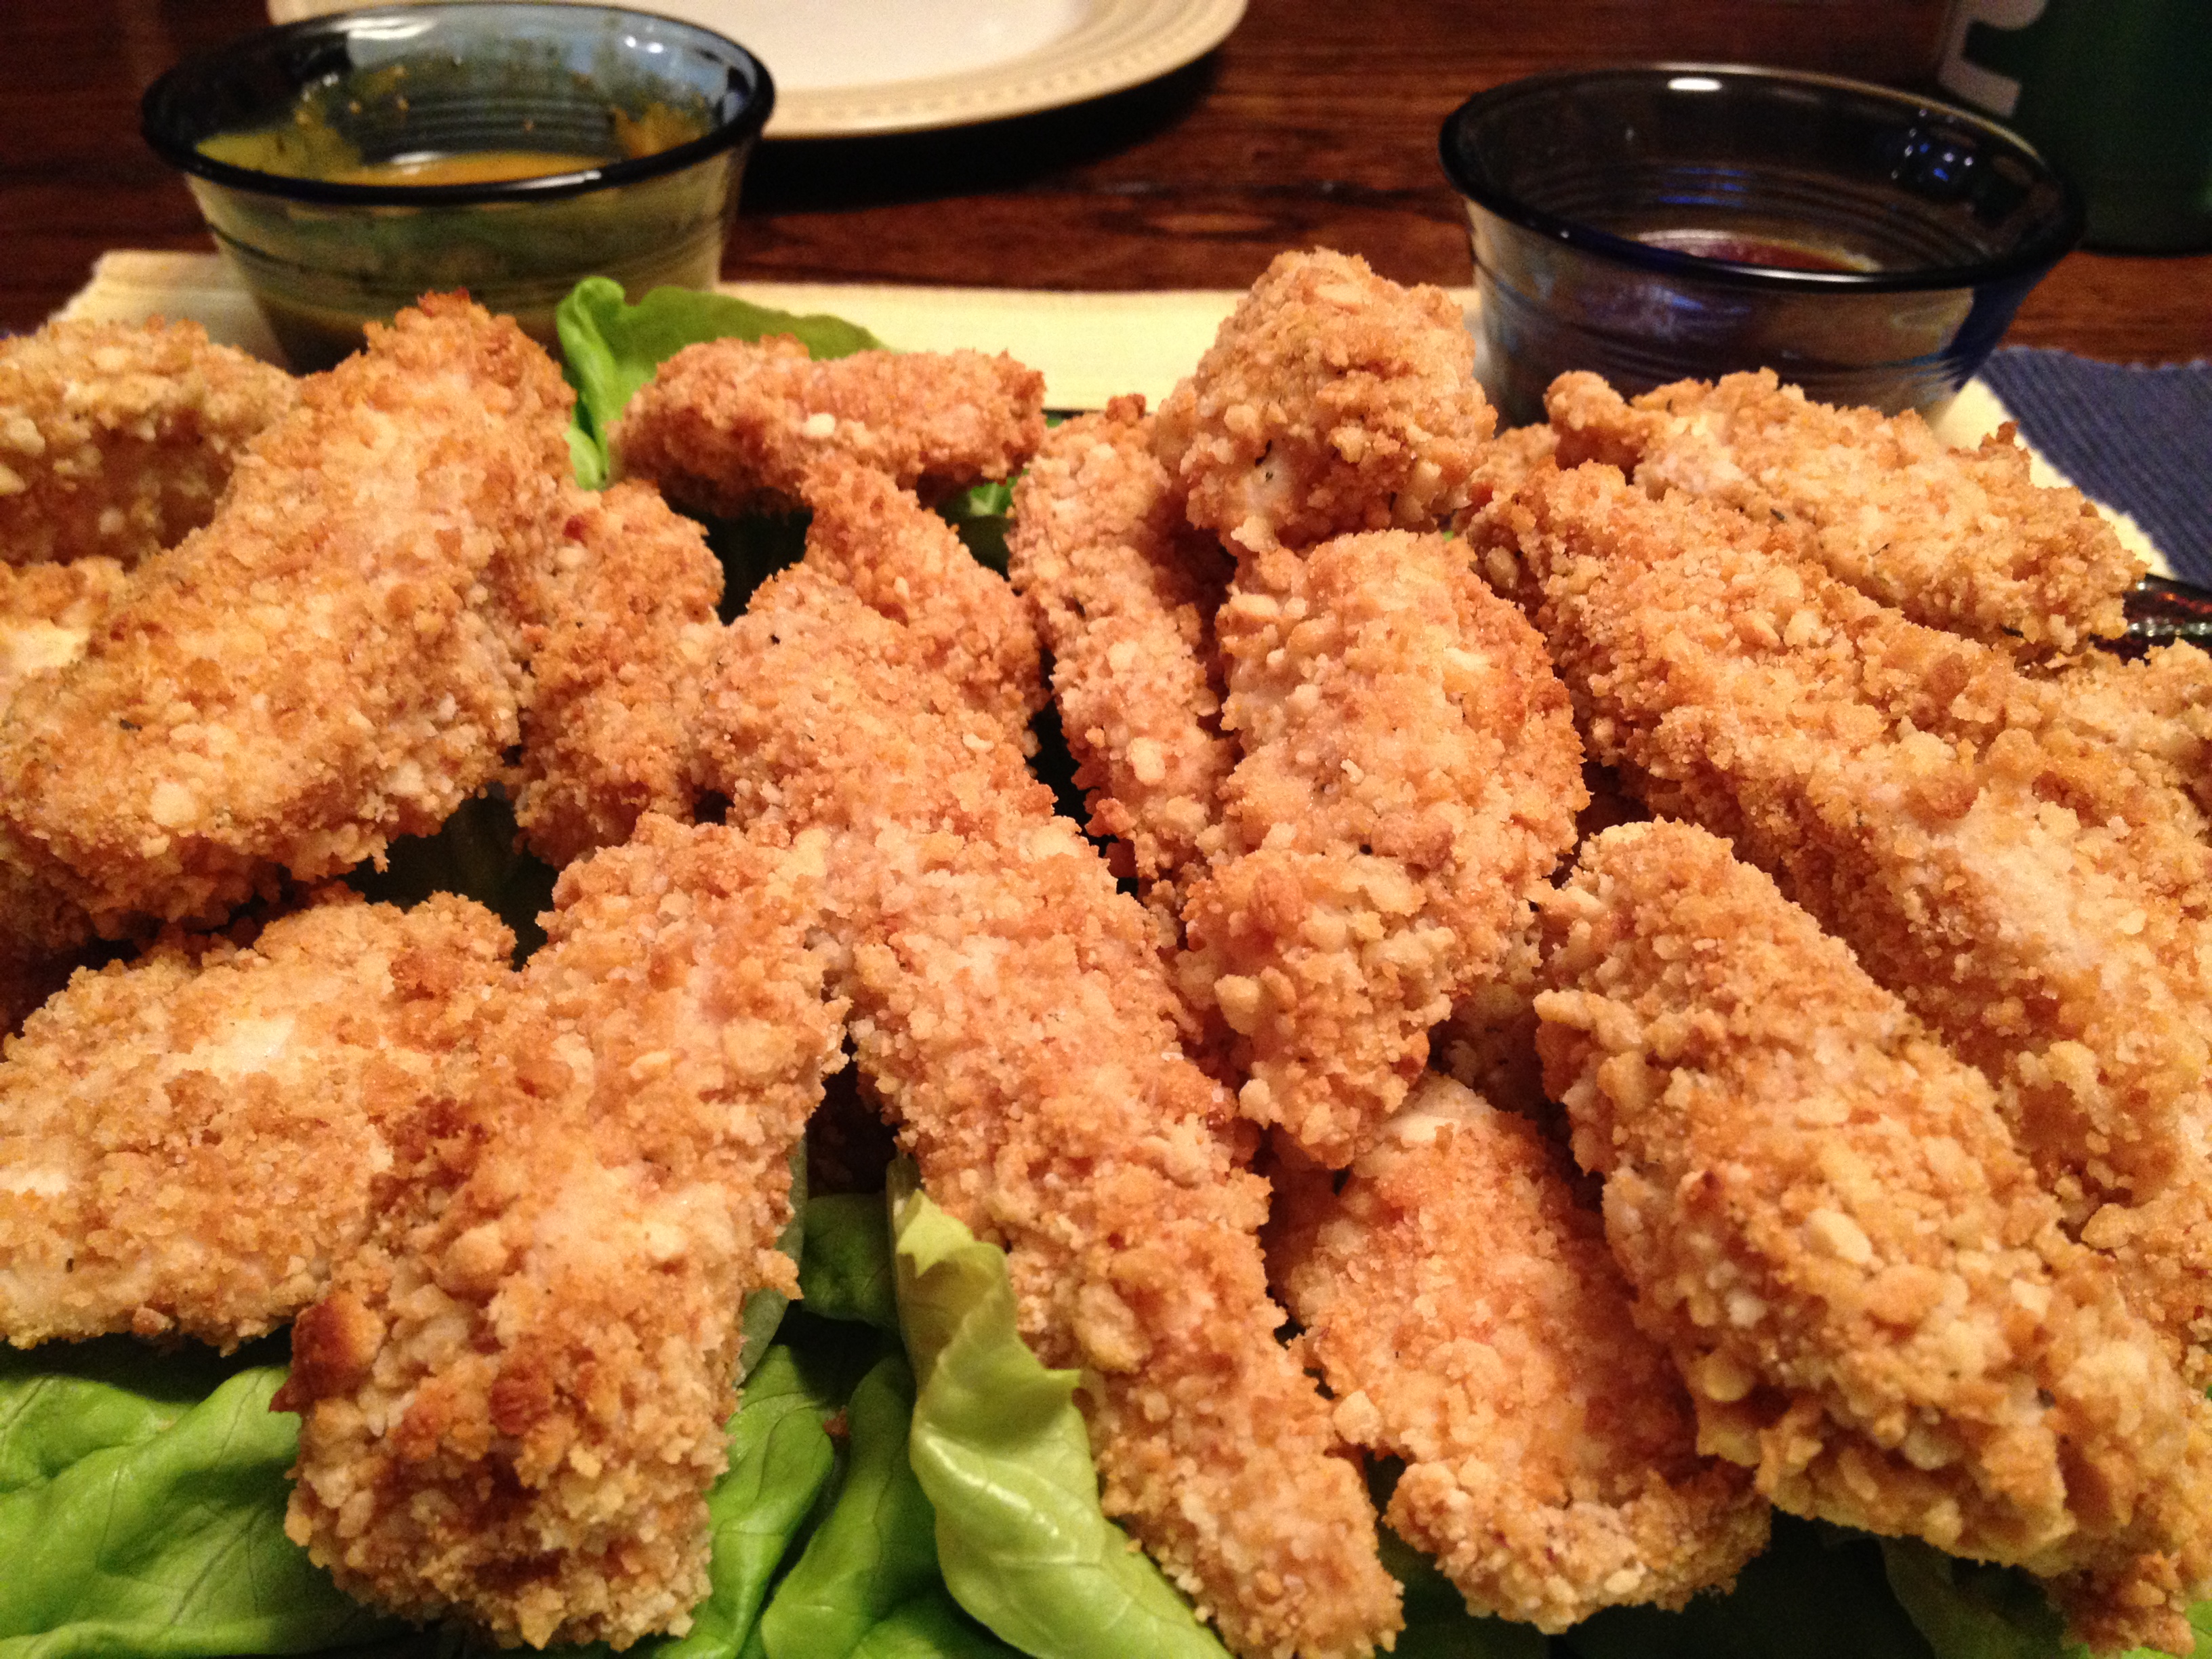
Serve with your favorite sauces, ranch, blue cheese (be careful with blue, most are not GF), BBQ sauce, honey mustard or even horseradish. 

Admit it. You want these, don’t you?! 

Image


Goat Milk & Honey Panna Cotta

Goat Milk & Honey Panna Cotta

My daughter is lactose intolerant and she takes a Lactaid to negate most of the effects. We aren’t quite sure if she is intolerant of the milk protein, but large amounts of dairy, especially cream dairy does not agree with her. As such, I’ve had to learn how to modify her favorite dessert: Panna Cotta

While standing in front of the dairy case, I spotted Goat Milk. Hmmm, I wondered how that would taste in a Panna Cotta? I grabbed a carton and sped home to whip up a batch. Honey is a natural companion to goat, and the real vanilla bean gives it added punch.

It turned out so well, I think this will be a semi-regular dessert to have around the house. While tinkering with the milks, I also leaned the recipe out tremendously. I made a quick jam out of frozen blueberries to go on top. I hope you enjoy this extremely tasty version of Panna Cotta as much as we do. The best part is, you can enjoy and not feel guilty!

Goat Milk & Honey Panna Cotta

2 cups goat milk
1.75 cups lactose free milk (I use 1% organic)
.25 cup heavy cream
1/3 cup honey
1 tbsp sugar
pinch of salt (I used Himalayan pink)
1 package gelatin (1 tbsp)
1 vanilla bean, split and seeds scraped

In a 2qt saucepan, add 1 cup of the milk, the vanilla bean & seeds, and sprinkle the gelatin over the top. Let sit for 5 mins to bloom.
Bring this mixture to just under a boil. Bubbles will appear around the edges of the pan, the gelatin will dissolve as well as the sugar and honey. Let steep for 5 mins to extract flavor from the bean. Remove the bean add the rest of the milks, stir to combine.

Portion out in to serving dishes. I like to serve mine in wine glasses, but ramekins work well to. This makes 6 generous servings. Cover with plastic wrap to prevent a skin from forming and refrigerate for at least 4 hours.

Serve by itself, or garnished with a homemade jam, berries, mint and a little whipped cream.


Gorgeously Gluten Free Yorkshire Pancake

Growing up my parents had a cabin in the mountains, and it seemed nearly every other weekend we’d make the 2 hour drive to spend those precious 2 days in the higher altitudes of the Cascade Mountain Range. I adored it. Winters meant lots of deep powder to ski on and great sledding. Summers meant riding our horses in the high dessert, soaking in the glory of God’s handiwork in the form of arid mountainous pines, alpine meadows, crystal clear running rivers, breathtakingly cold mountain lakes, and incredible mountain vistas. Whenever I reminisce my childhood it is chock full of those memories interlaced with the wonderful smells emanating out of my mothers kitchen. 

My love of cooking is an inheritance from my mother. Looking back I am amazed at the wonderful eats she churned out of that small cabin kitchen. My brother and I would leave the cabin after a hot breakfast, returning only when we were hungry, which repeatedly was not until dusk. In fact, it was so tough getting us in by dark that my mother hung a dinner bell on the back deck that she would ring when food was on the table, to which we would come running. Funny how kids are that way. Food is completely forgotten to the excitement of an ant colony, or a fish in the stream, meadows of shoulder high grass for hide and seek , or a rotted out tree trunk that needed to be explored for critter signs. But when that dinner bell rang, our stomachs let us know quite clearly we had not fed our engines all day! 

Yorkshire pancake is a dish that my mother made on a regular basis. She only ever made it at our cabin, I’m really not quite sure why. Was it the secret of the cast iron pan? Was it the mastering of having something puff so gloriously at a high altitude? Was it the simplicity of ingredients? Or was it that the cabin was a simple life and we were easily impressed by the sight of that mile-high puffed treat, showering her with praise. She is no longer with us, so I cannot ask her. I like to think it was a memory maker. A tradition unique to that time in our lives. All I know is how grateful I am to have that very same skillet in my possession, well seasoned by decades of use, non-stick smooth and black as night. 

As the resident ‘memory maker’ in this family I have passed this tradition down. This has become a favorite of my girls that I bake on the long, cold, snowy winter weekends we have here. The original recipe is made with flour and if you are not GF, by all means make it with regular flour. It will produce results that will stun and wow any guest or family member. Just be sure to call the crowed BEFORE you pull it out of the oven. Like any popover/pudding batter, it will begin to deflate immediately, but as you can see from the photo below, should maintain it’s vertical edges beautifully browned bubbles. Made with my new favorite Pamelas Artisan Flour I get near identical results to my regular flour version. It doesn’t rise quite as high, but my daughter is tickled pink she can have her Yorkshire Pancake once again. 

A couple of tips for making this pancake:

Bake in a cast iron skillet. If you don’t have cast iron skillet use an oven proof heavy bottomed pan with low sides.

This recipe can be doubled. I’ve not had much success tripling it as GF, but with flour you can easily triple it to feed a crowd. I have adjust the butter compared to the original whopping 1/2c amount, and have tried to make it as low fat as possible without compromising taste. This recipe is not dairy free, but I cut down the lactose by using Lactose-Free milk. Pre-heat your oven while preparing, and whisk well prior to pouring in the pan for GF. For wheat flour, mix thoroughly and let rest while oven heat. 

Gluten Free Yorkshire Pancake

1/2 cup Pamelas Artisan Flour (I cannot recommend good results with any other flour. I’ve not had success with this recipe until I used this brand of GF all-purpose flour)

1/2 cup milk

2 eggs (whisked in to the milk)

1/4 c butter, melted (see recipe) 

pinch of salt. (I love to use my himalayan salt)

Preheat your oven to 425 degrees. Move the rack to the middle/lower rung of your oven (to allow for it to puff) and place your 10 in cast iron pan in the oven to heat up. (If your pan is not cast iron, heat on the stove top until very hot, but would NOT smoke oil) In a bowl whisk the eggs in to the milk  and add a pinch of salt. Add the flour and whisk in. There will be some lumps, let it rest for 5-10 minutes, then whisk out any remaining lumps. If using wheat flour, be careful not to over beat, as this will make the pancake tough. 

When the oven reaches temperature, CAREFULLY remove the hot pan to your stovetop. Add the butter and let melt. When completely melted, pour the batter in to the pan, and place in the oven. (I have found the GF flour can get a little thick, just make sure it’s spread to the edges)

Set your timer for 14 minutes and then check the cake. It should look set in the center, not raw. For the recipe amount above, I’ve found it to be done in between 14-16 mins. If I triple the recipe, I use a larger skillet (14inch) and let it go a full 18-20 mins. When it’s done, the edges will have puffed up and be crispy brown, the center will be soft like a pudding but not raw at all. 

This is so delicious served with real maple syrup and powdered sugar, a side of sausage links and a fried egg. I hope you enjoy it as much as we do. Let it be your memory maker! 

Image